
Affiliate link disclosure – The BMW Repair Guide uses affiliate links in their site. For more information on affiliate links, please click here.
Repair Summary
This article gives detailed instructions on replacing the serpentine belt on a MINI R56 vehicle. Even though we used a 2007 MINI Cooper to perform this repair, this article can be applied to any 2006-2013 vehicle with minor modifications to the repair steps.
A MINI R56 belt replacement is easy. Accessing the belt to change it is unfortunately the tedious part of the repair.
As we have discussed in other MINI R56 and R57 repair articles, BMW and Peugeot's joint effort to stuff a technologically advanced four-cylinder engine into a microscopic engine compartment is nothing less than miraculous. This supernatural feat of engineering has been applauded by many in the auto industry as innovative, yet continually cursed by those who need to maintain it.
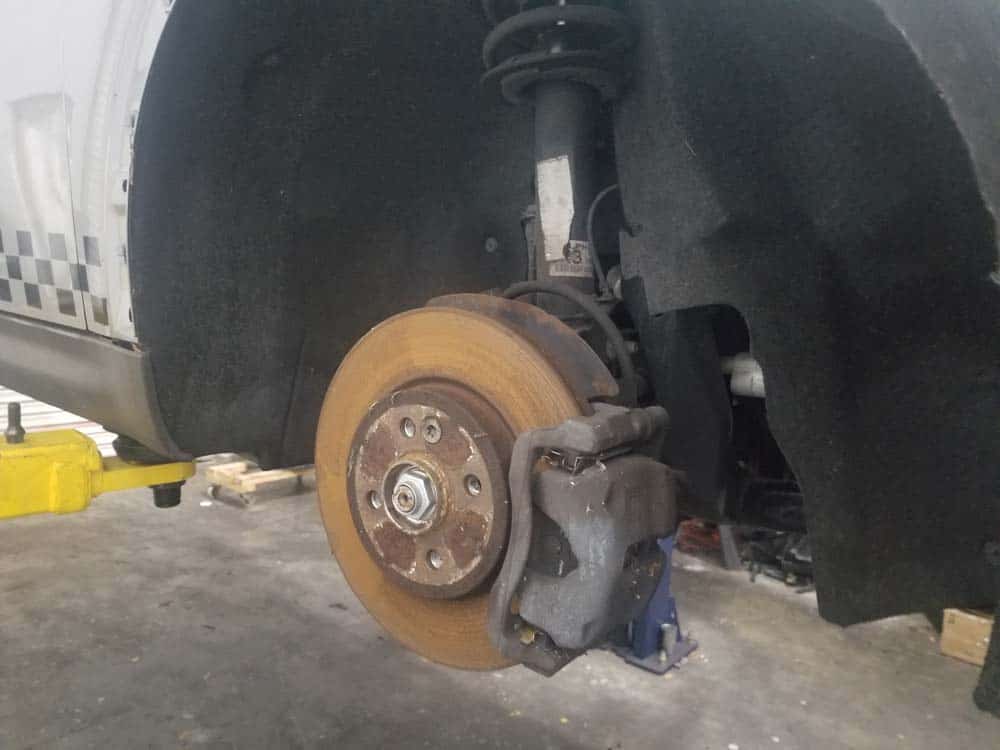
The Prince engine in the MINI R56 actually sits "sideways" in the engine bay, with its clandestine belts and pulleys buried behind the front right wheel well. Unlike other vehicles where the accessory (serpentine) belt can be easily accessed from the front end, a MINI R56 belt replacement requires the right wheel and fender liner to be removed.
The accessory belt on a MINI R56 Cooper drives several of the engine's critical components including the alternator, ac compressor, and a friction wheel that spins the water pump. Heat and age take a toll on the reinforced rubber belts, causing them to crack and slip on the pulleys. Extremely worn belts can cause a "whining" sound and are of particular concern; a broken accessory belt while driving can cause catastrophic damage to your engine. A MINI R56 belt replacement should be part of your regular maintenance plan.
Releasing the belt tensioner - the correct method to use
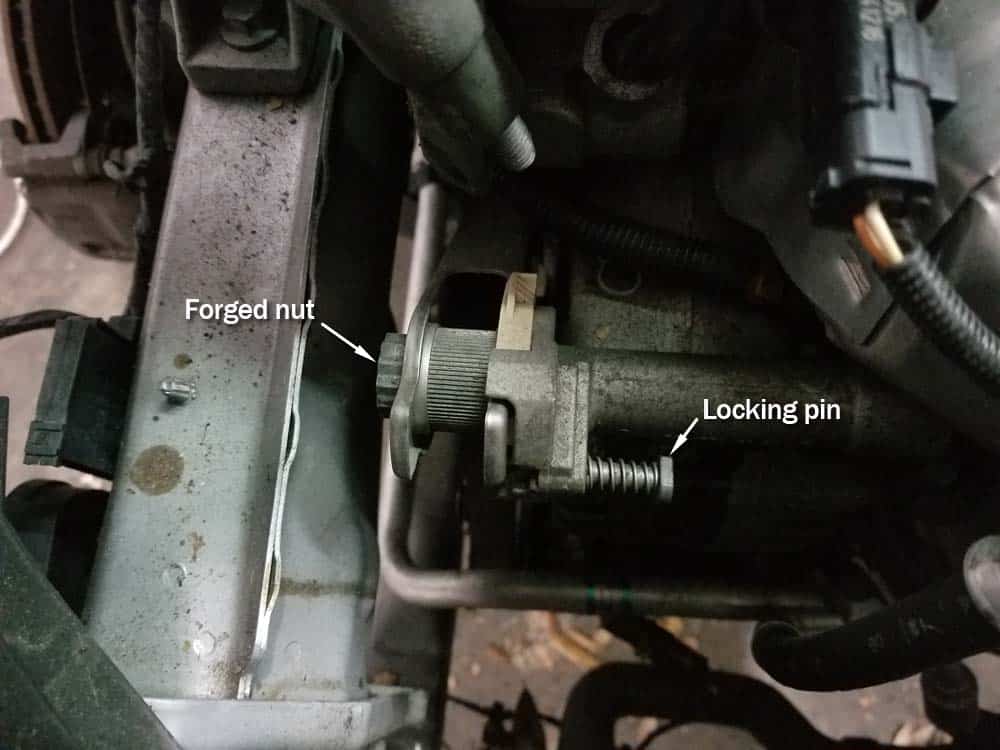
There is a lot of chatter on YouTube and online forums on how to retract and lock the belt tensioner in its service position. The belt tensioner, located at the top of the engine near the right headlight, is a spring-loaded arm that puts pressure on the accessory belt so it does not slip on the pulleys. In order to remove the accessory belt, the tensioner must be retracted and locked into its service position by turning it clockwise and inserting a pin to hold it open. The tensioner has a 21mm twelve-point nut forged to its arm. When the nut is turned clockwise with an open-end boxed wrench, it easily retracts the tensioner arm so it can be pinned in the service position.
You can get a standard 21mm boxed end wrench on the nut, but unfortunately there is not enough clearance to turn the nut to retract the tensioner.
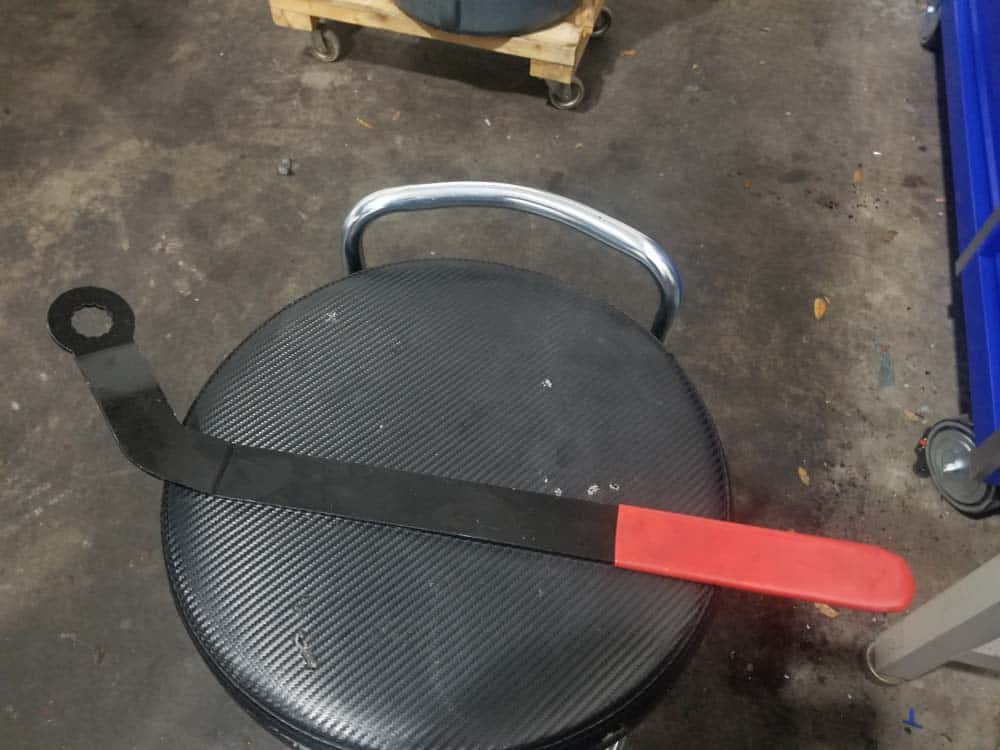
MINI solved this issue by designing a thin-walled, offset boxed end wrench that can easily retract the tensioner arm from inside the fender well. You can purchase one for less than $50, and it should be considered a required addition to the tool chest for every MINI home mechanic. For your convenience, we have provided a link below in the tools and supplies section of this article to purchase the correct wrench or click here to order one.
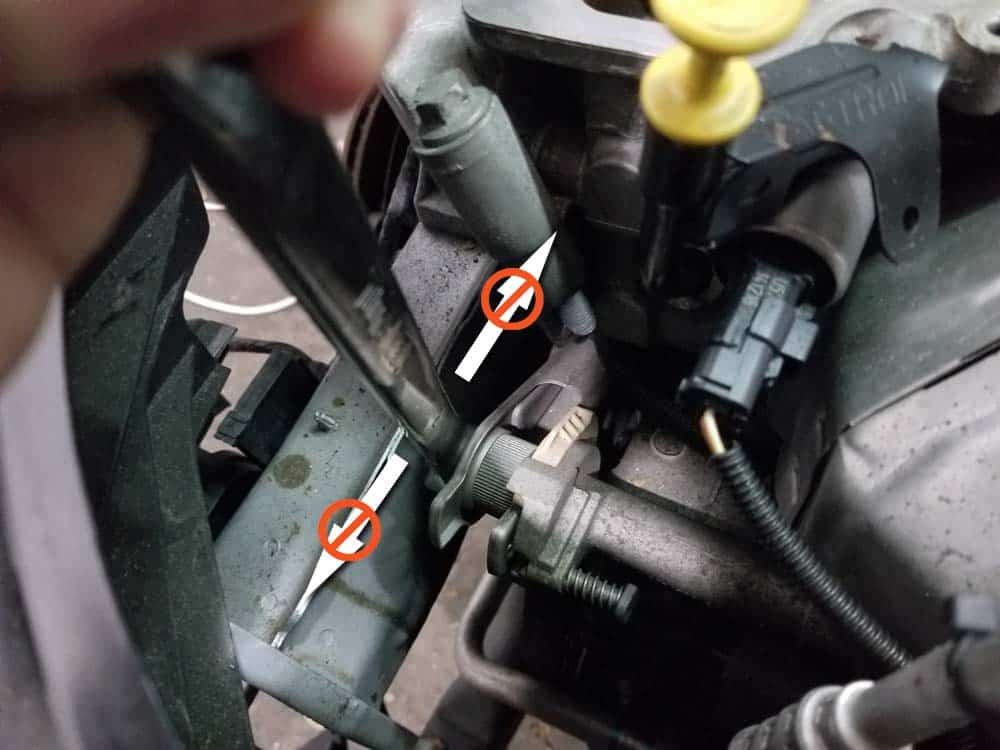
As for the YouTube videos and forum shortcuts on retracting your belt tensioner...we strongly disagree with all of them. Using pry bars, screwdrivers, metal picks and floor jacks to retract your MINI belt tensioner are incorrect methods and can damage your car if executed incorrectly. Spend the money and get the right tool to retract your belt tensioner. As we always say...the money saved doing the repair yourself grossly outweighs the price of the tool.


View the detailed parts diagram for this repair.
Includes detailed part diagrams, part numbers and links to purchase all of the required components needed to complete this repair.
Section 1 - Accessing Right Side of Engine
It is impossible to access the accessory belt and pulleys without removing the right wheel and fender liner. It only takes a few minutes and is a very simple operation.- While the vehicle is on the ground, use a 17mm socket wrench to slightly loosen the four lug nuts on the right wheel. DO NOT remove the lug nuts...you are just loosening them so they can be removed after you raise the vehicle.
- Jack and support the front of your vehicle using the jack stand method as shown in our article BMW Jacking and Supporting for Repairs and Maintenance.
- Using a 17mm socket wrench, remove the front right wheel from the vehicle.
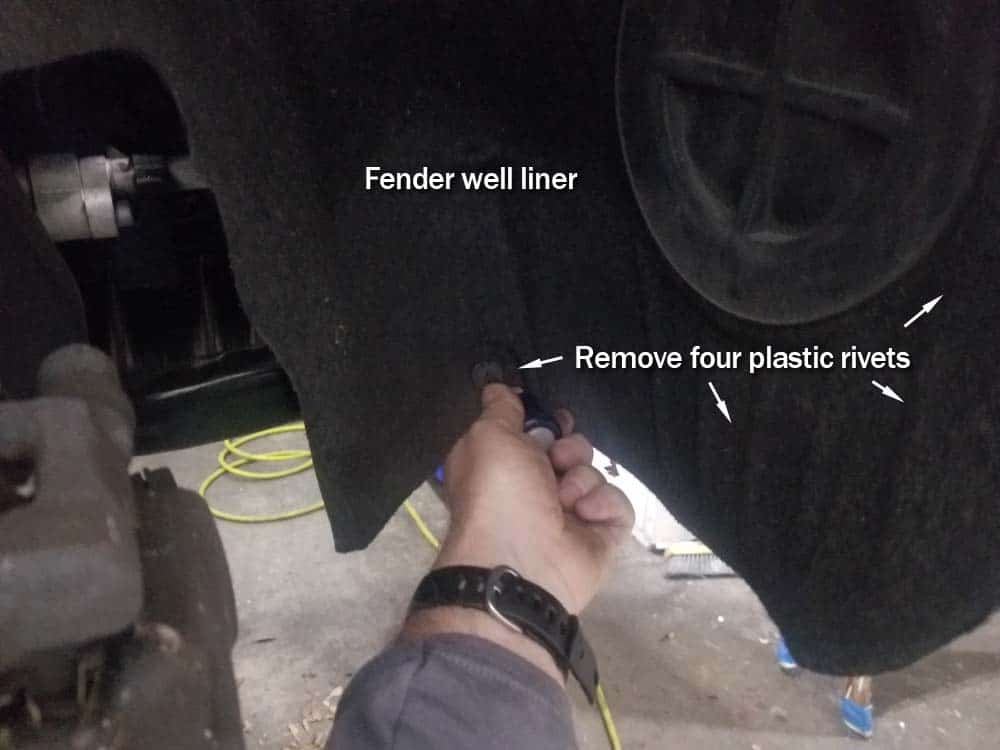
- Use a phillips head screwdriver to remove the four phillips head plastic rivets securing the front of the fender well liner to the body of the car. You do not need to remove the rear phillips head rivet.
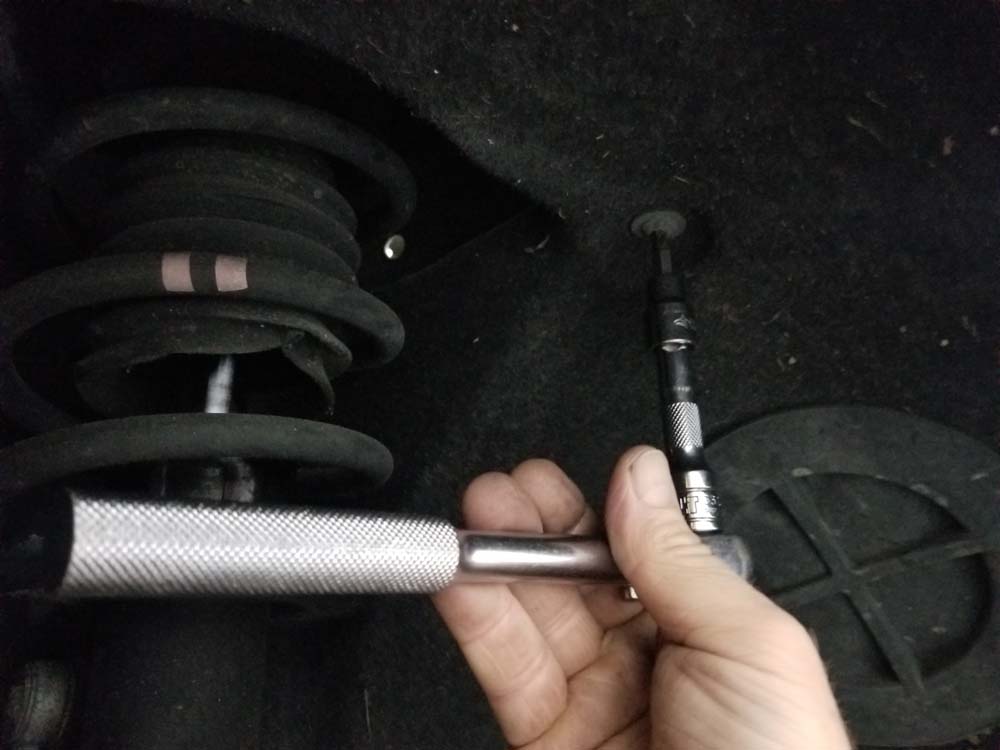
- Next, use a T30 torx bit to remove the front torx screw anchoring the fender liner to the body of the car. You do not need to remove the rear torx screw.
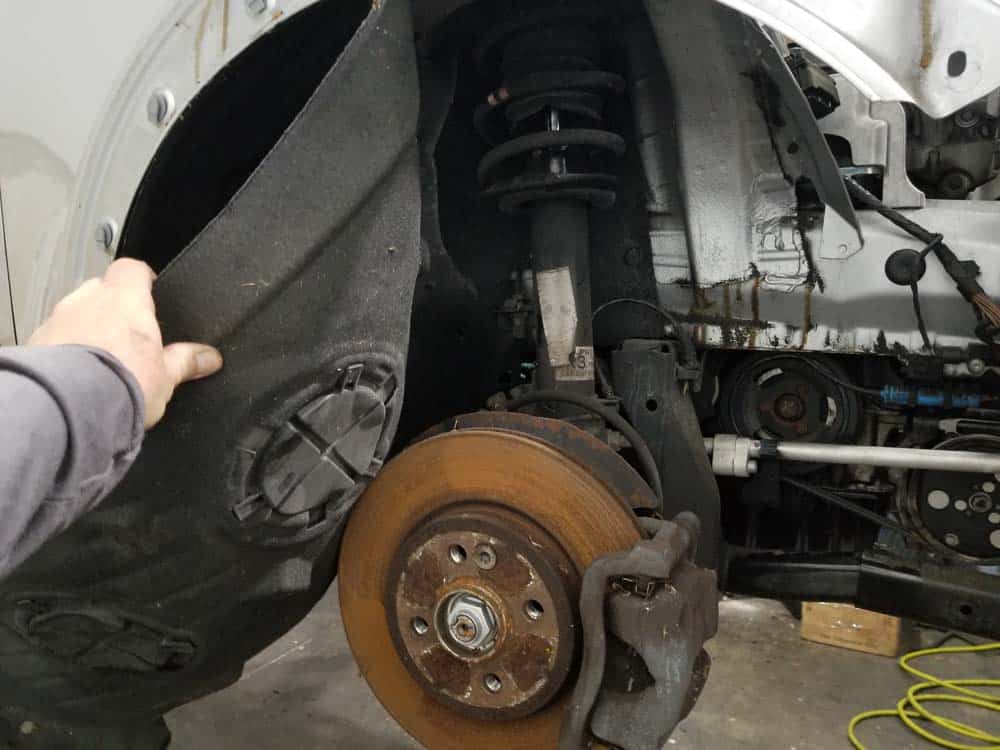
- Grab the wheel well liner and fold back behind the brake rotor out of the way. You can now access the engine pulleys on the right side of the engine.
Section 2 - Removing the accessory belt
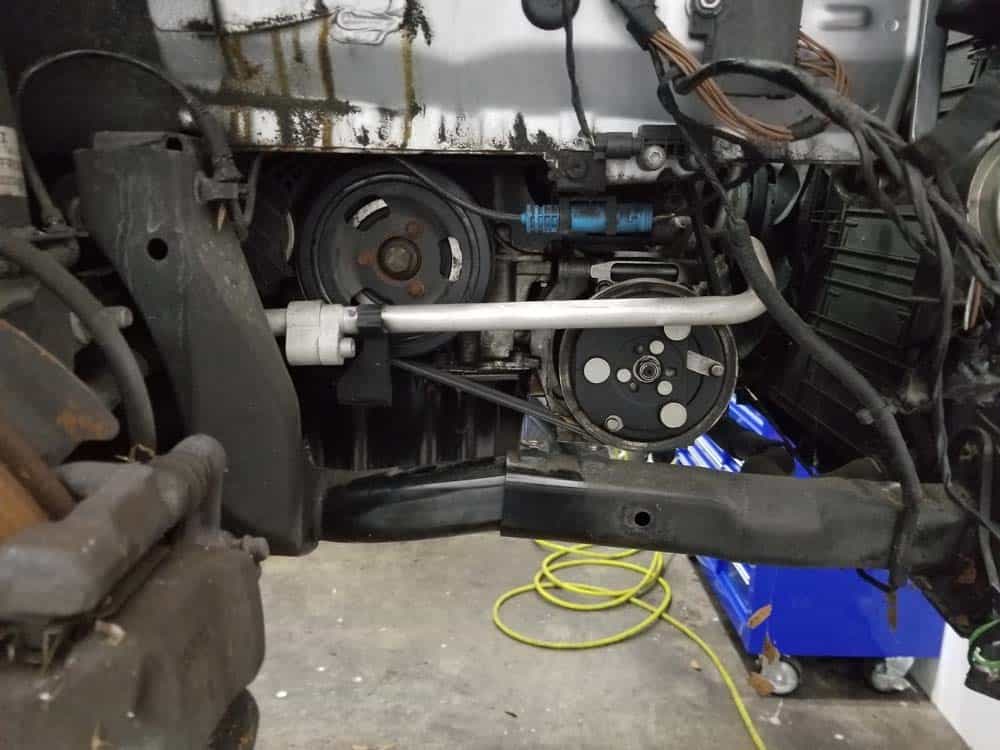
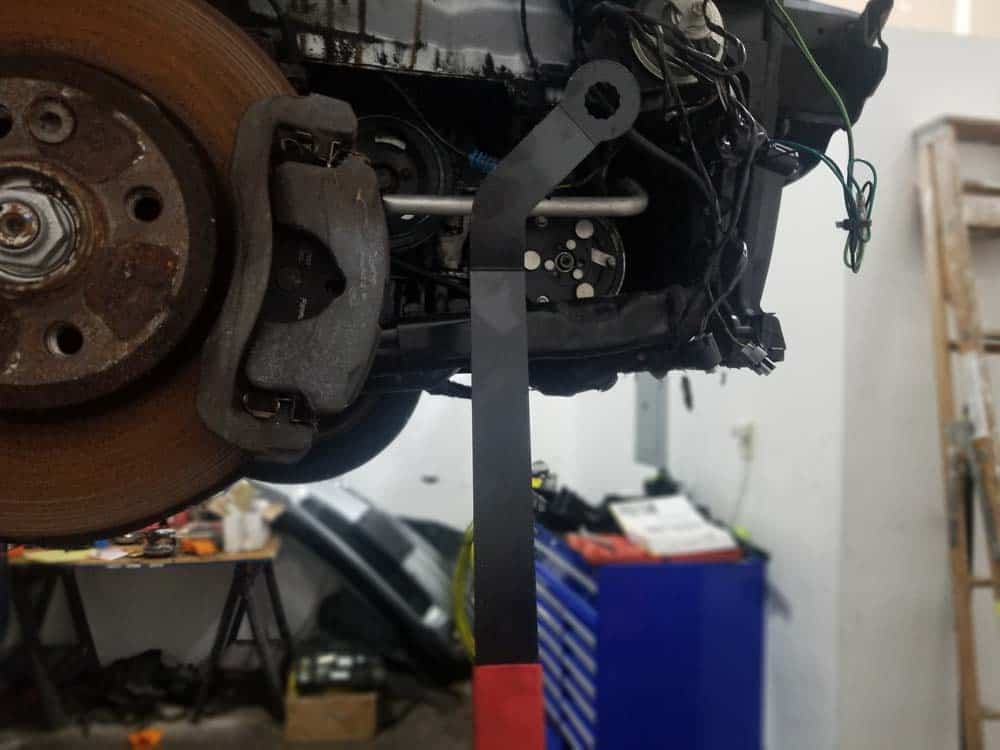
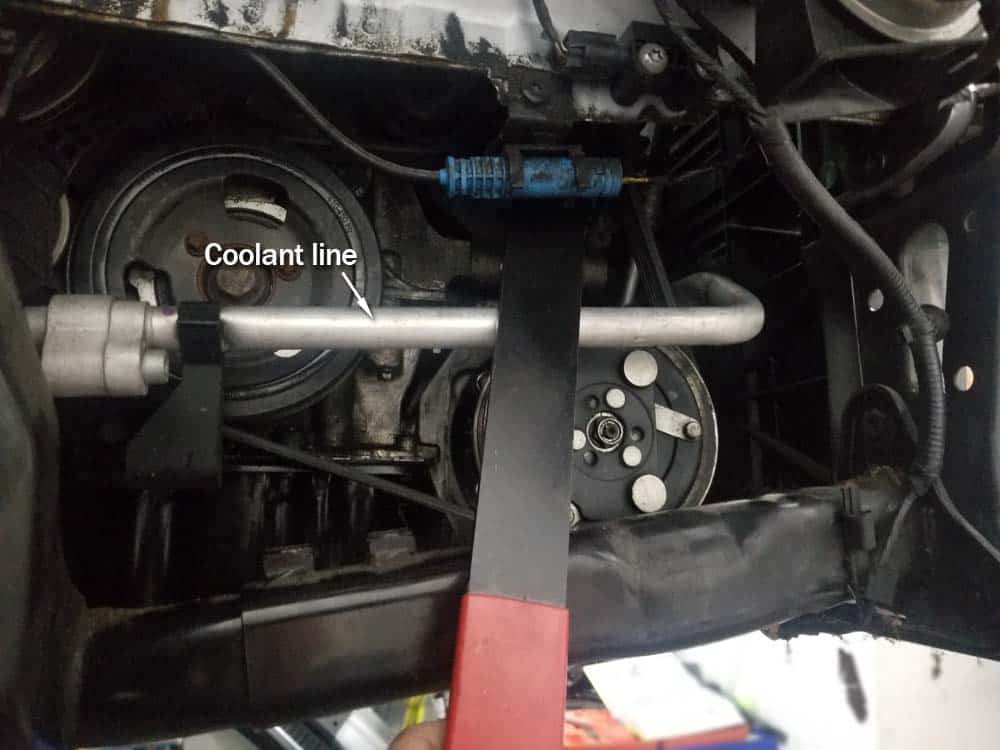
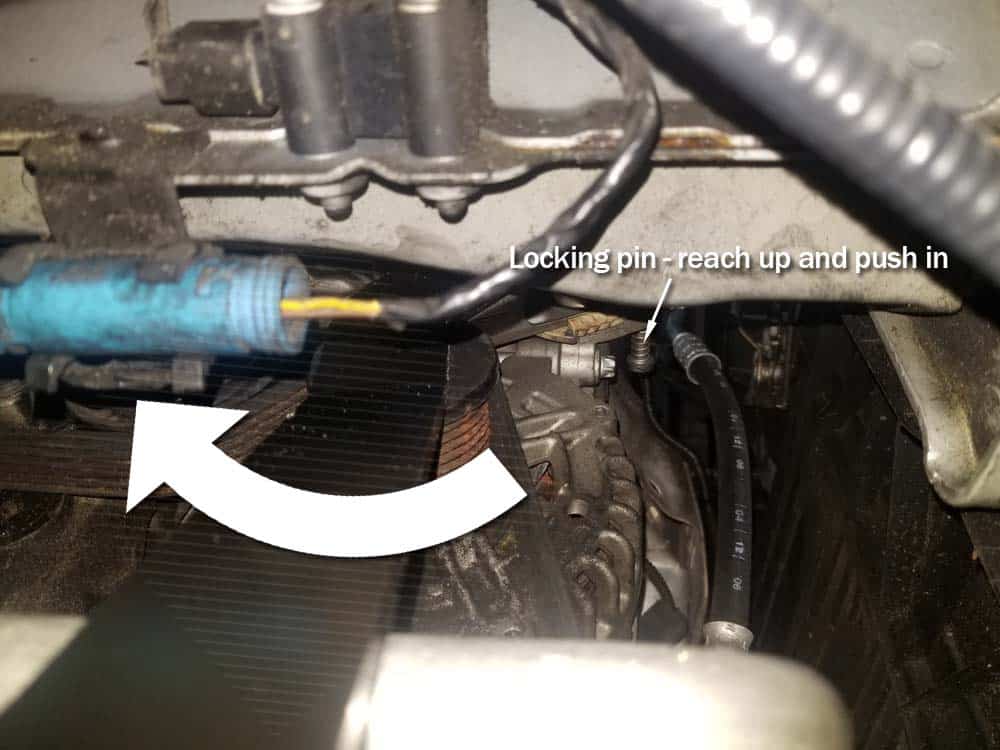
As discussed at the beginning of this article, the BMW Repair Guide only recommends using the proper MINI drive belt tool to release the tensioner so the accessory belt can be removed. If you have not purchased this tool you can click here to purchase one. With a little practice, the tool is very easy to use and the belt can be removed without the need of an assistant.- Familiarize yourself with the MINI drive belt tool and the orientation of its offset head. The tool must be inserted through the fender well to retract the belt tensioner. Note in the image below the proper orientation of the tool, and how it must be installed above the air conditioning coolant line to reach the belt tensioner. Also locate the locking pin that will need to be pushed into place when the belt is retracted. The locking pin can easily be accessed by reaching up through the fender well (you can also use a helper to lock it from the engine compartment if you prefer).
- Insert the tool on the belt tensioner's forged nut and use your left hand to turn clockwise to release the pressure on the belt. Use your right hand to reach up through the fender well and engage the locking pin.
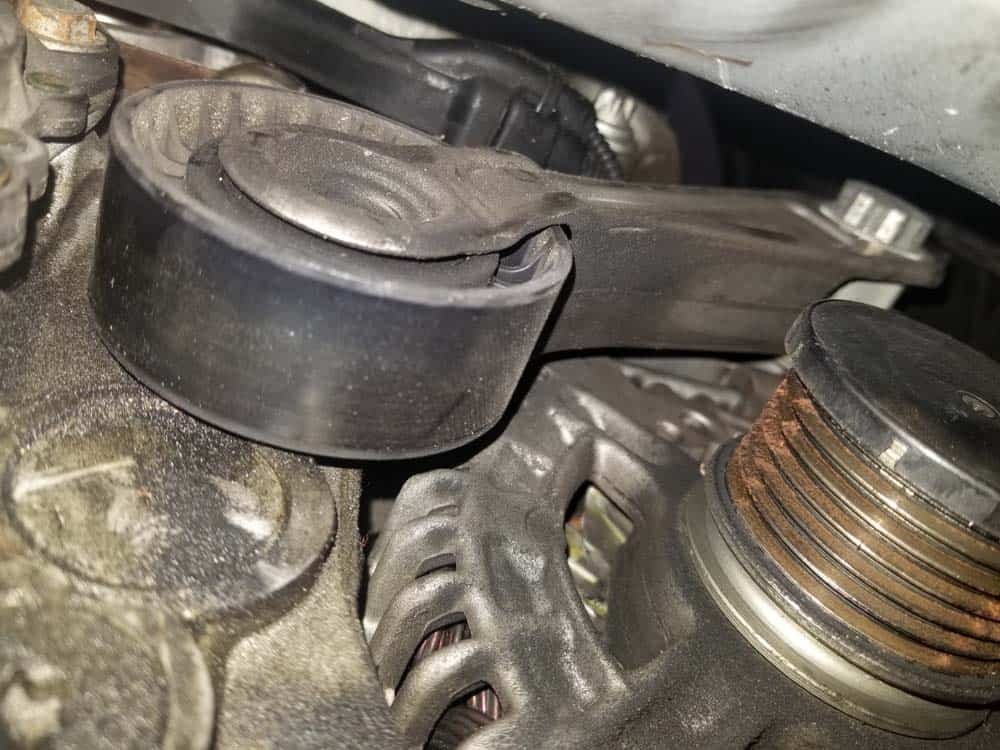
- The belt tensioner is now fully retracted. You will now need to disengage the accessory belt friction wheel. This is done by pulling on the release cable as shown in the following image.
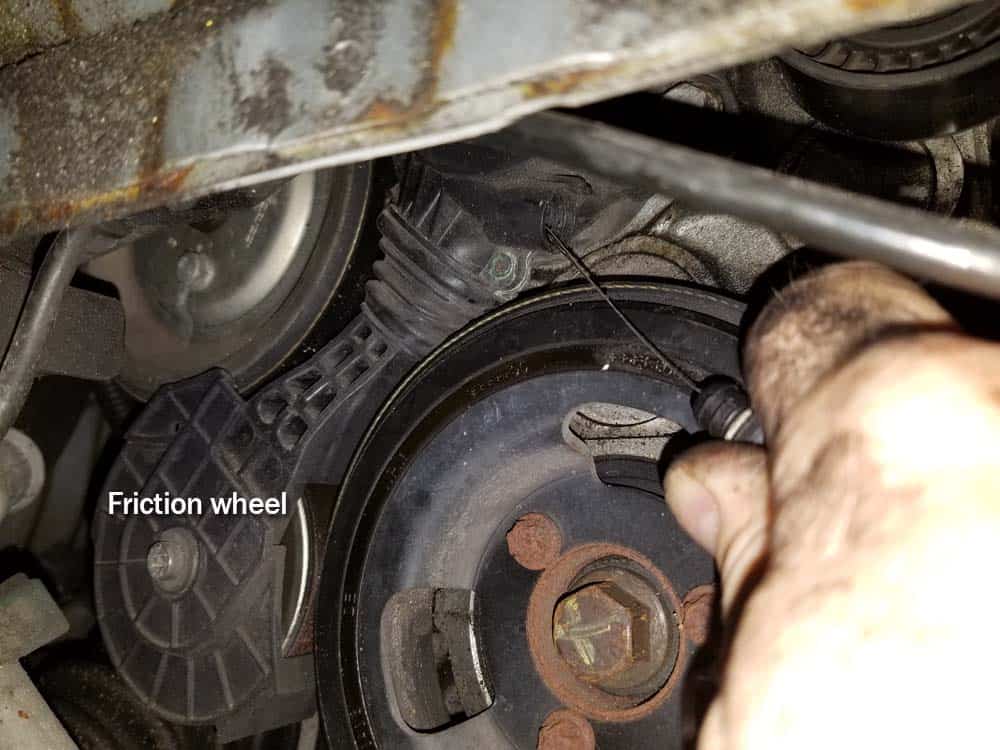
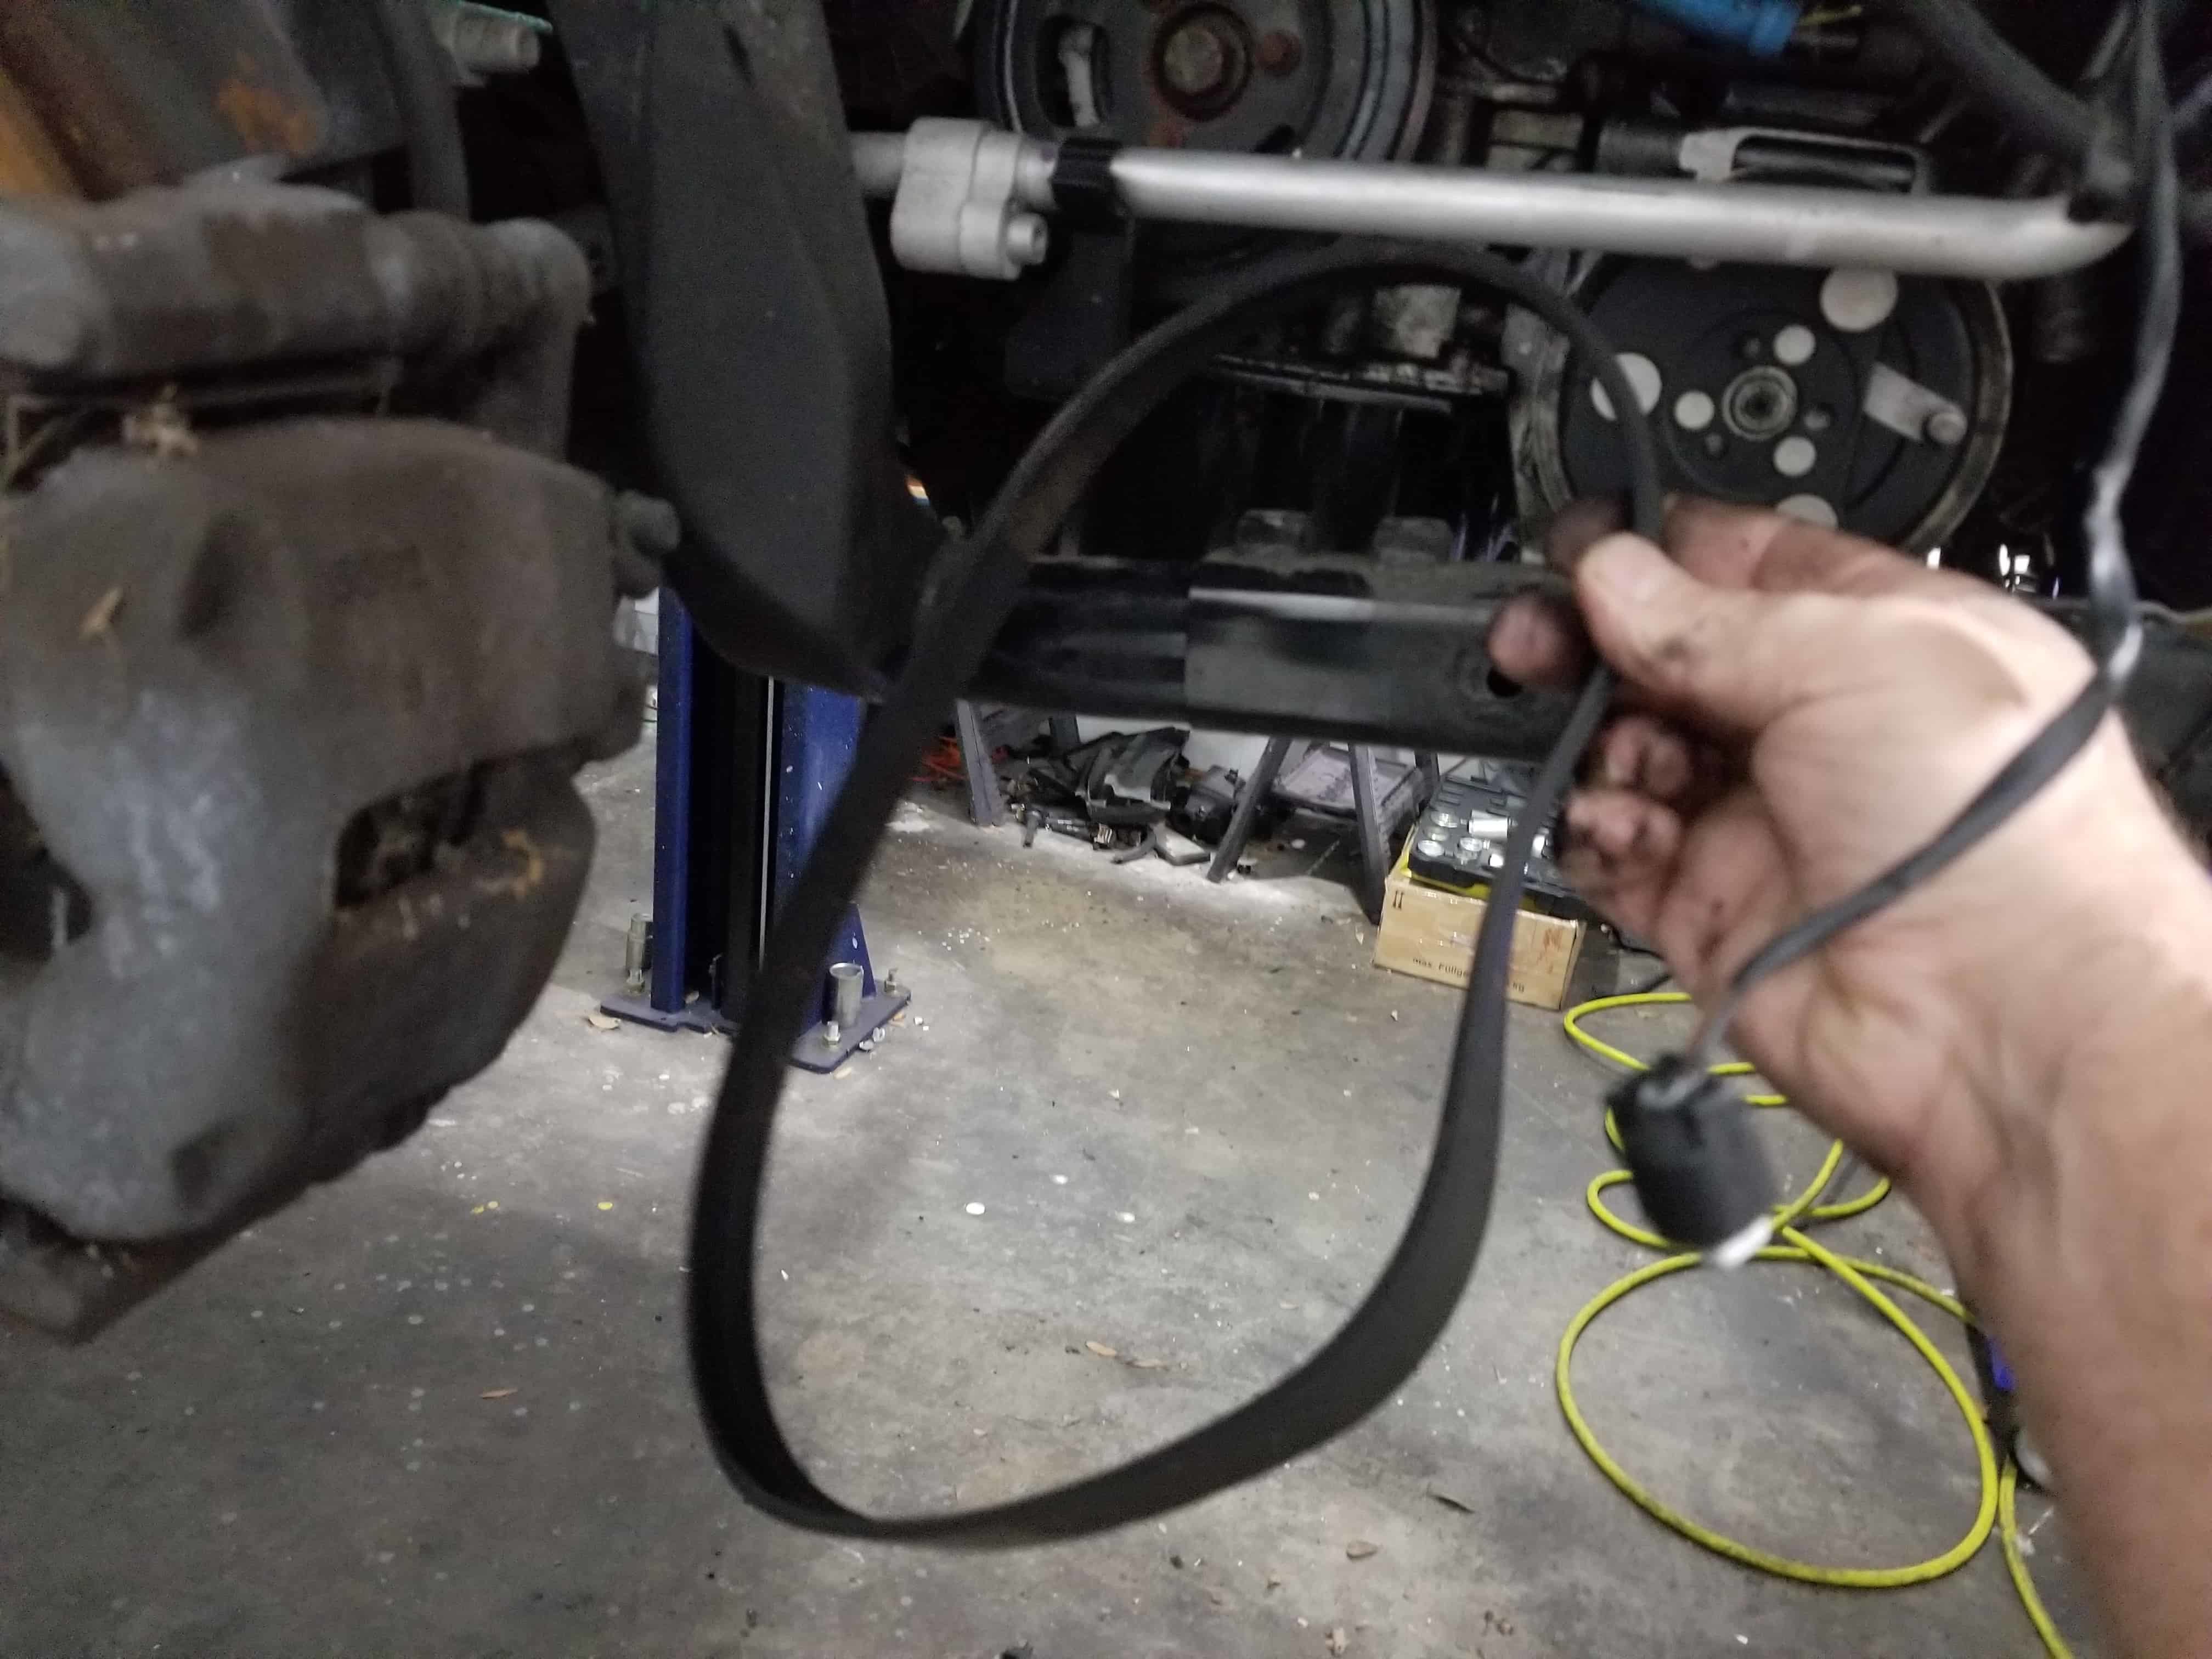
- With the friction wheel released, you can now remove the belt from the engine.
- Reinstall a new accessory belt following the above steps in reverse.
- Reinstall the front wheel. Torque the wheel lug nuts to 140 Nm (103 ft-lbs).
MINI R56 Belt Replacement Finished