
Affiliate link disclosure – The BMW Repair Guide uses affiliate links in their site. For more information on affiliate links, please click here.
Repair Summary
The following article gives instructions on performing a cabin filter replacement in a BMW E9x M3 series car. Even though we have used a 2013 BMW E92 M3 to perform this installation, this article can be applied to any BMW E9x M3 series vehicle with the S65 8 cylinder engine, including the E90 sedan and E93 convertible.
A BMW E90 M3 cabin filter replacement is extremely easy and only takes about 15 minutes to perform.
One of the most overcharged maintenance items on all BMWs is replacement of the cabin air filters, also known as the microfilters. A BMW E90 M3 cabin filter replacement is so simple, it can even be performed by vehicle owners who have absolutely no mechanical ability whatsoever.
The BMW E90 M3 cabin filter does exactly as its name implies; it filters the fresh air being drawn into the interior cabin of your car through the heating, ventilation, and air-conditioning (HVAC) system. It filters out dust, pollen, and other air-borne contaminants as well as noxious odors. It is an extremely important component of your vehicle's HVAC system and plays an important role in providing a fresh, comfortable, allergen-free environment inside your BMW.
The BMW Repair Guide recommends replacing your BMW E90 M3 cabin filter once a year. If you drive in an excessively contaminated environment (like a smog-filled city or around heavy road construction) you may want to change it more often.


View the detailed parts diagram for this repair.
Includes detailed part diagrams, part numbers and links to purchase all of the required components needed to complete this repair.

Before starting this repair, you must have the following required parts.
BMW E90, E92, E93 M3 only
Cabin filters are something that is often overlooked in vehicle maintenance, but these filters are actually very important to both your comfort and health. Traditional cabin filters prevent pollen, dust, and other allergens from entering your vehicle's cabin, keeping your air as clean as possible. Cabin filters that feature an activated charcoal filter layer take it a step further to help eliminate unpleasant smells, especially useful in large cities or when passing smelly areas such as farms.
All BMW E9x M3 models with production date from 09/2009
The air filter must clean 8000-9000 gallons of air for each gallon of gasoline burned inside the engine, without restricting the air intake. Air filter replacement at recommended intervals lets an engine breathe properly while protecting it from costly damage. Air filters should be inspected and replaced as needed at least once a year, more often if the vehicle is driven in heavily polluted or dusty conditions.
All BMW E9x M3 models with production date to 09/2009
The air filter must clean 8000-9000 gallons of air for each gallon of gasoline burned inside the engine, without restricting the air intake. Air filter replacement at recommended intervals lets an engine breathe properly while protecting it from costly damage. Air filters should be inspected and replaced as needed at least once a year, more often if the vehicle is driven in heavily polluted or dusty conditions.
Section 1 - Performing a BMW E90 Cabin Filter Replacement
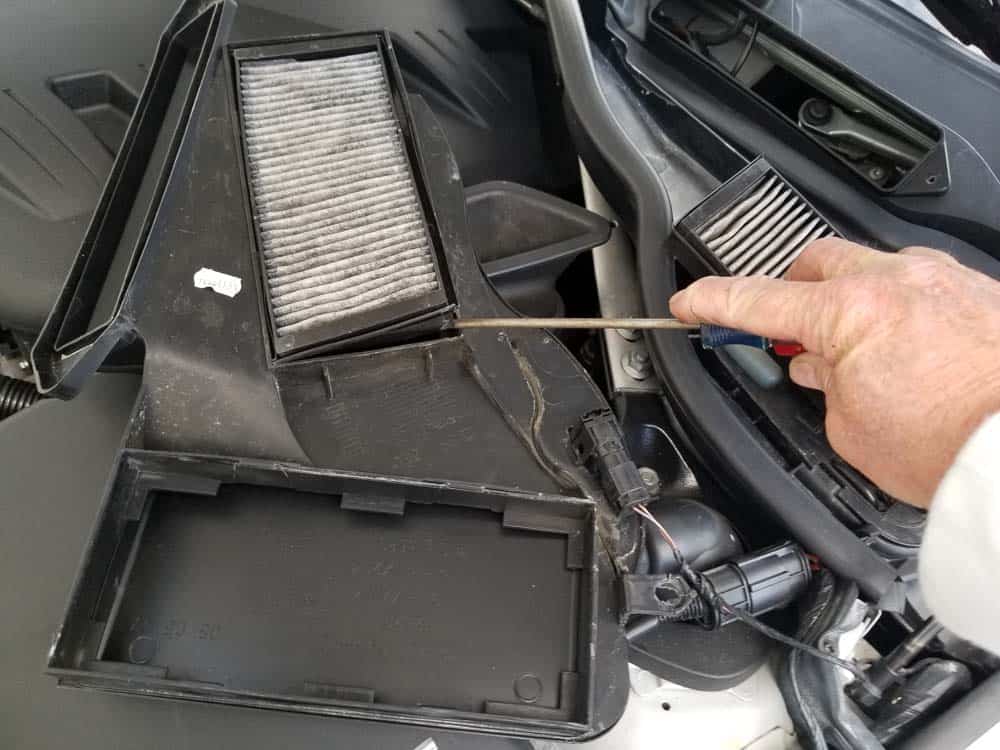
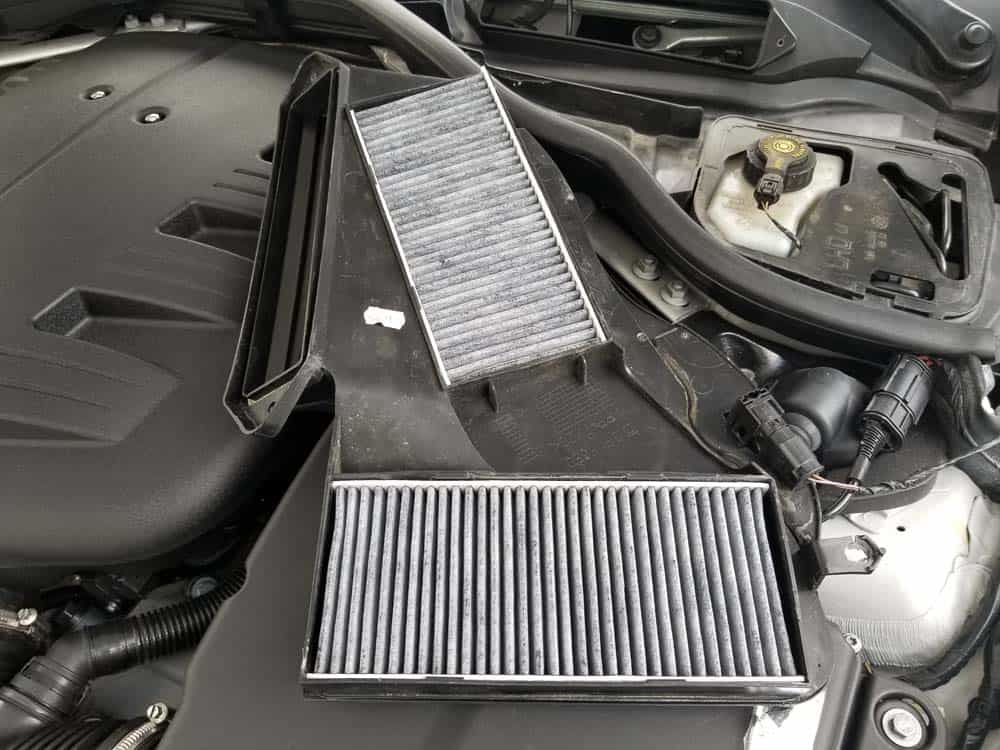
- The cabin filters are located inside two plastic containers under the vehicles hood.
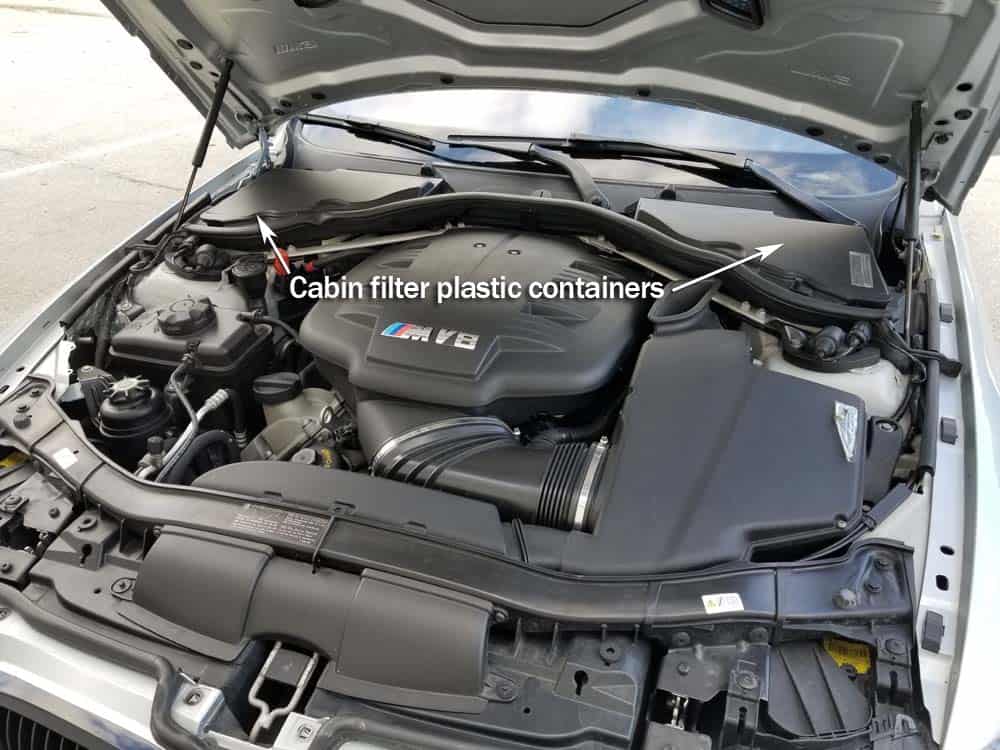
- Use an 8mm socket wrench or nut driver to remove the 3 screws anchoring the plastic containers to the engine compartment.
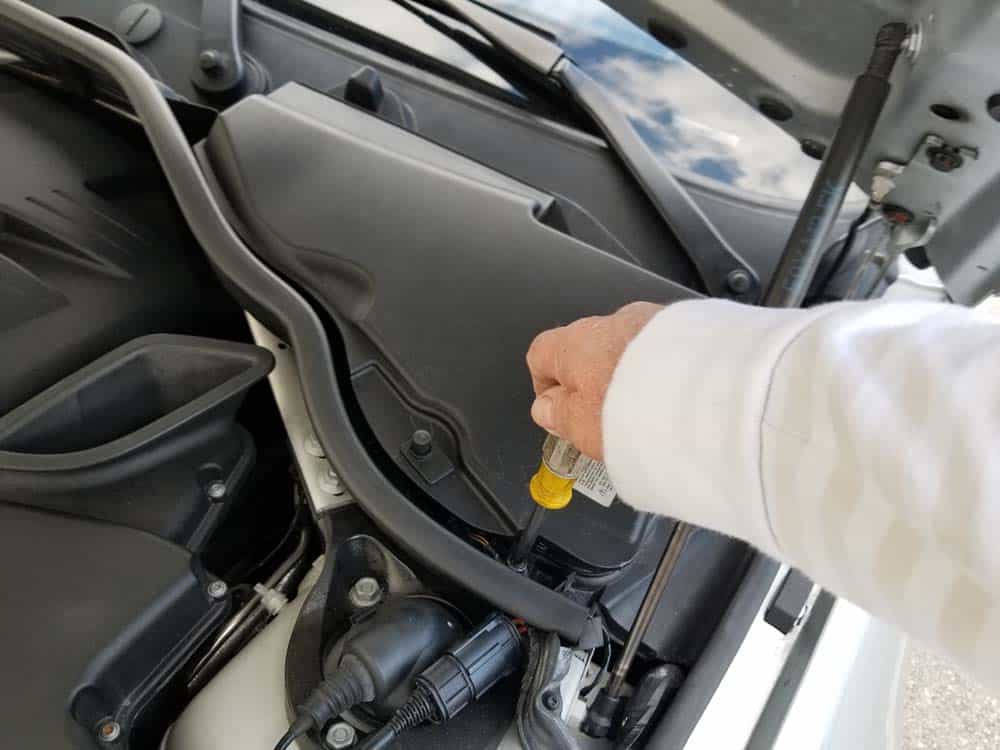
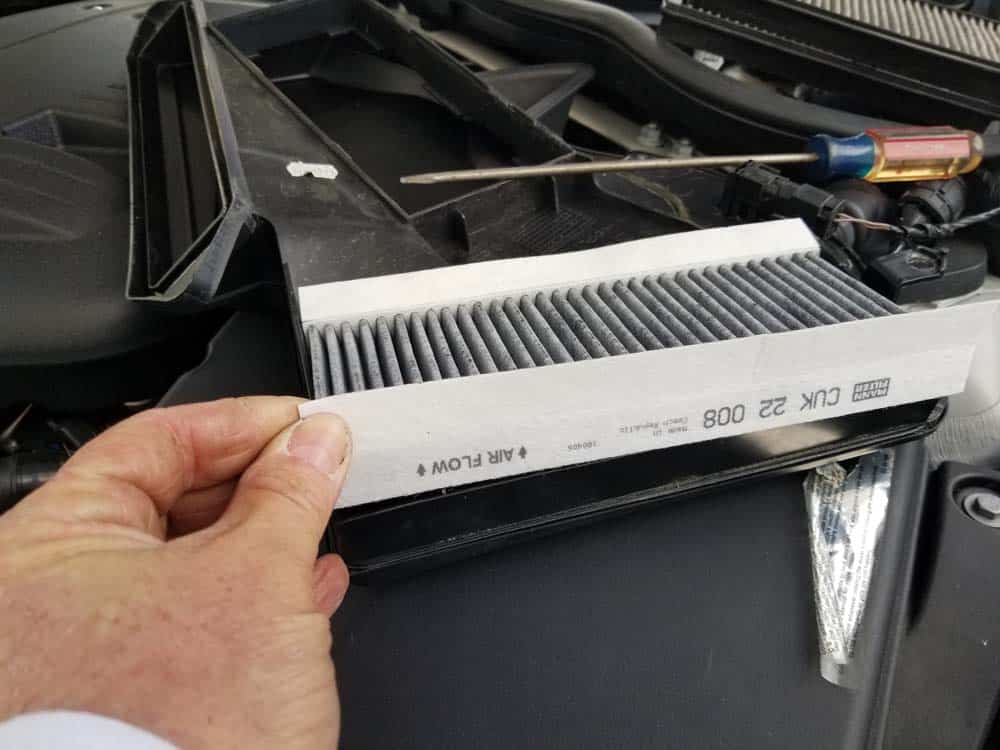
- The cabin filters are located on the underside of the plastic container. Use a flat blade screwdriver to remove the two filters.
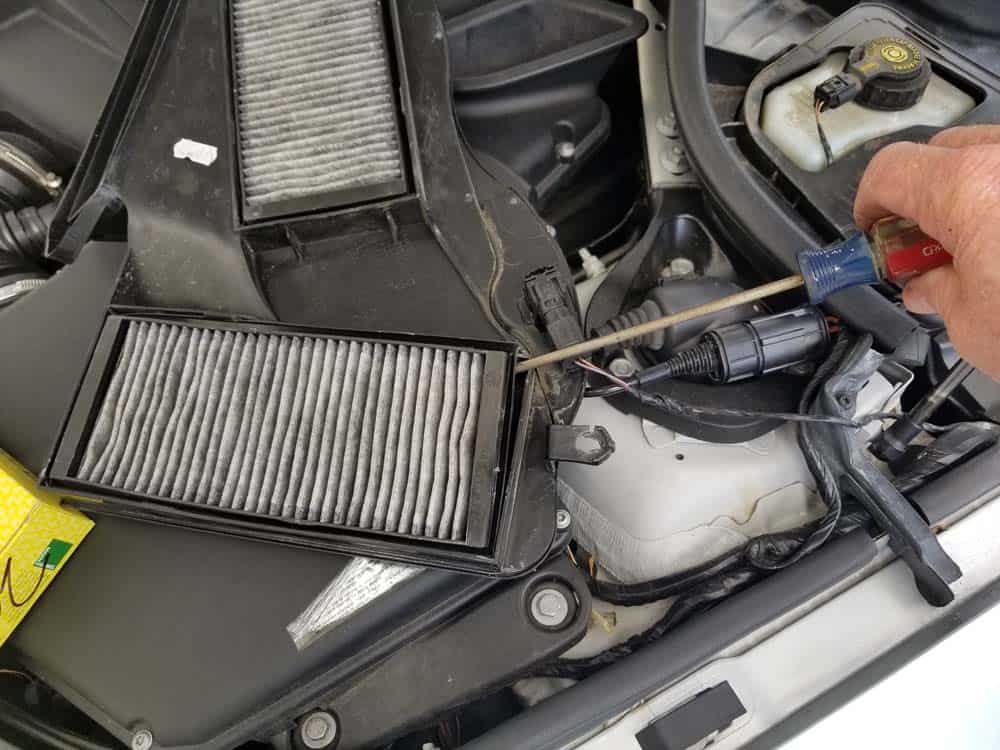
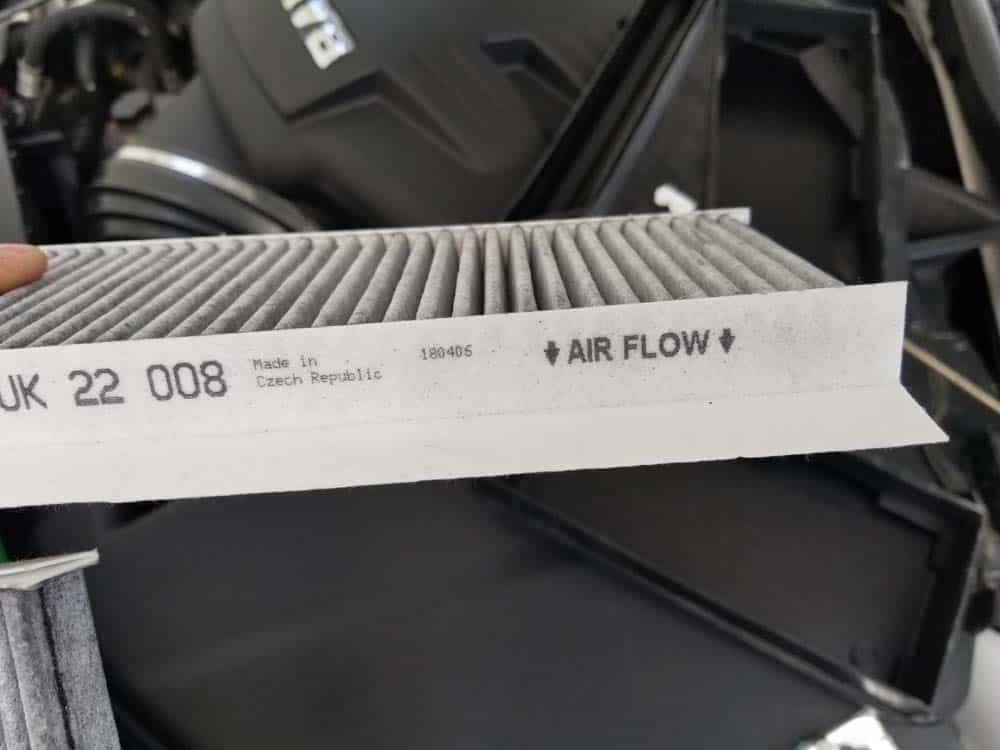
- Note that the new cabin filters have a direction for air flow printed on side of filter. Make sure the air flow arrow is pointing up when you install new filters in the plastic containers.
- Reinstall the plastic containers.
BMW E90 M3 Cabin Filter Replacement Finished