
Affiliate link disclosure – The BMW Repair Guide uses affiliate links in their site. For more information on affiliate links, please click here.
Repair Summary
The following article gives detailed instructions on replacing the throttle body gasket in a BMW M60 8 cylinder engine. Even though we have used a 1995 840i to perform this repair, this article can be applied to any vehicle with the M60/M62 V8 engine including 5, 7, 8 and X5 series vehicles with minor modifications to the repair steps.
A BMW M60 throttle body gasket replacement can fix vacuum leaks causing a rough idling engine.
The BMW M60 and M62 8 cylinder engines powered many different models throughout the 1990's and early 2000's, including the E31 8 series, E32/E38 7 series, E34/E39 5 series and the E35 X5. Other than the Nikasil issue that affected a few early M60 motors, they are generally regarded as very reliable engines. But as with all BMW motors that are increasing in age they are prone to deteriorating parts. As we constantly say here at the Repair Guide, "our vehicles were not built to last forever". Eventually many of the engine's parts will fail and need to be replaced.
One common area of failure in the M60/M62 8 cylinder engines is the gaskets that comprise the air intake system. The brutal heat conditions within the engine compartment take their toll on the rubber gaskets and seals, eventually causing them to become brittle and crack. Failing intake system gaskets suck unmetered air into the cylinders and can cause a variety of issues including rough idling engine, engine stalling, difficulty starting the engine, and error codes and dashboard lights.
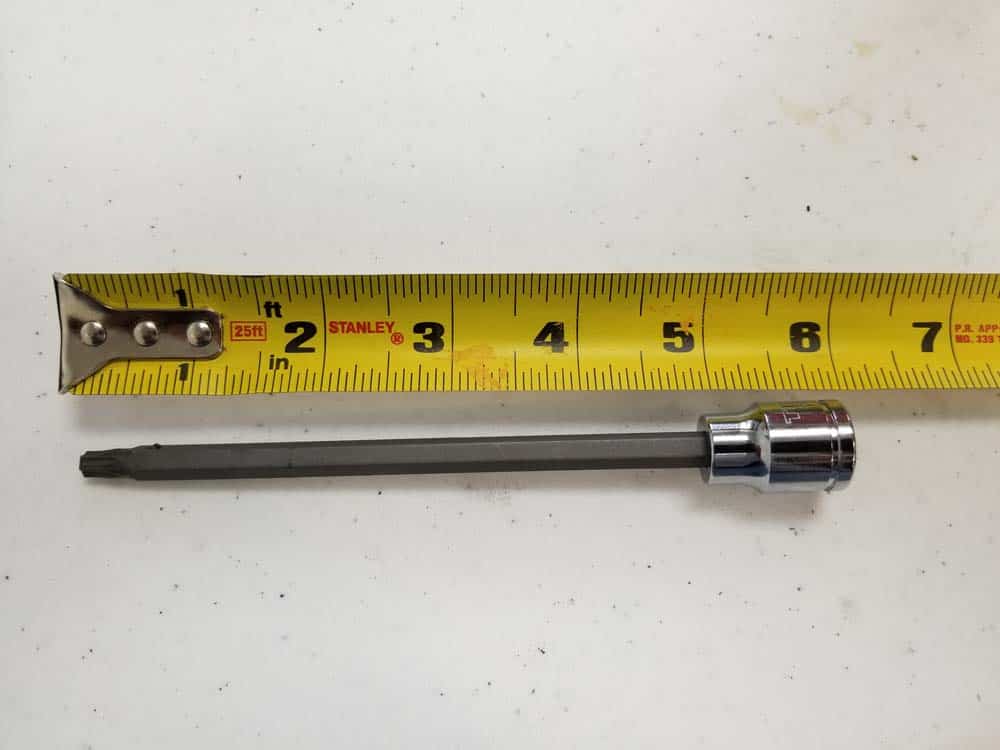
The throttle body gasket on M60/M62 engines is a well-known source of vacuum leaks and is luckily one of the simpler ones to replace. Since the throttle body is located on the front of the intake manifold, removing it to replace the gasket is very straightforward with a limited amount of parts that need to be moved out of the way. A BMW M60 throttle body replacement takes about two hours to perform from start to finish and does not require any special tools other than the long reach (6") T30 Torx bit that can be purchased from our tool list below.


View the detailed parts diagram for this repair.
Includes detailed part diagrams, part numbers and links to purchase all of the required components needed to complete this repair.
Section 1 - Removing the BMW M60 Throttle Body Gasket
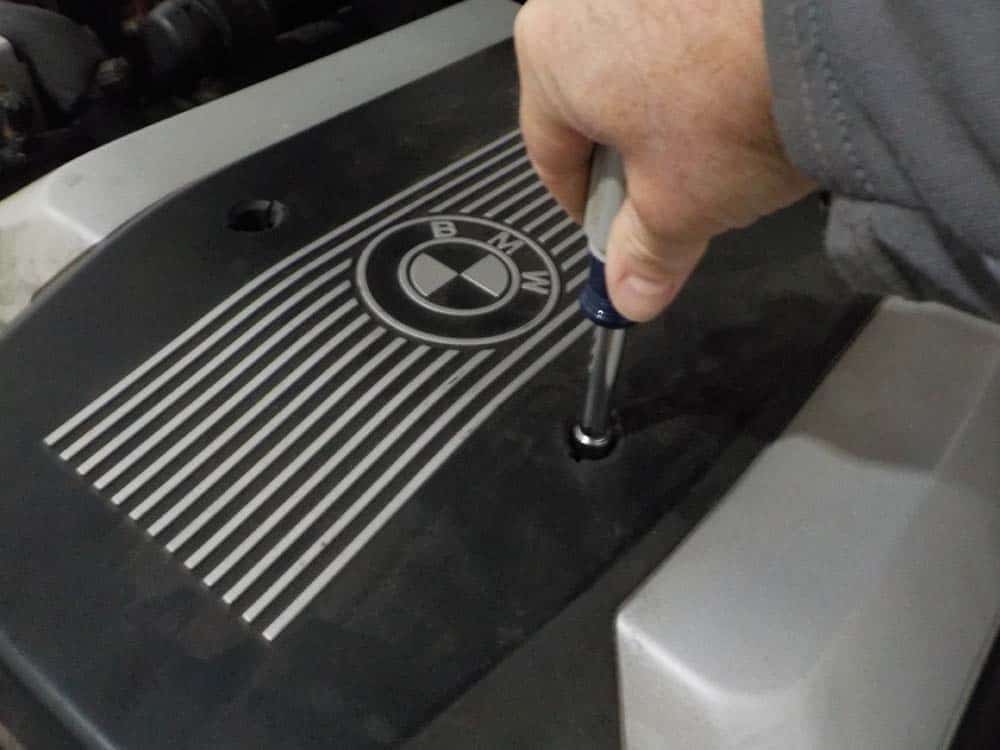
Removing the throttle body gasket on your BMW M60/M62 8 cylinder engine is a straightforward procedure. It is important to note that space around the lower throttle body mounting bolts is extremely confined....the secondary throttle must be removed to access them. If you do not have a 6" T30 long bit socket in your toolbox, you will need to purchase one before starting this repair. Please see our tool list if you wish to order one.- Remove the four 10mm nuts anchoring the top engine cover. Remove cover from engine compartment.
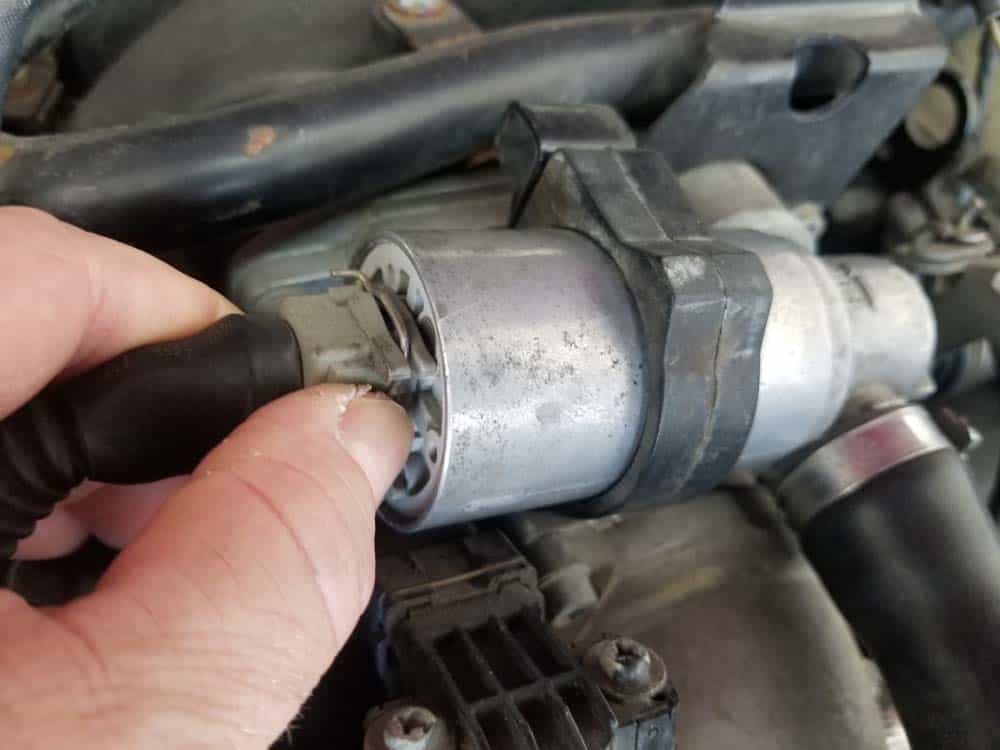
- Disconnect the idle control valve by pinching in the metal release clip and pulling the plug free.
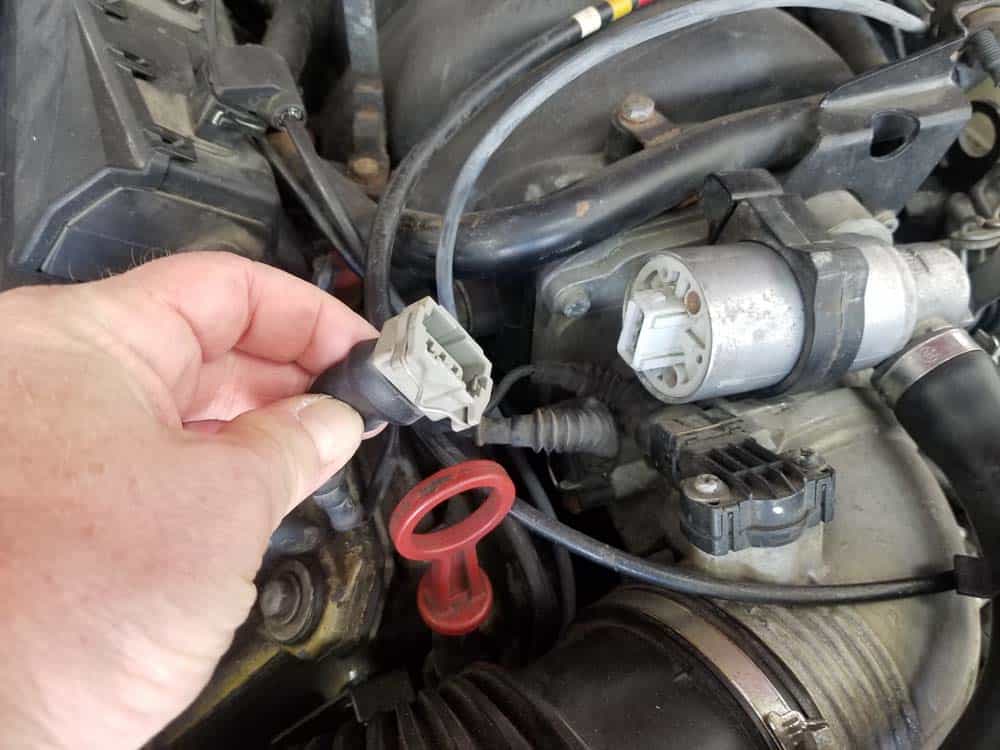
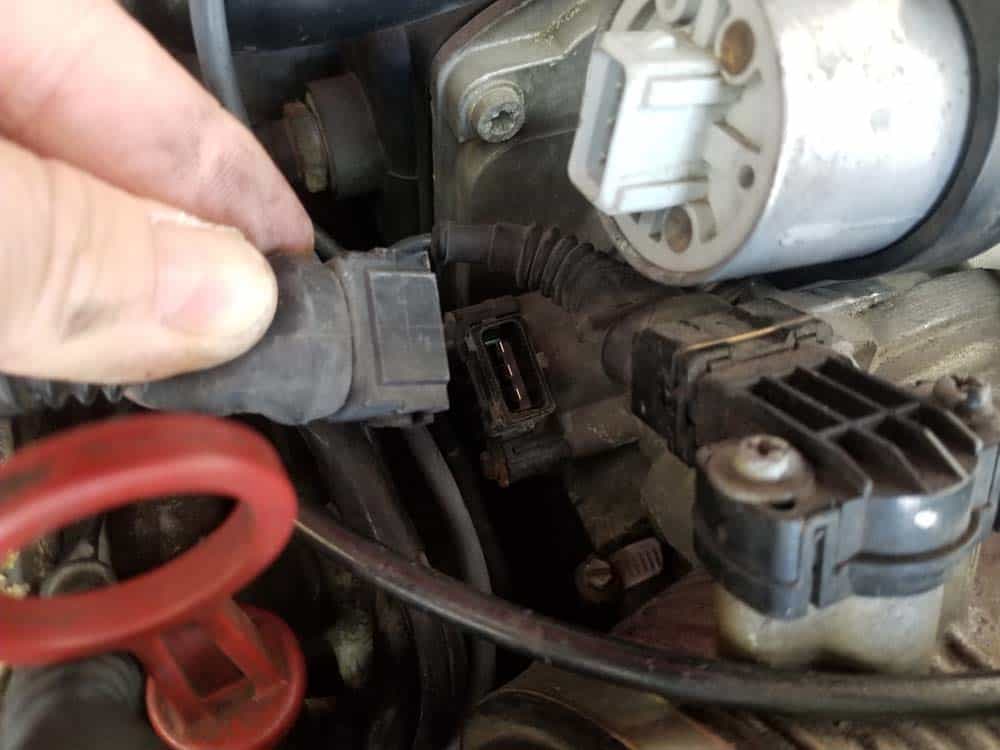
- Next, disconnect the throttle body.
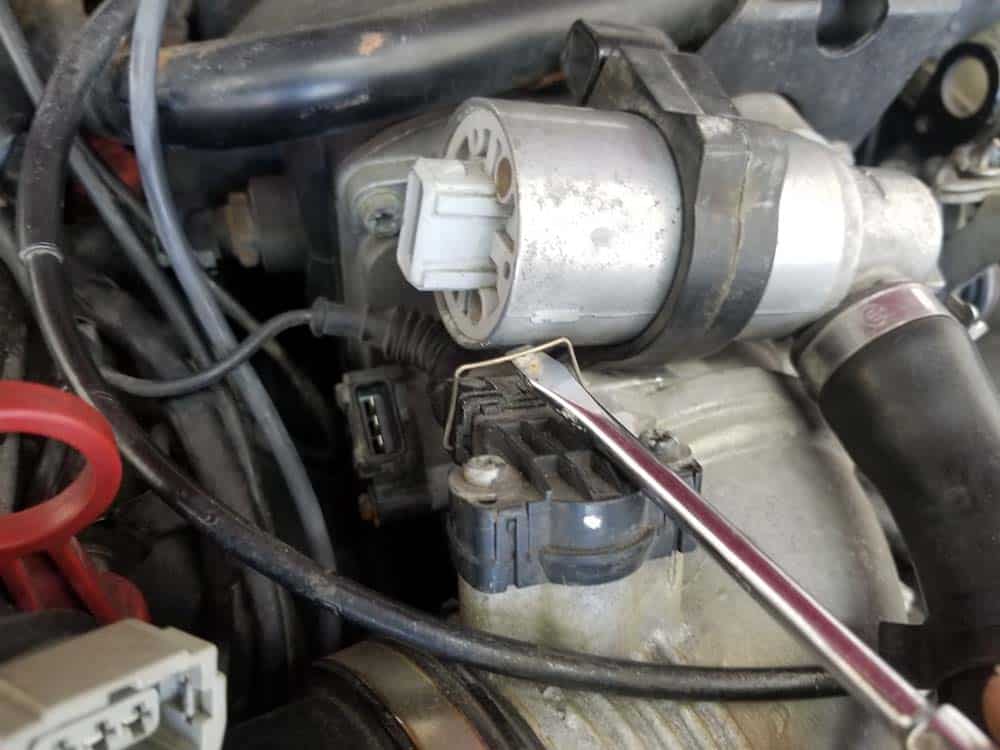
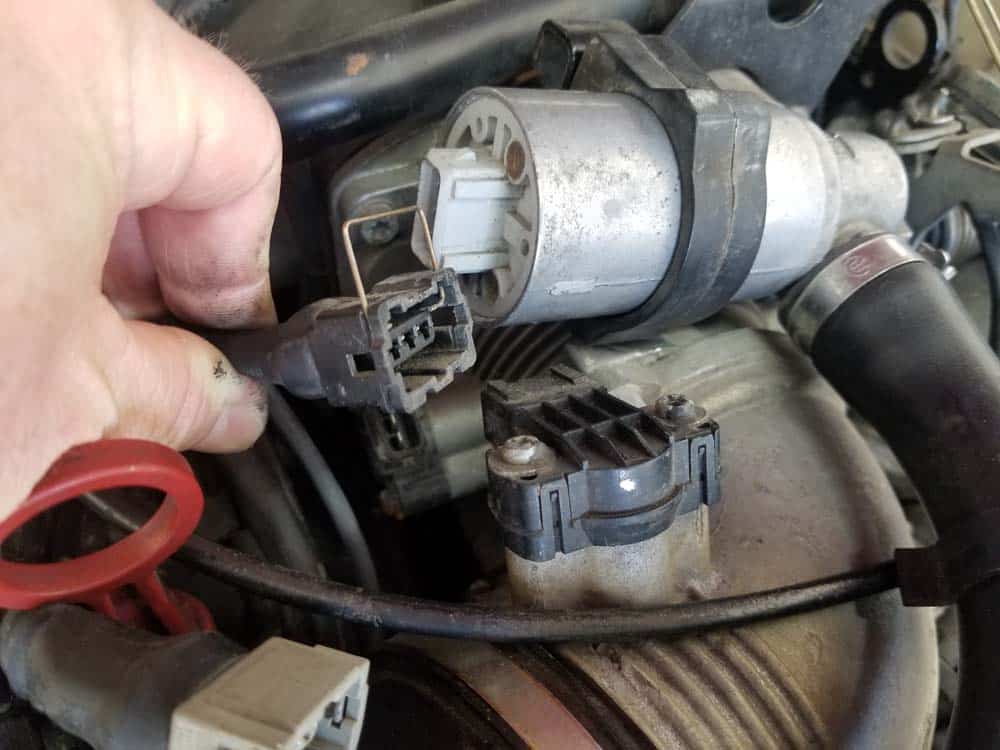
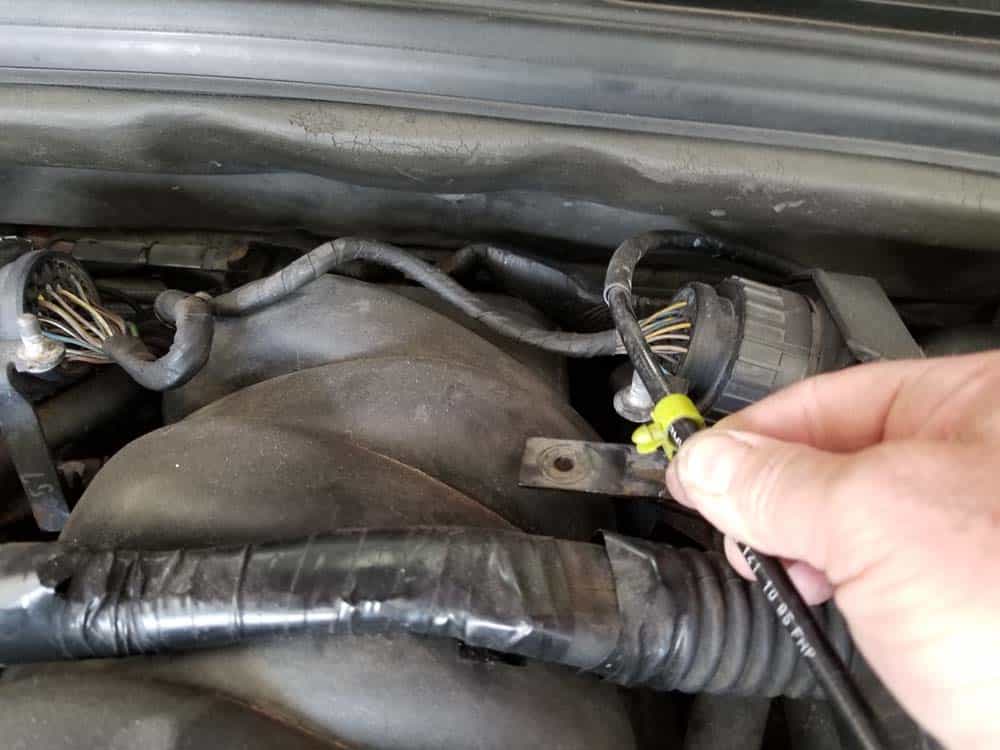
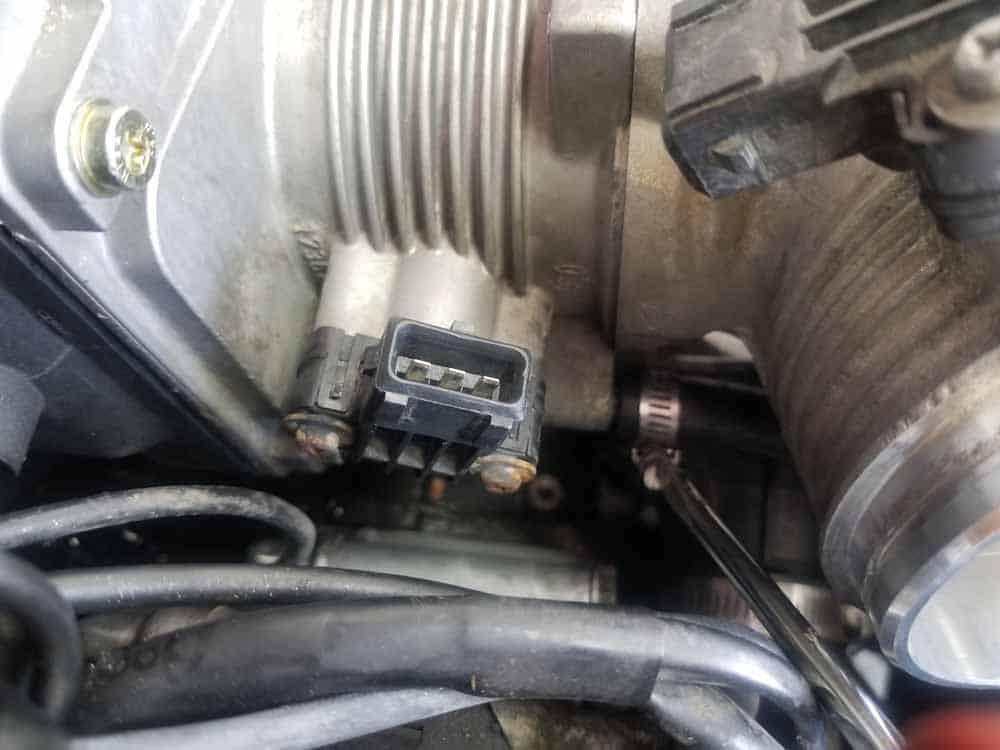
- Use a flatblade screwdriver to raise the metal locking clip on the throttle valve switch. Pull the plug free and gently stow out of the way.
- Disconnect the mass air flow sensor's (MAF) electrical connection.
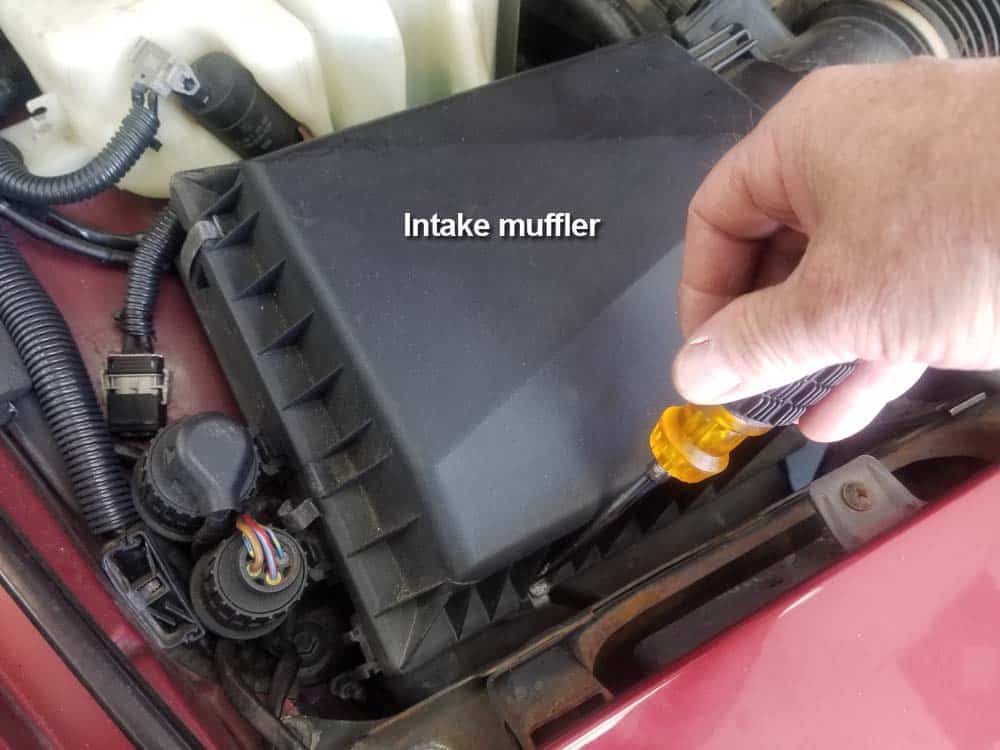
- Use a flatblade screwdriver to release the seven metal clips that secure the lid on the intake muffler.
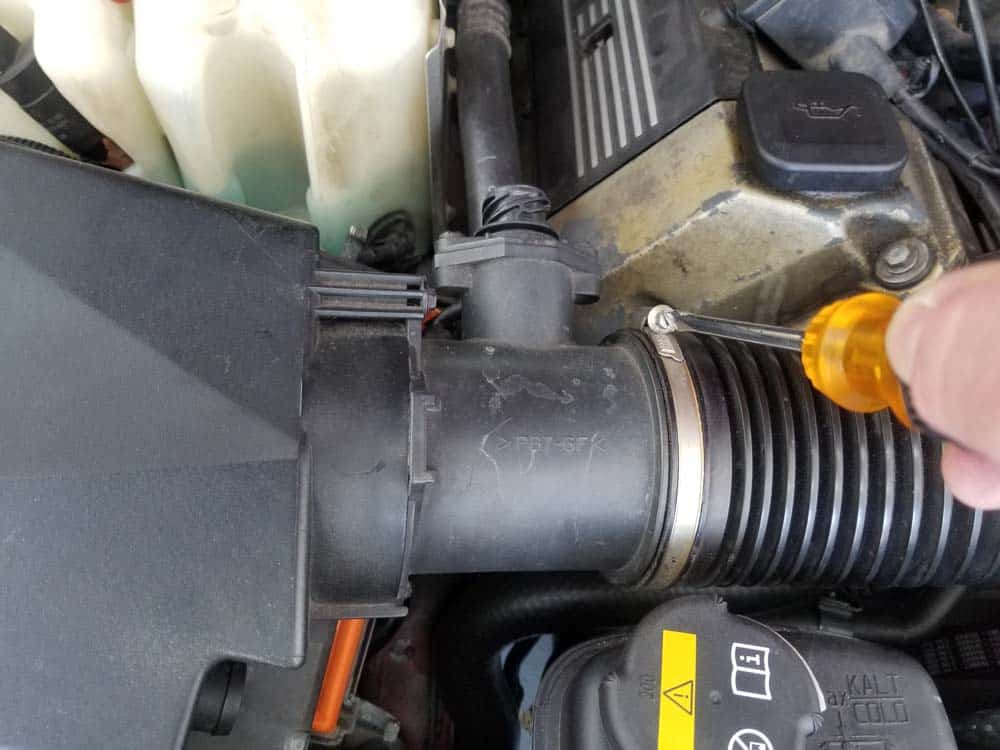
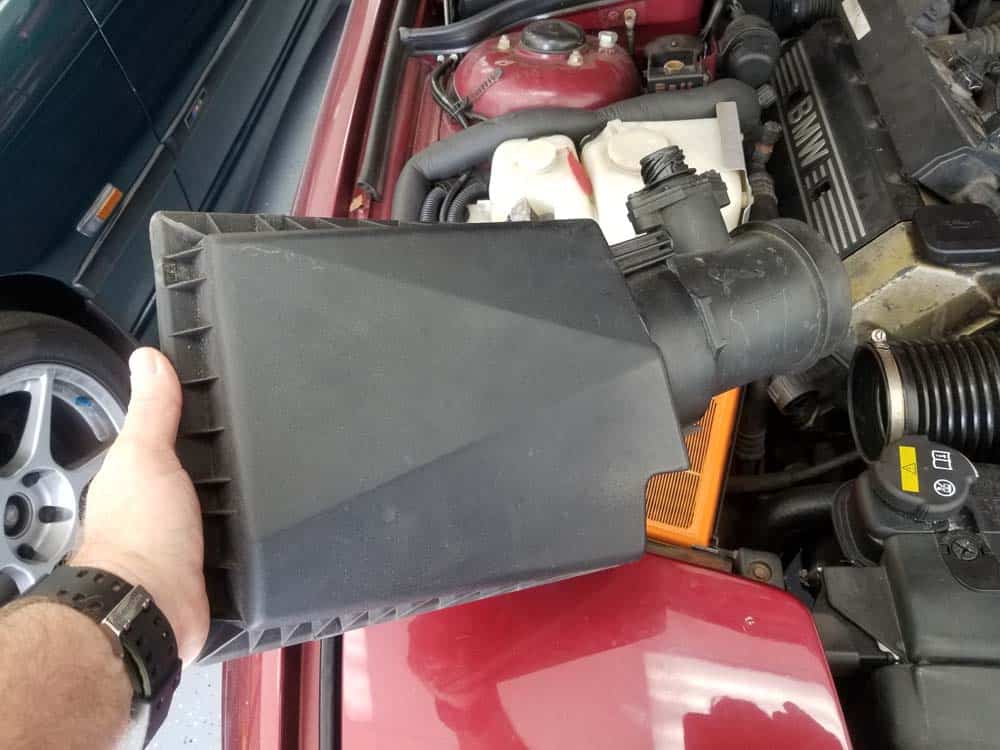
- Loosen the hose clamp connecting the intake muffler to the intake boot. Remove the intake muffler from the vehicle.
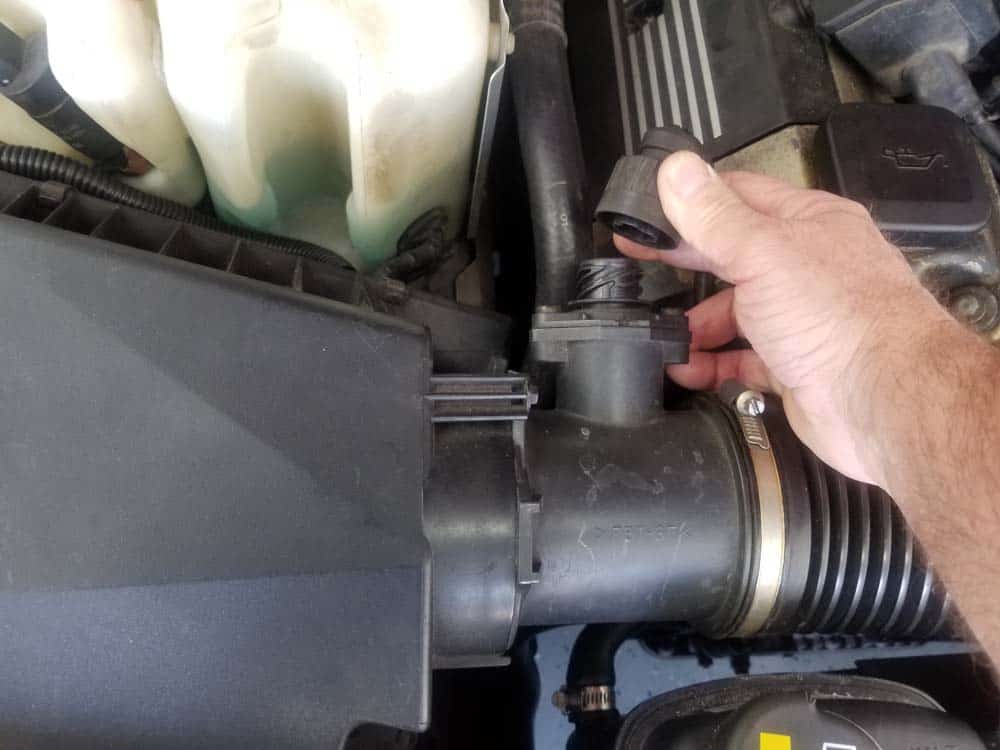
- Grasp the idle control valve and pull it free from the intake manifold. Disconnect the idle control valve hose from intake boot and remove from the vehicle.
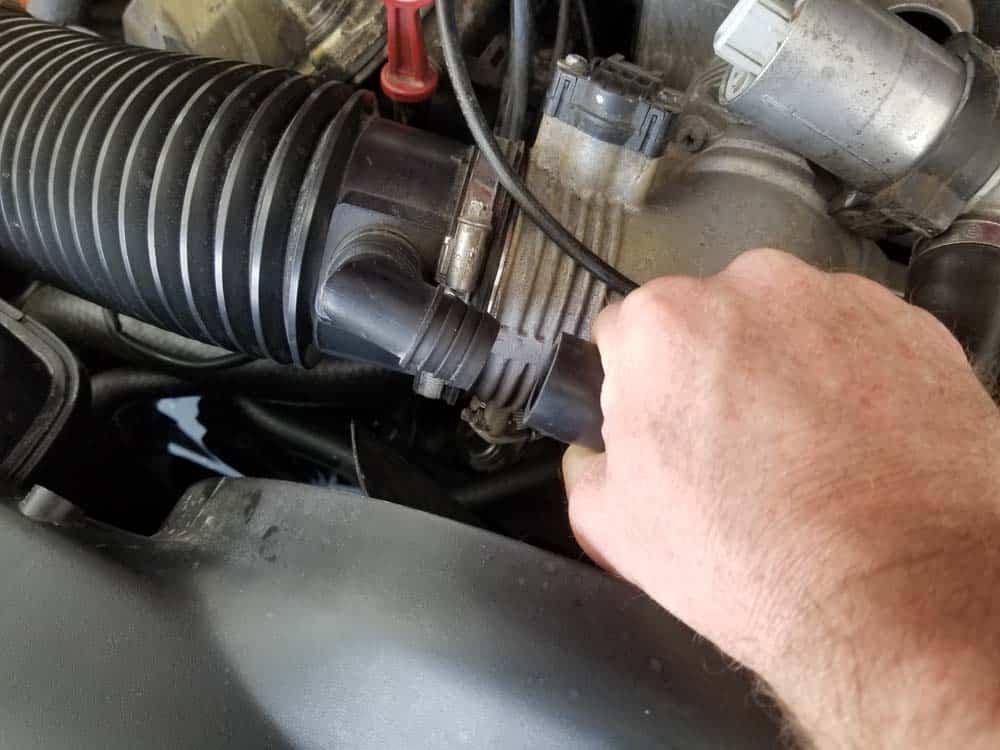
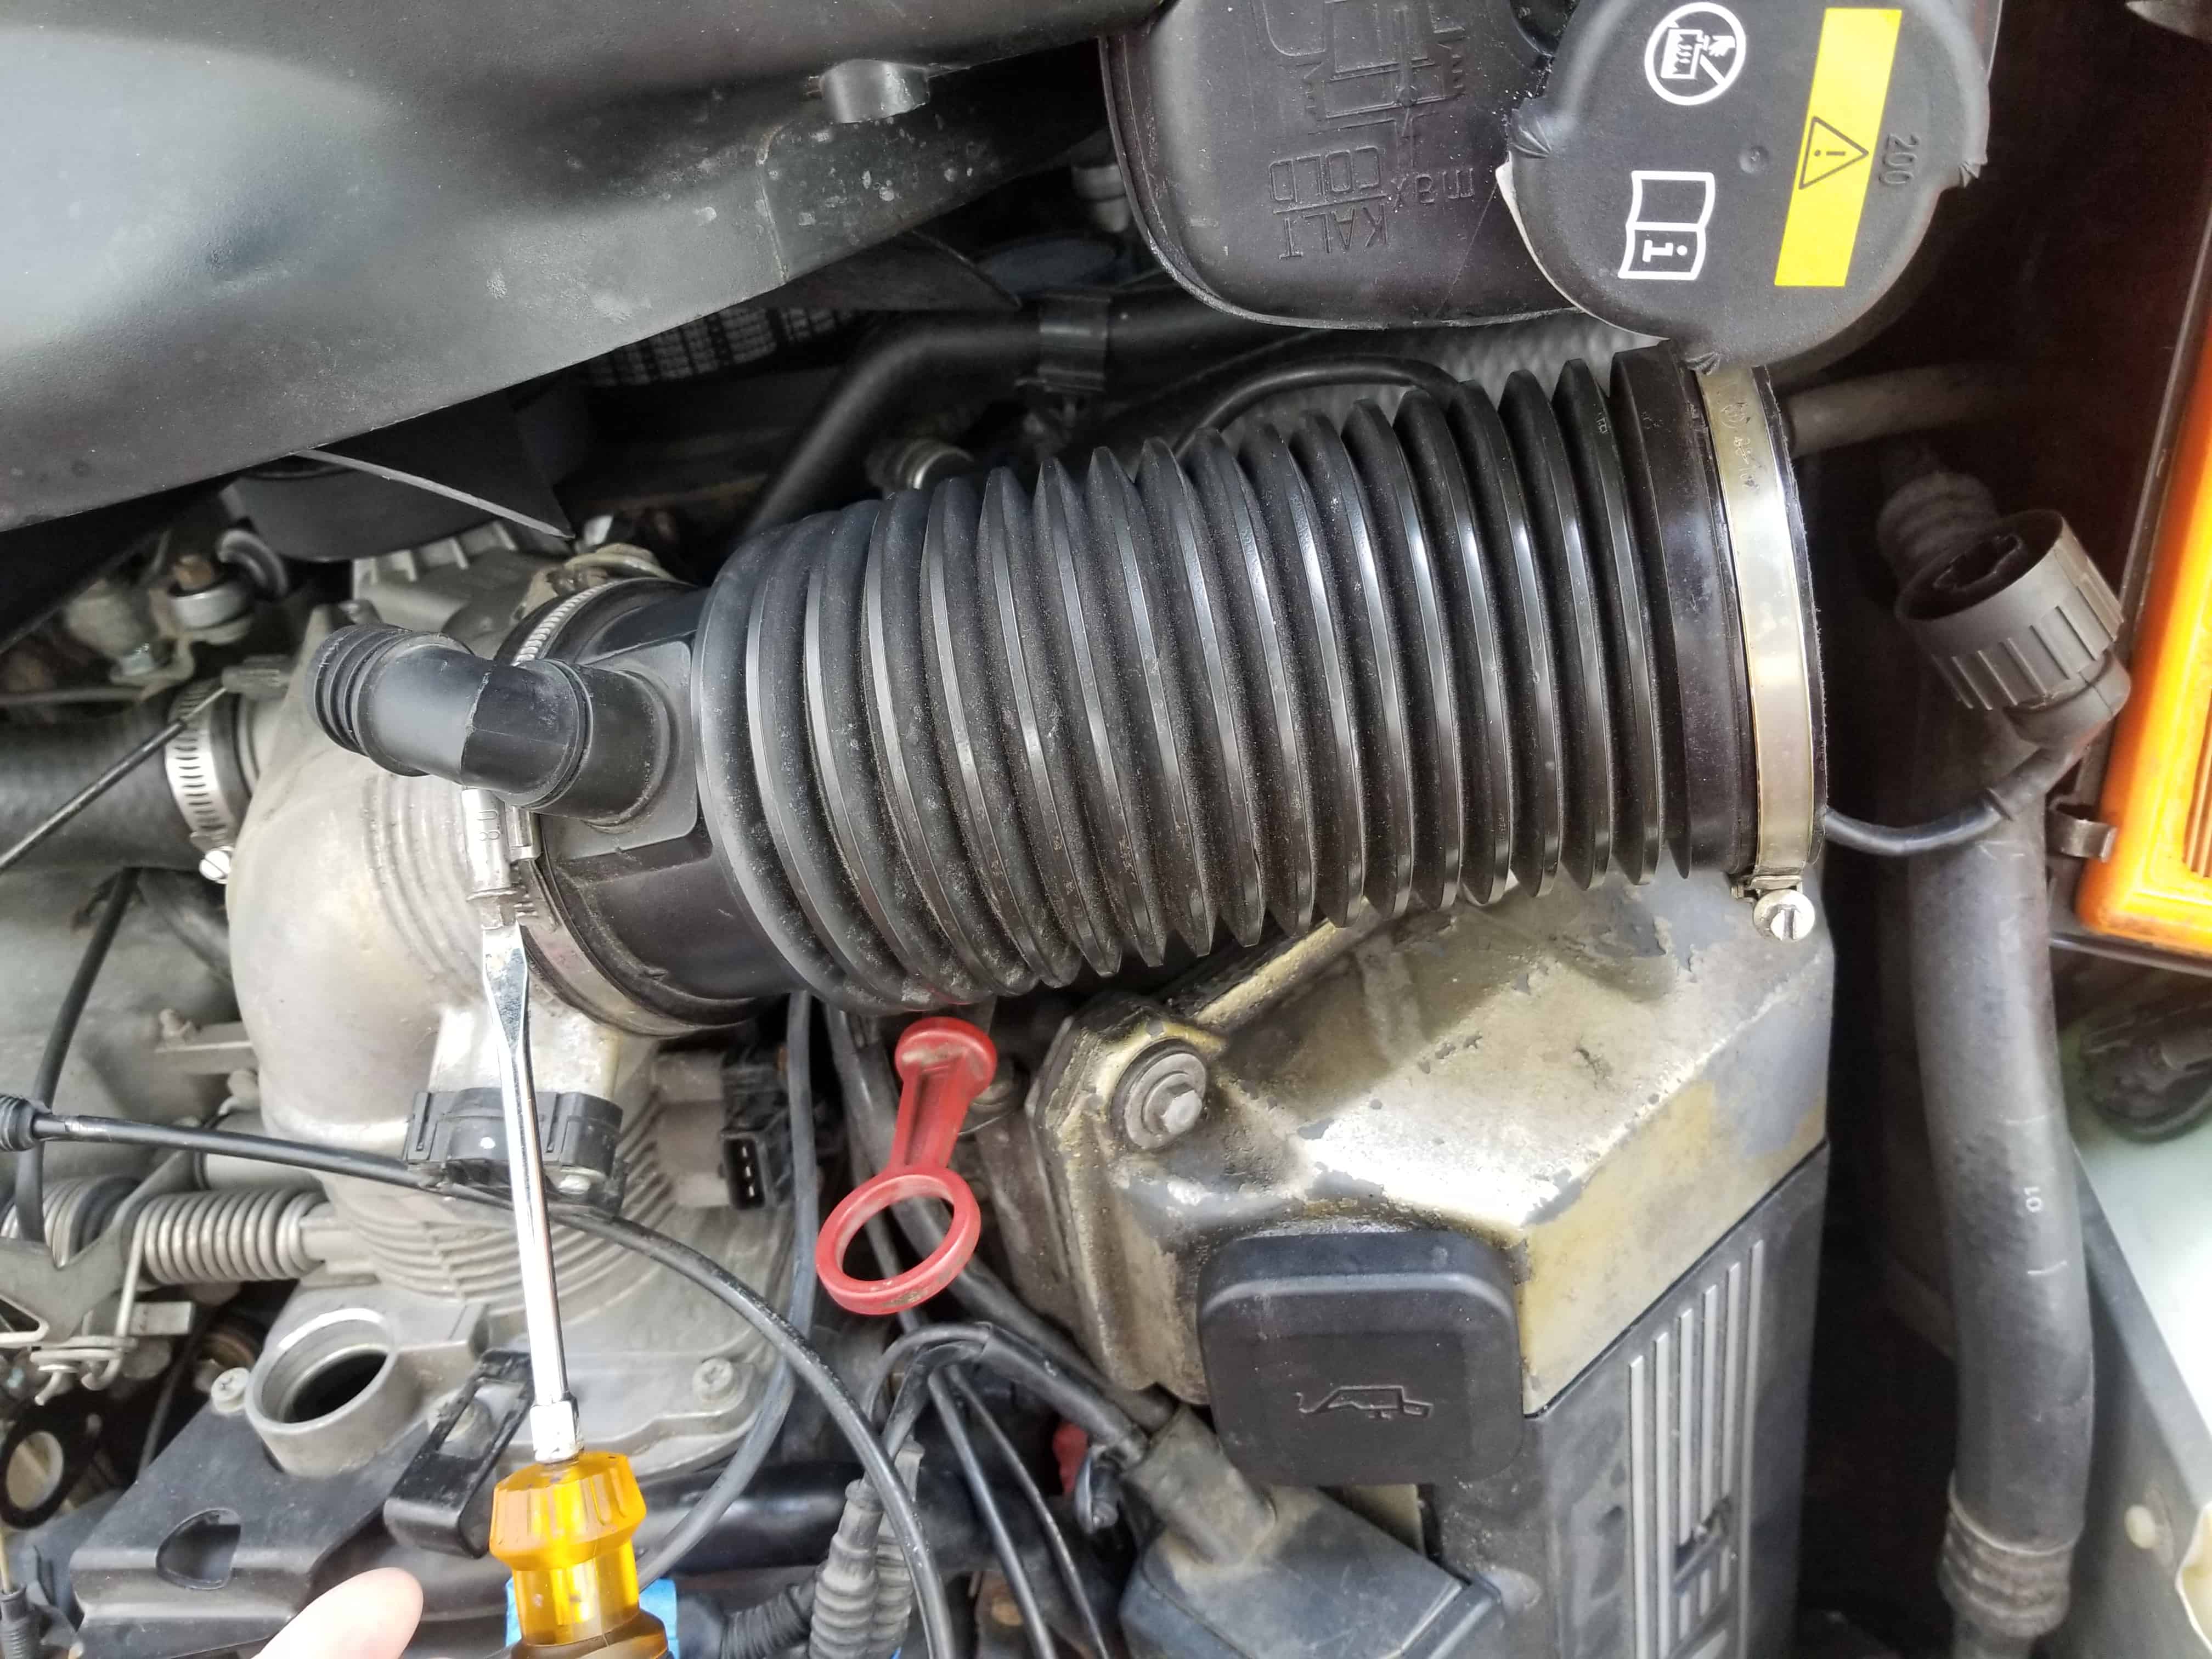
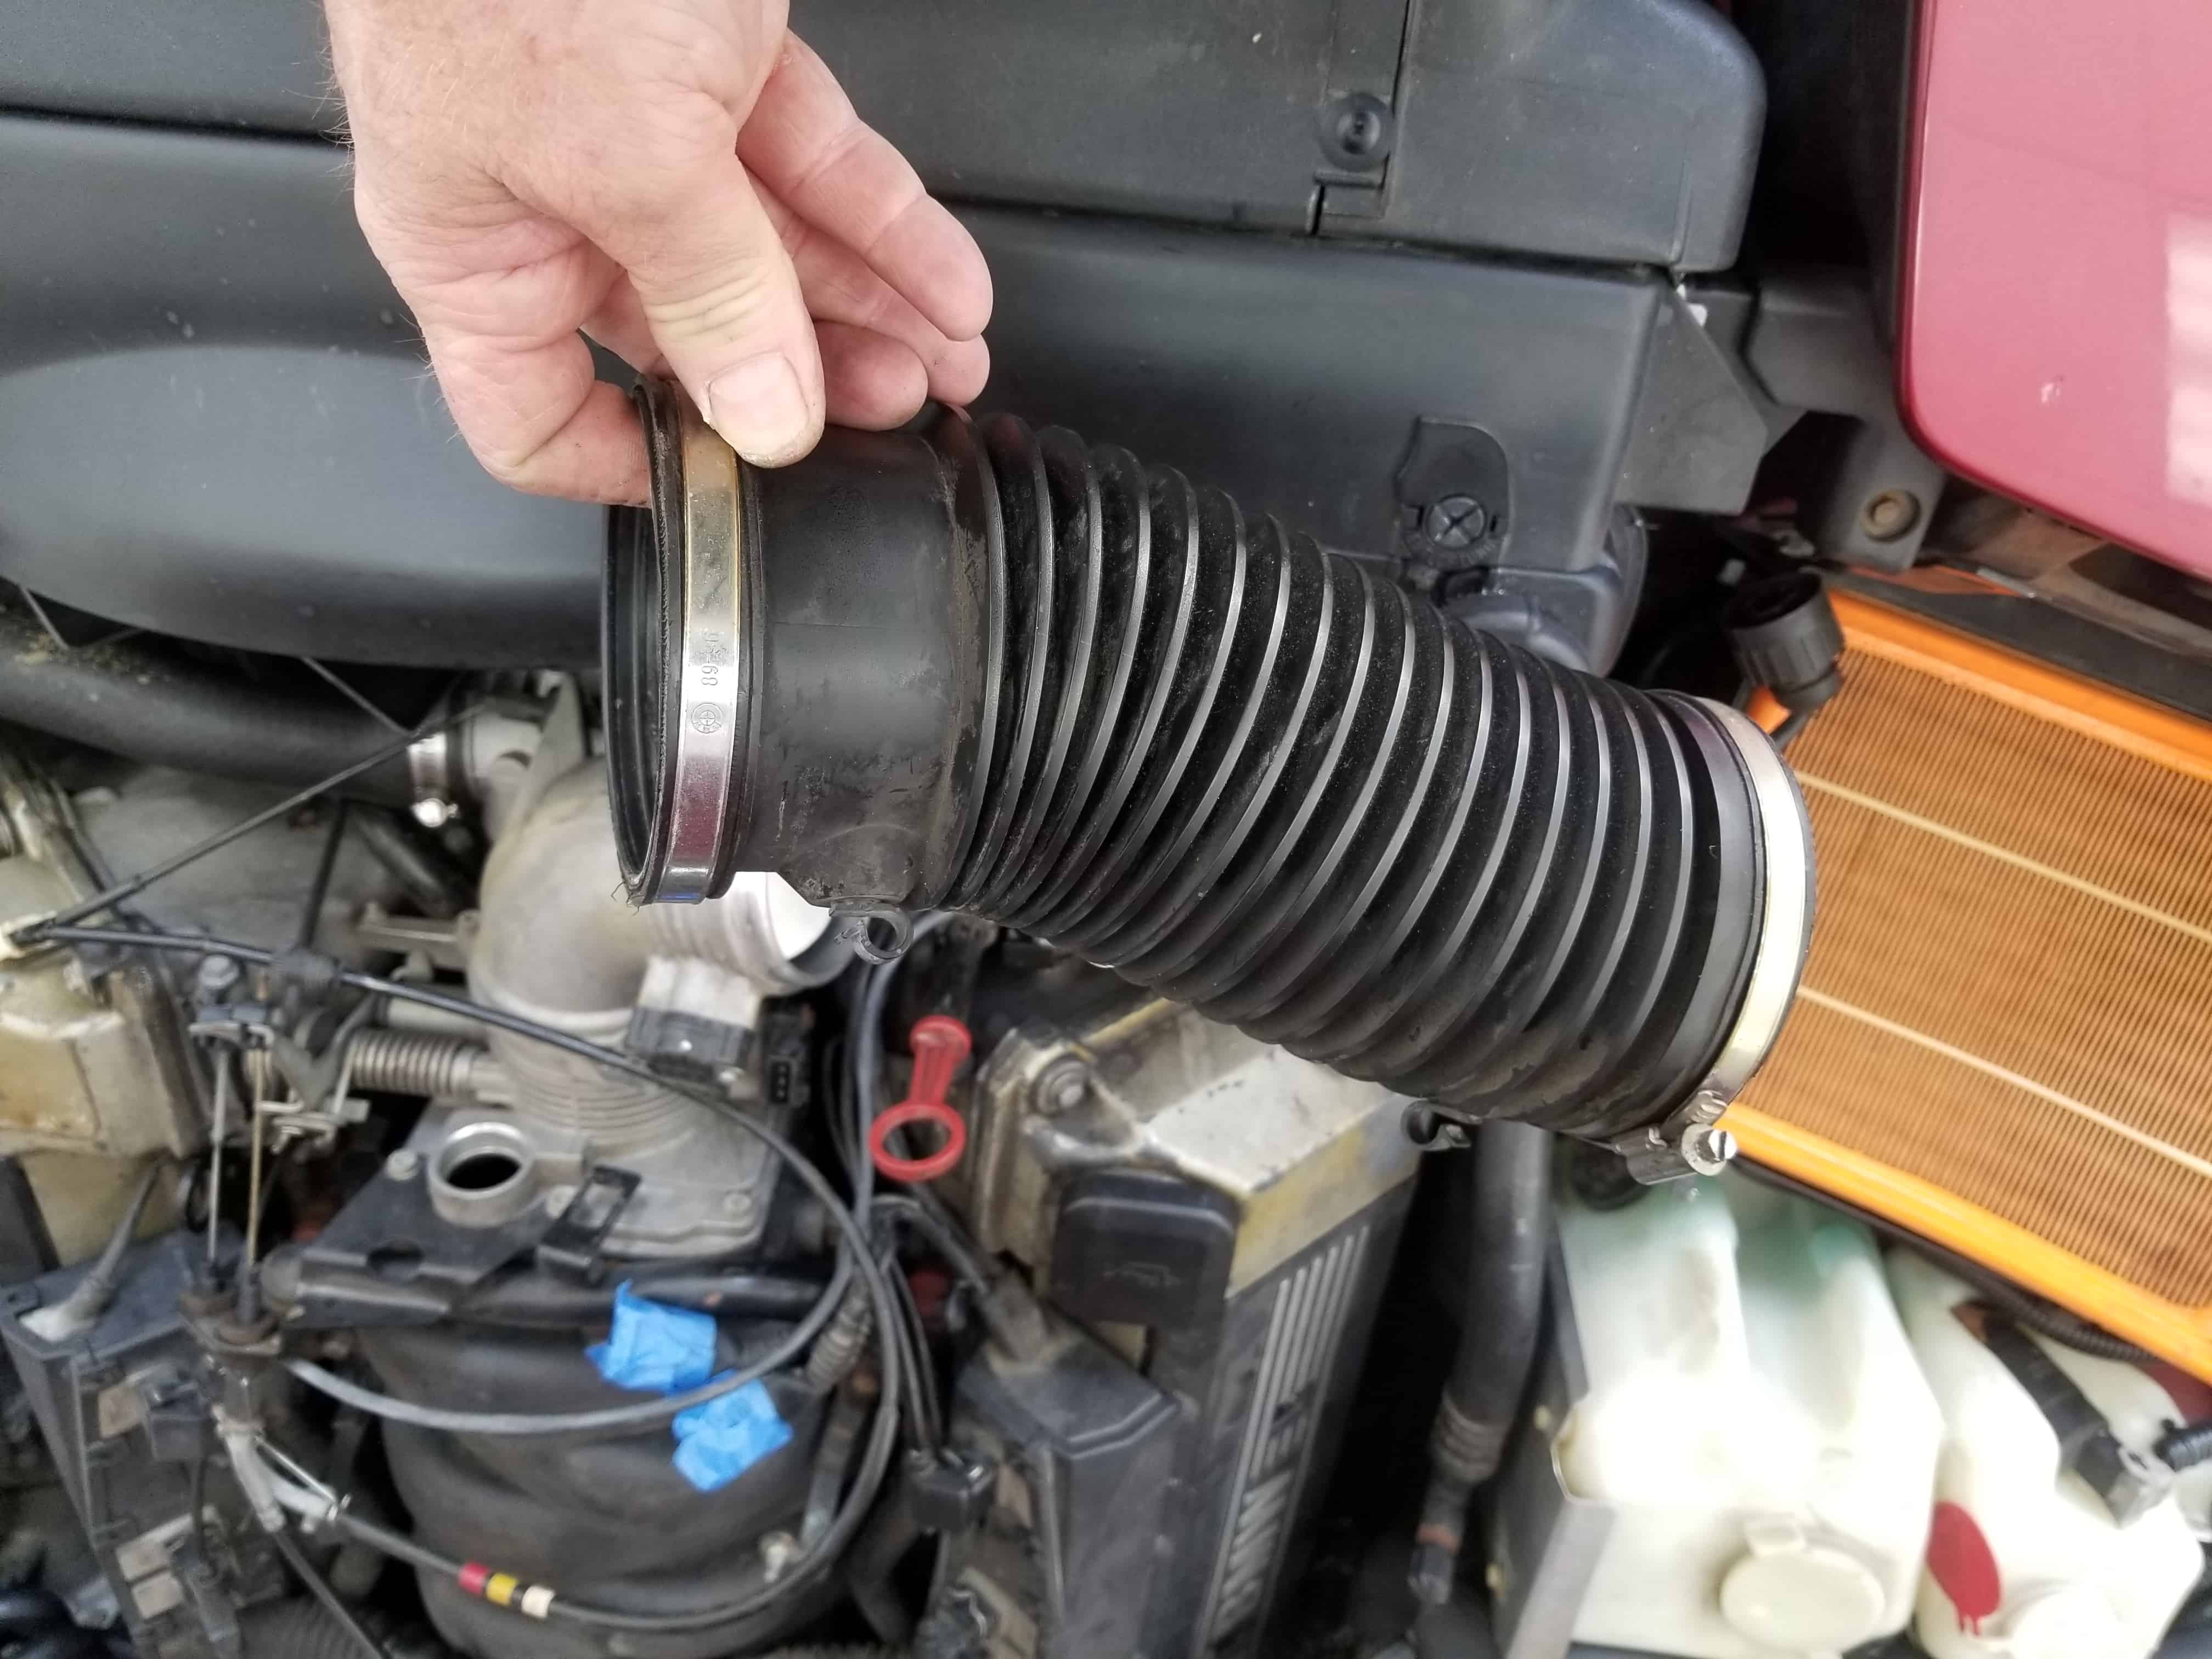
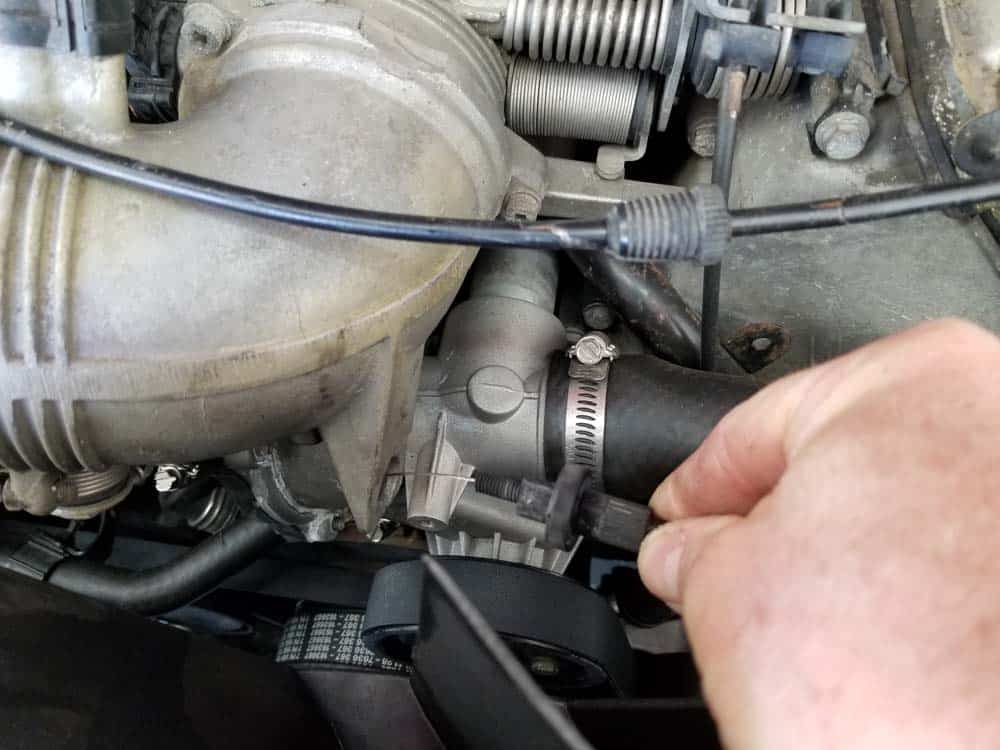
- Loosen the hose clamp that secures the intake boot to the secondary throttle housing (ASC+T unit). Remove the intake boot from the vehicle.
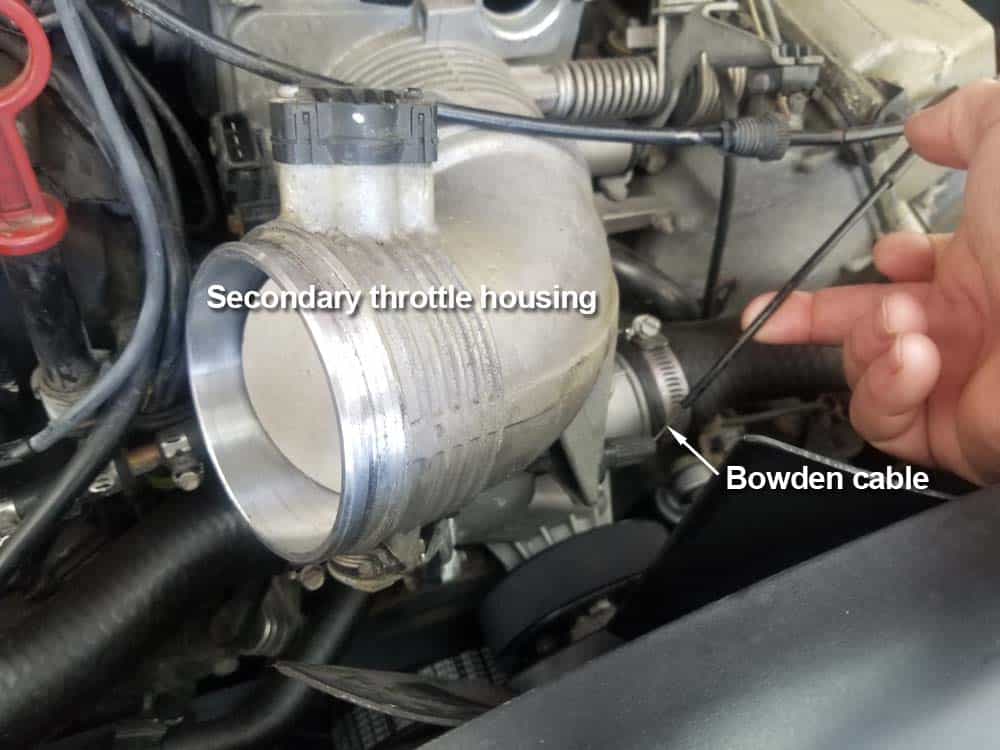
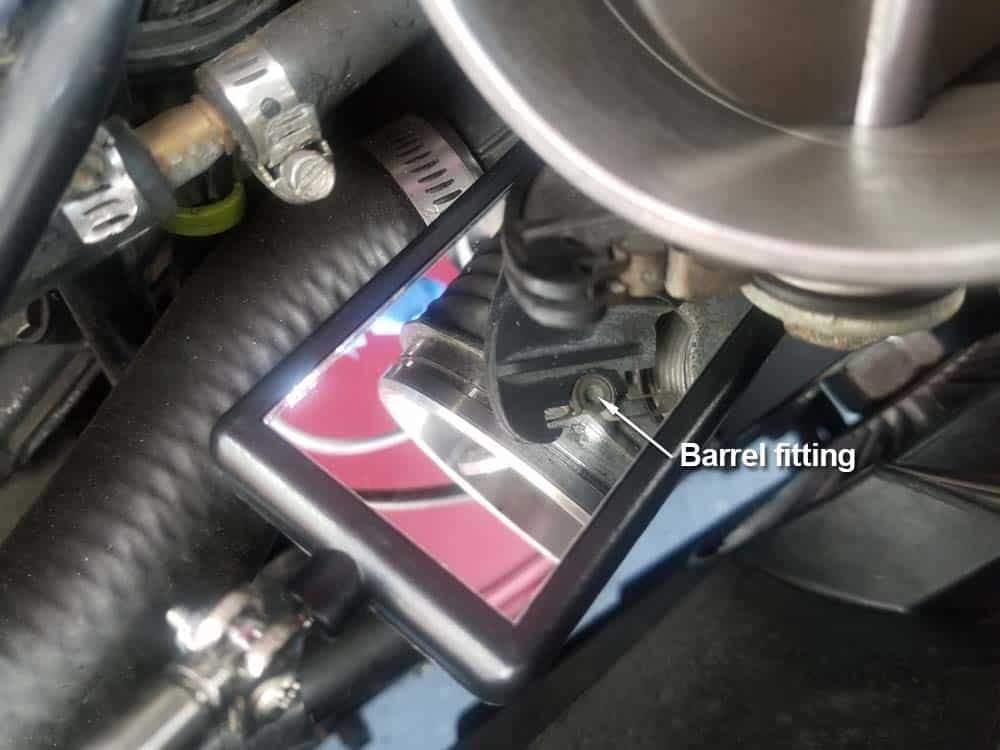
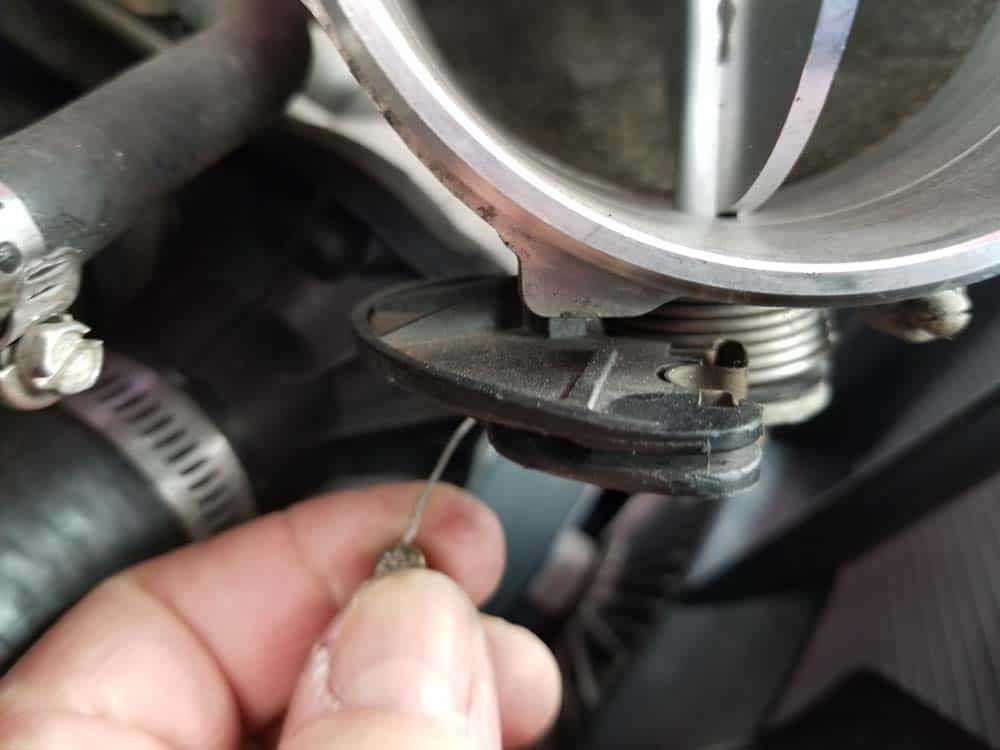
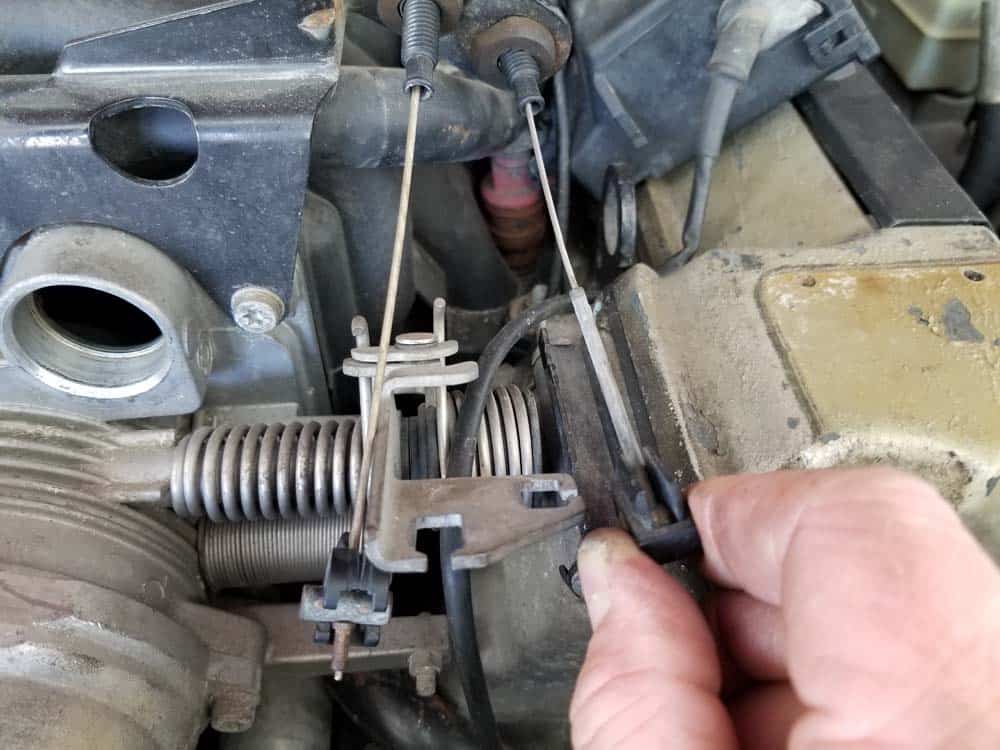
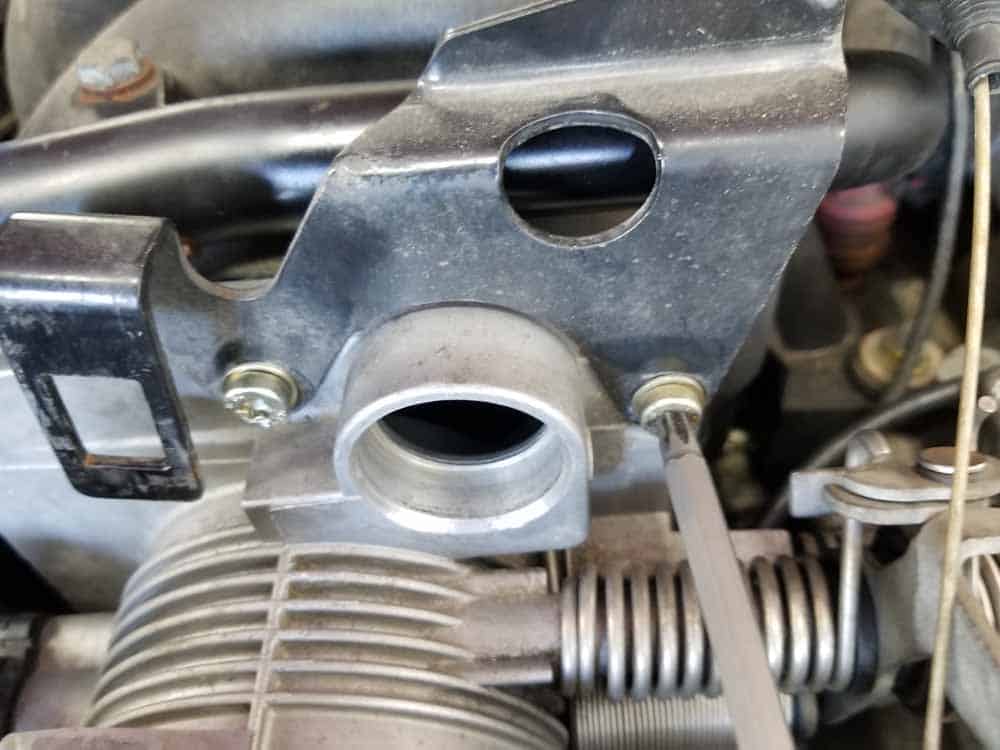
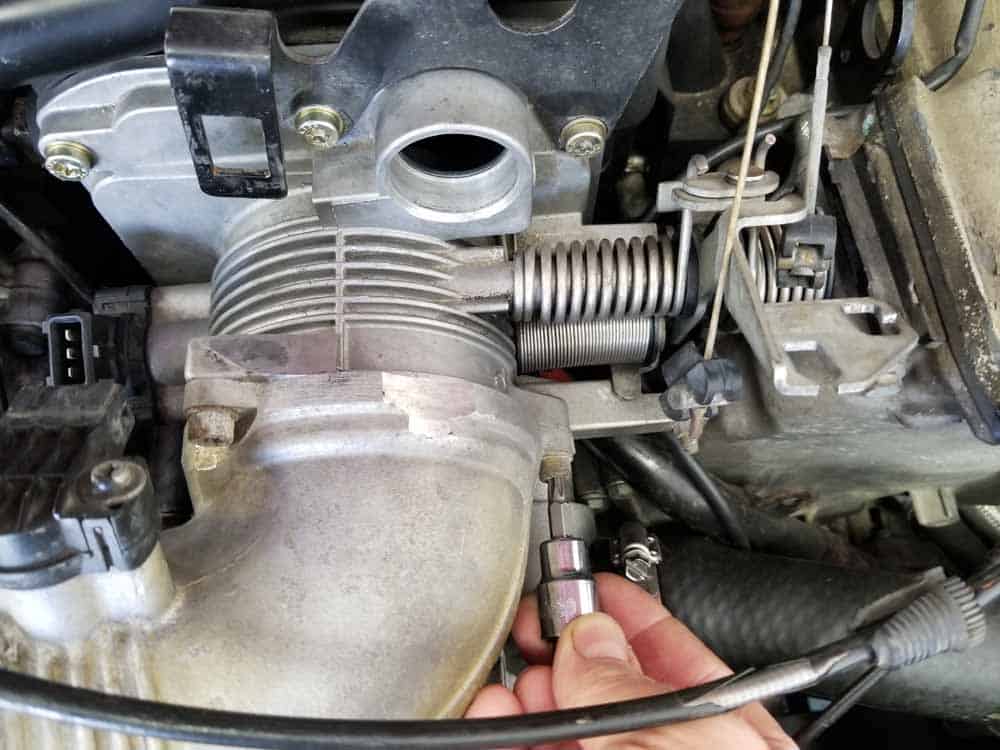
- Next, remove the Bowden cable from the bottom of the secondary throttle housing by pushing the spring mechanism back to release the tension on the cable. With the tension released, grab the cable’s barrel fitting and pull it off of the spring mechanism as shown below. Using an inspection mirror helps in locating the barrel fitting. Stow the cable safely out of the way.
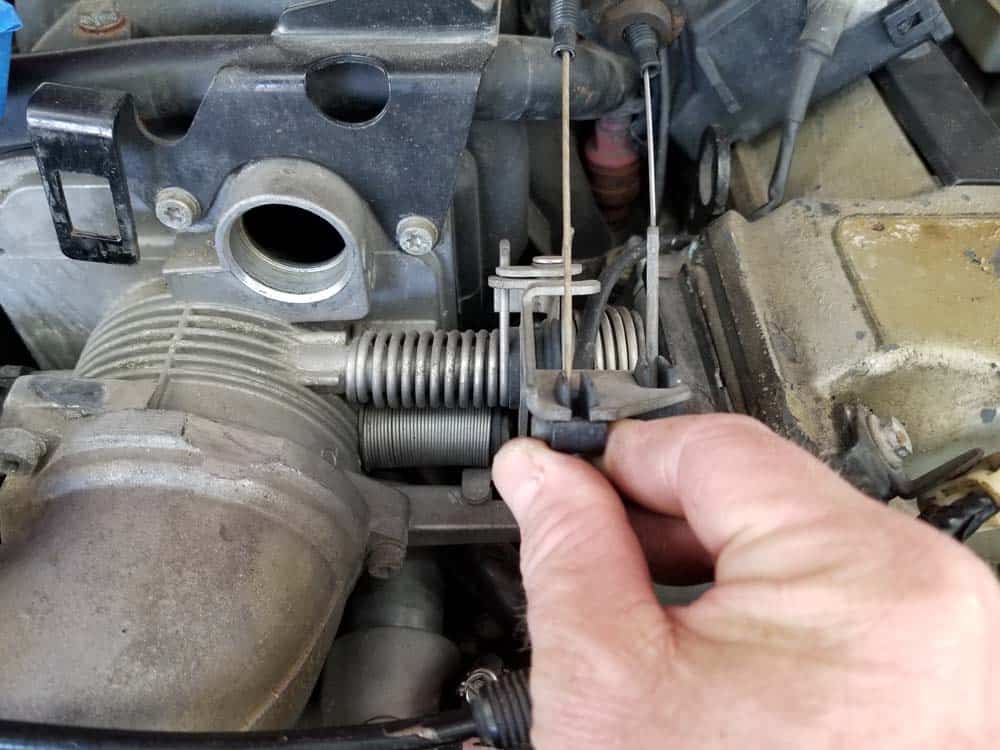
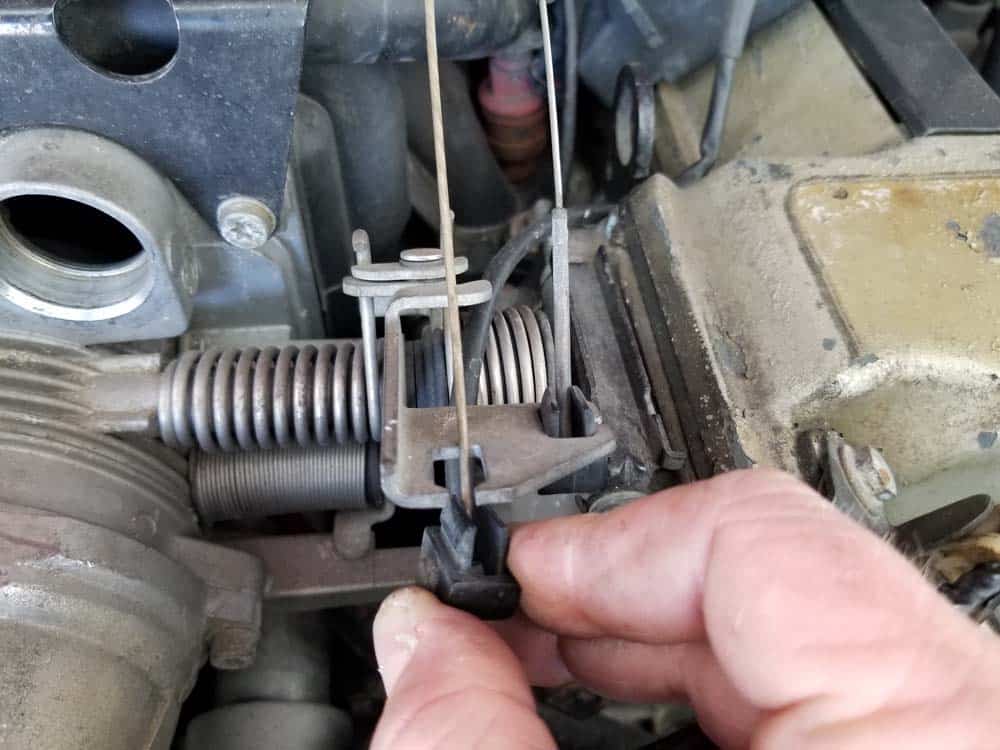
- Disconnect the accelerator and cruise control Bowden cables from the throttle body by grasping their black plastic cable stops and pulling them free of the spring mechanism.
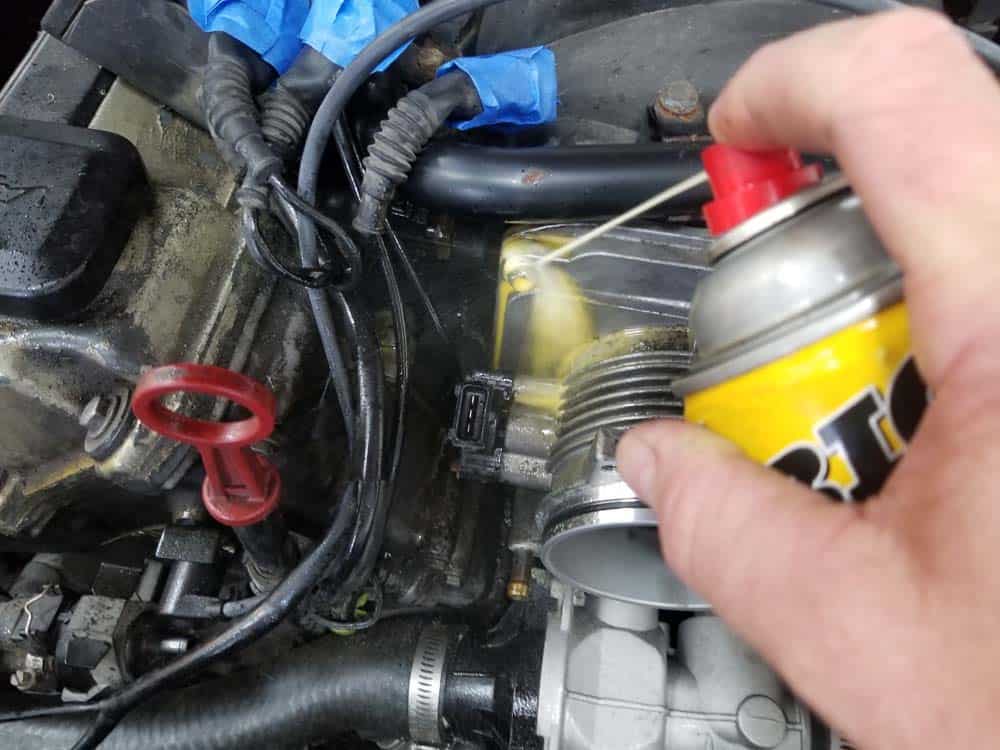
- Use a T30 torx bit to remove the two throttle body mounting bolts anchoring the cable bracket. These bolts are notoriously prone to stripping. We suggest soaking them in PB Blaster first for 15 minutes before attempting to remove them. If you strip the heads, please see step 20 below for an easy way to extract them. If you need to order new bolts, please see our parts list.
- Disconnect the plastic retaining clip anchoring the cable to the cover bracket. Lay the throttle cable bracket safely to the side away from the work area.
- As discussed at the beginning of this section, it is nearly impossible to remove the lower throttle body mounting bolts without removing the secondary throttle body first...there just isn’t any short cuts around it. Access is very tight in this area of the engine, especially around the thermostat.
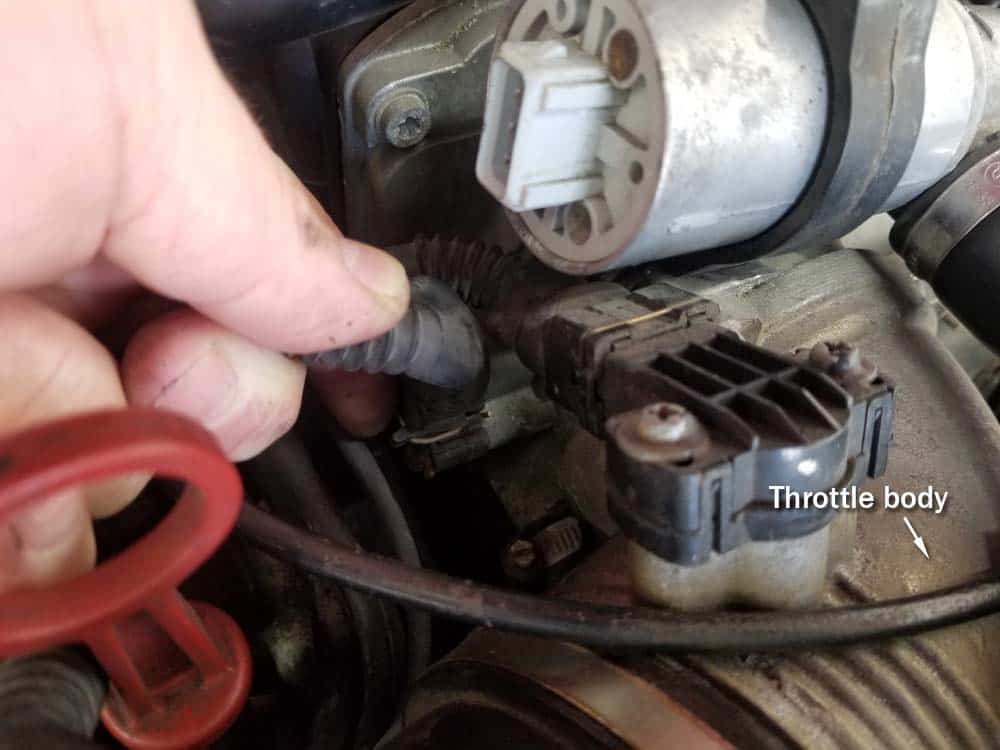
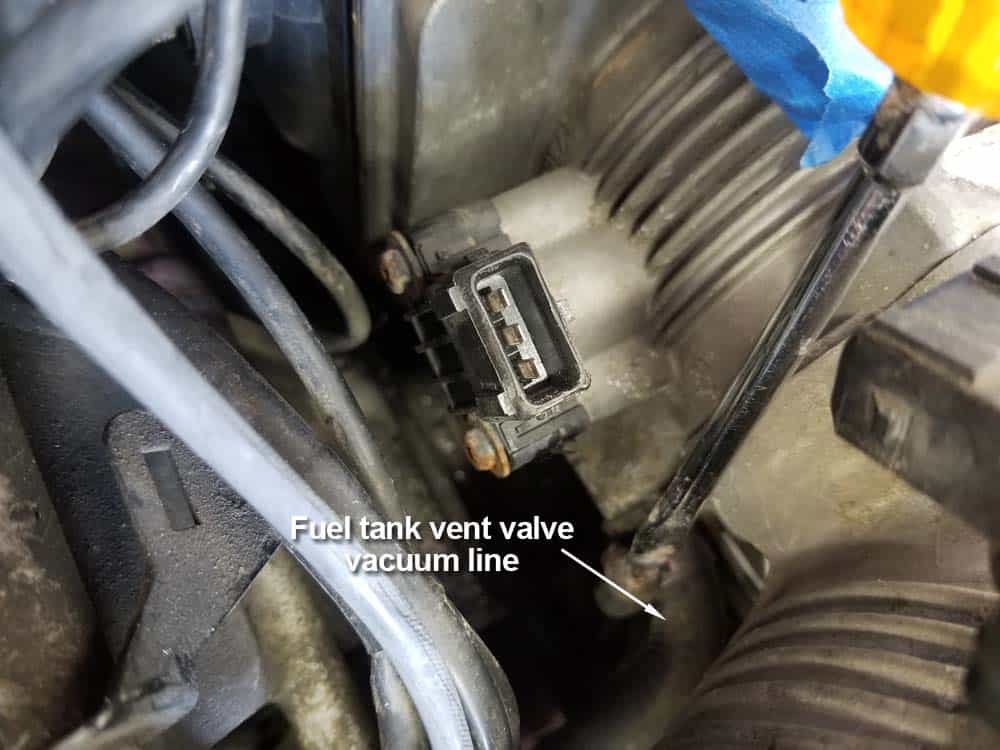
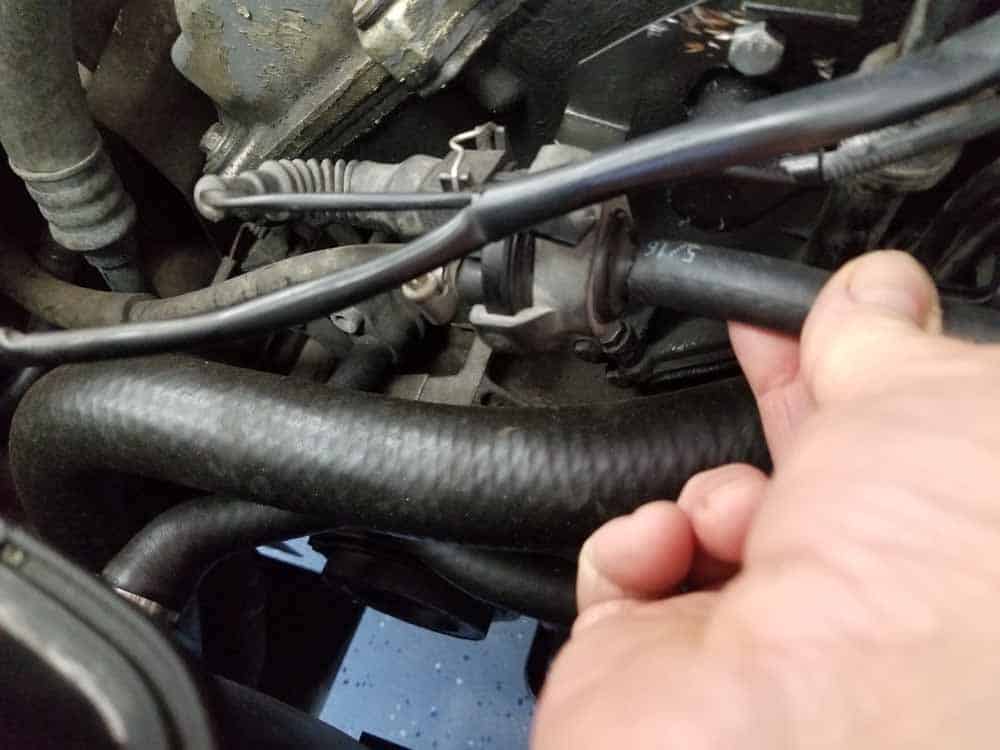
- Start by removing the vacuum hose connecting the fuel tank vent valve to the throttle body. This hose must be removed to properly access the lower secondary throttle mounting bolts. This hose is a common source of vacuum leaks..now is a great time to replace it if yours is old and brittle. You can use a 12” piece of 8mm (5/16”) fuel hose to replace it from any auto-parts store, or you can order one from our parts list.
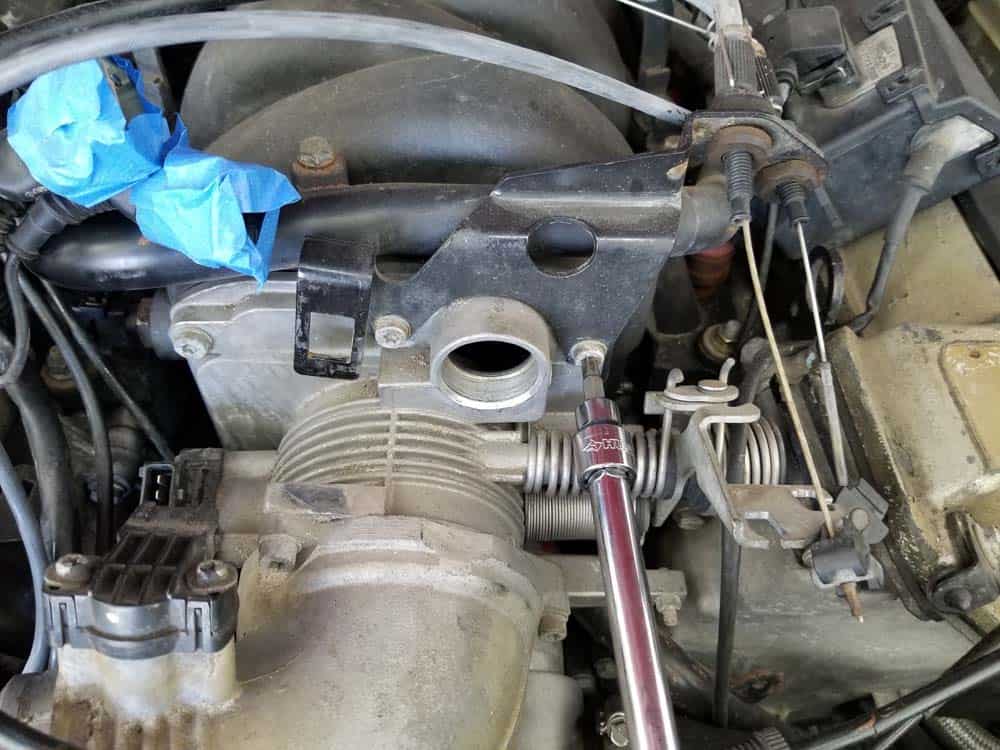
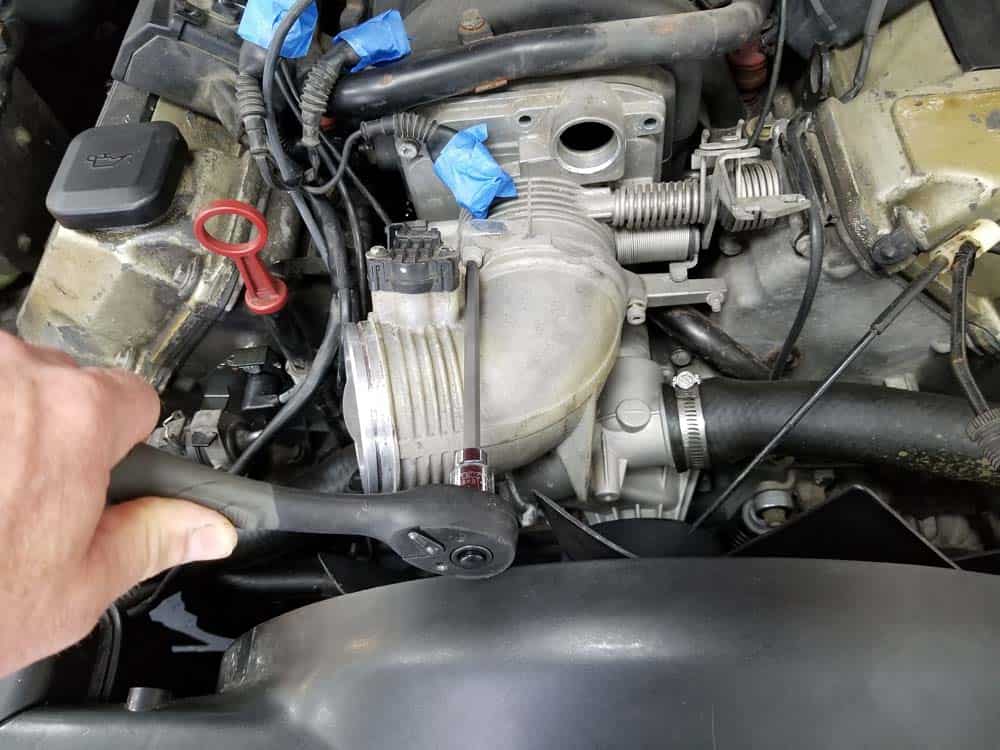
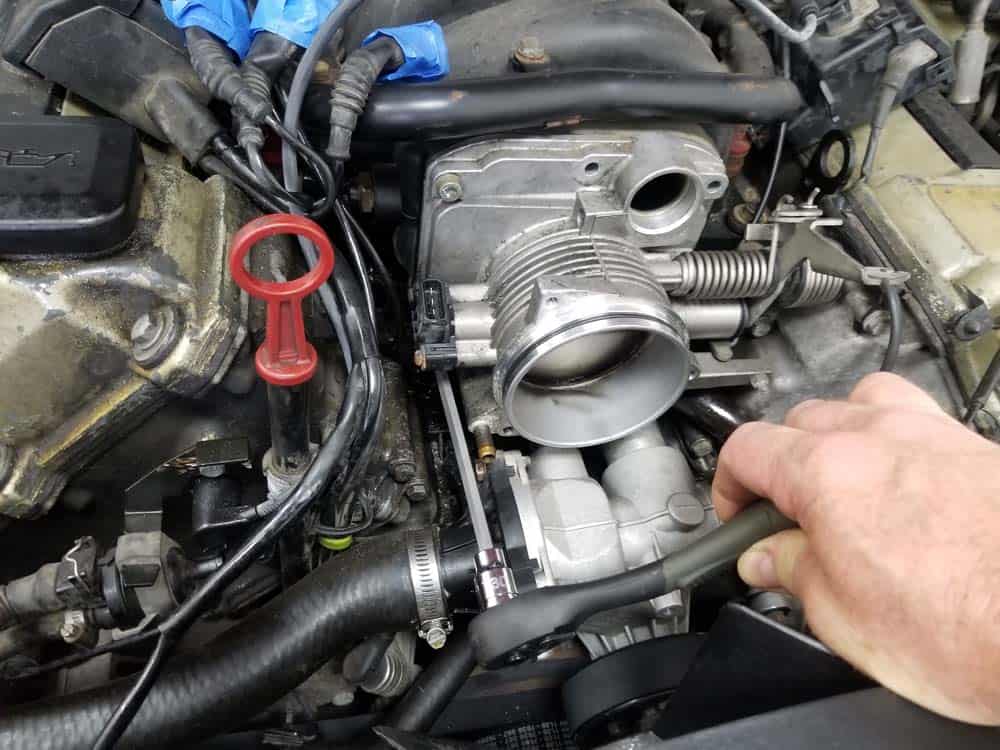
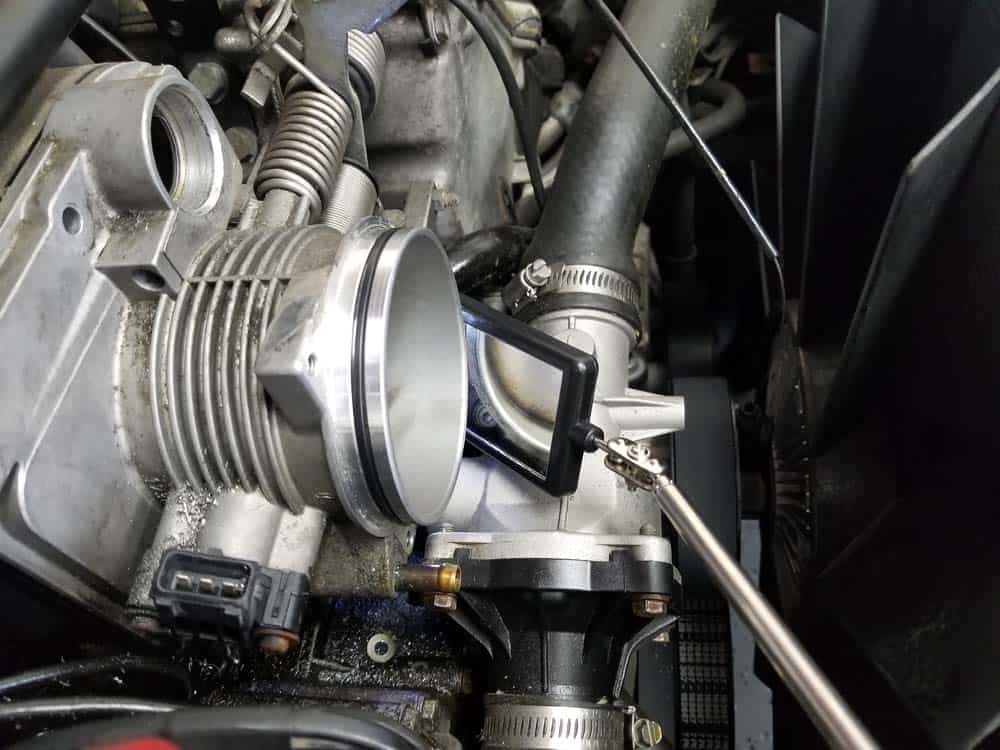
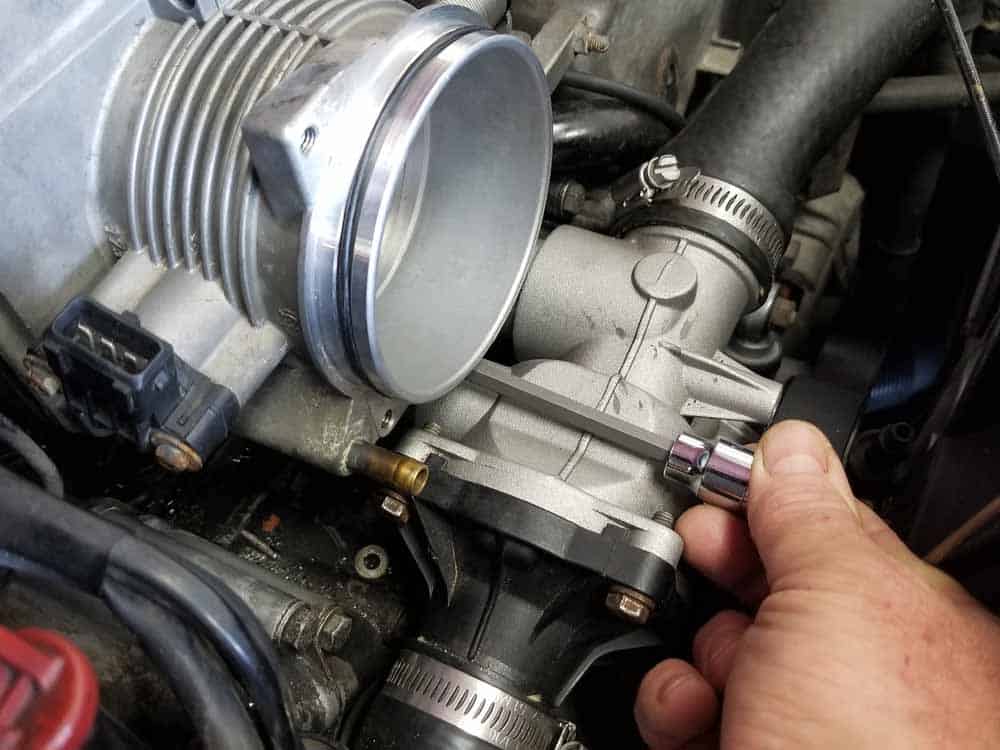
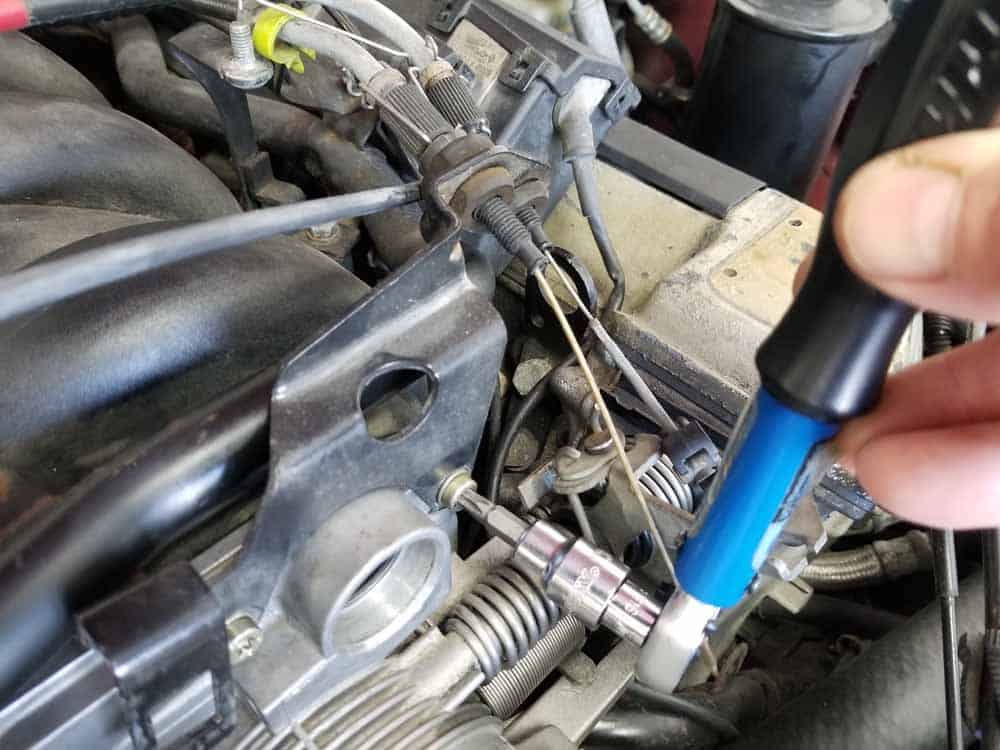
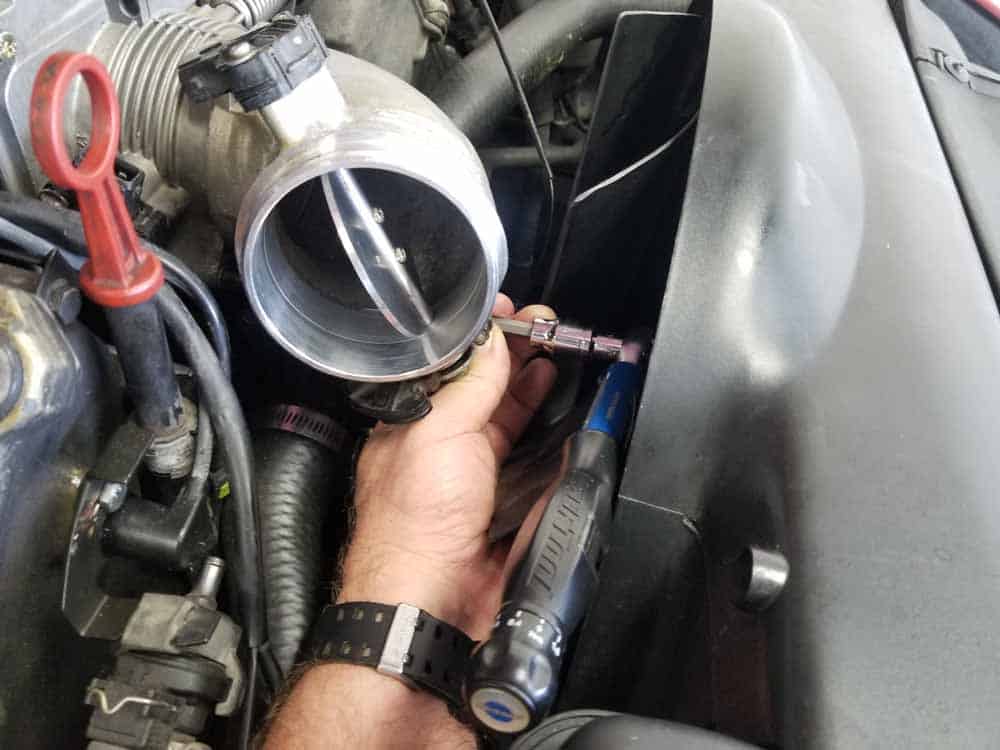
- Remove the three secondary throttle mounting bolts using a long (6”) T30 torx bit. You will have to use a 6” torx bit….there is just not enough clearance to use a regular size bit to extract the bolts. If you do not have a set of 6” torx bits you can order them from our tool list.
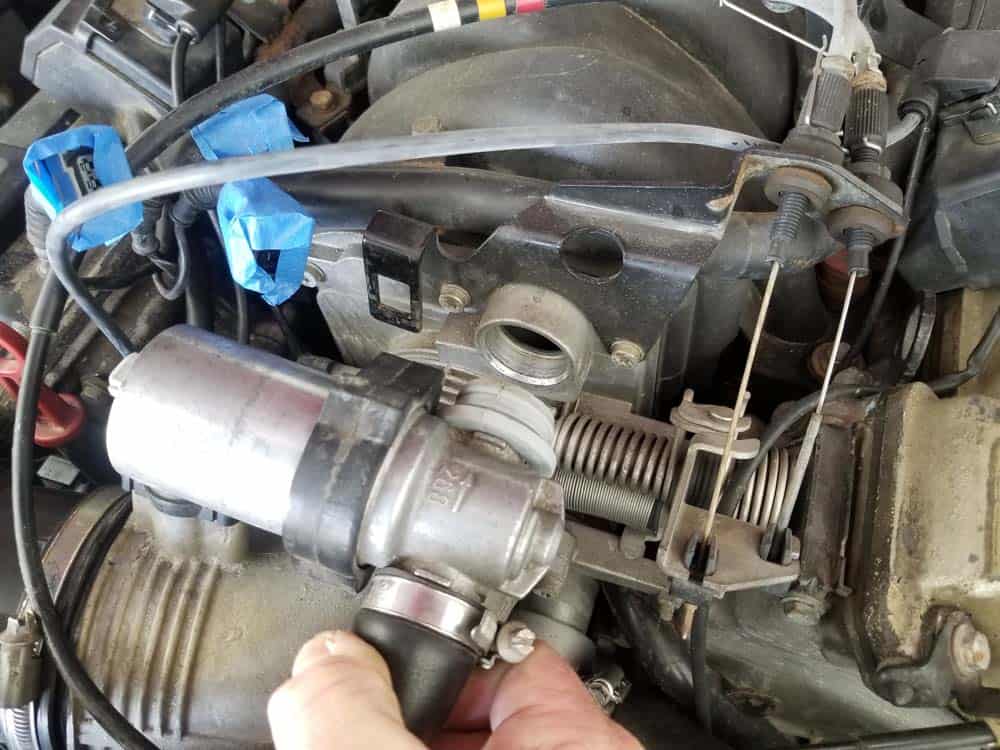
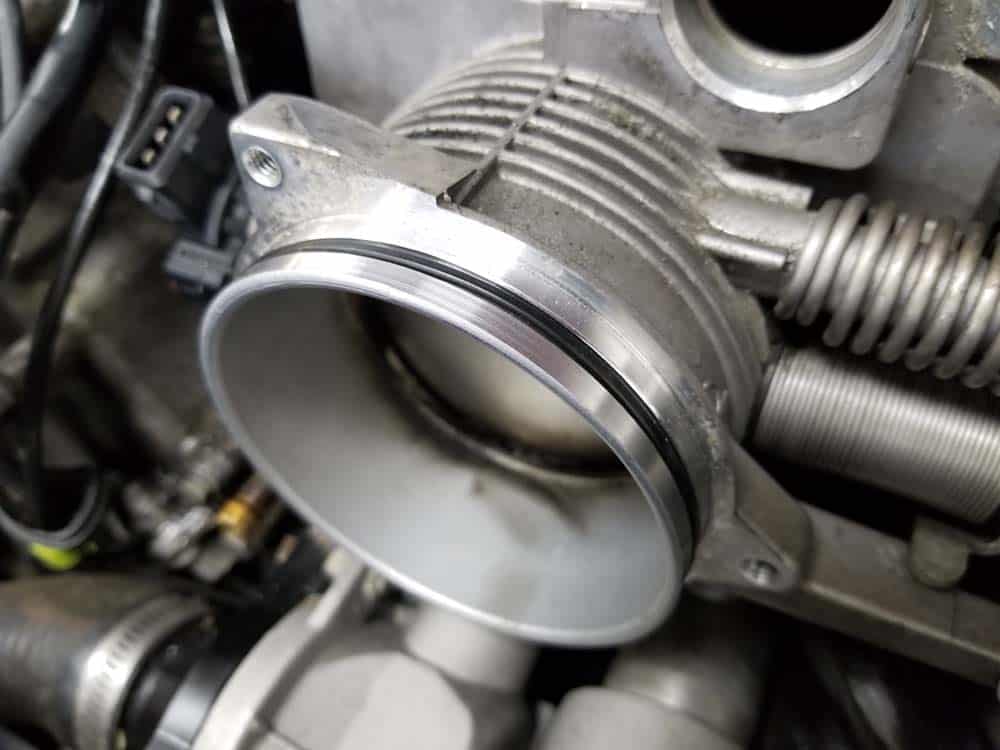
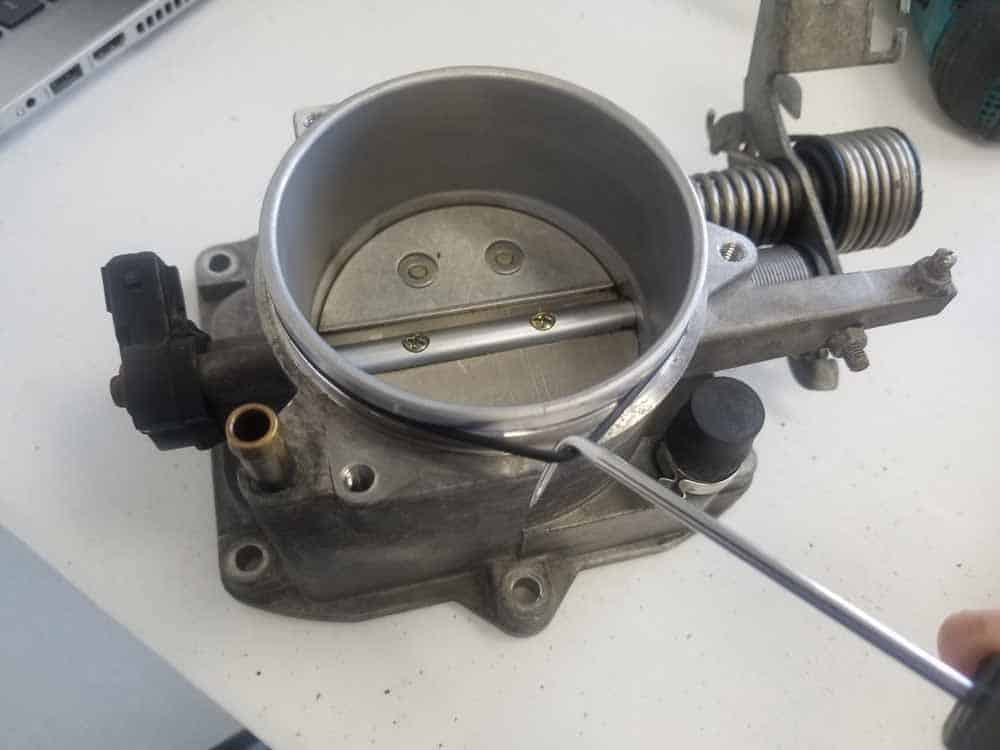
- Grasp the secondary throttle and remove it from the throttle housing. Note that there is an o-ring that seals it to the throttle body. This should also be replaced with the throttle body gasket (see our parts list to order).
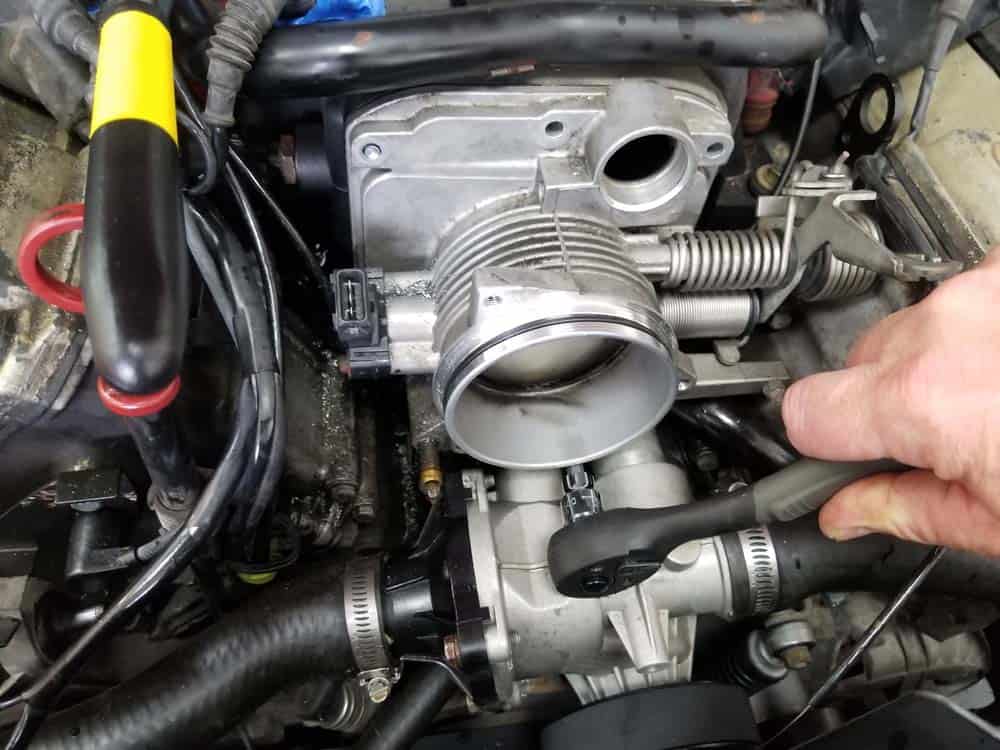
- The throttle body is anchored to the intake manifold by six T30 bolts. Two of them were removed in step 12 above. The other four will need to be removed now. Note that the throttle body bolts are notorious for stripping. We strongly recommend soaking them in Blaster PB for about 15 minutes before attempting to remove.
- Use a 6” T30 torx bit to remove the remaining four throttle body bolts. Note that the bottom center bolt is very difficult to see...use an inspection mirror to locate it if necessary.
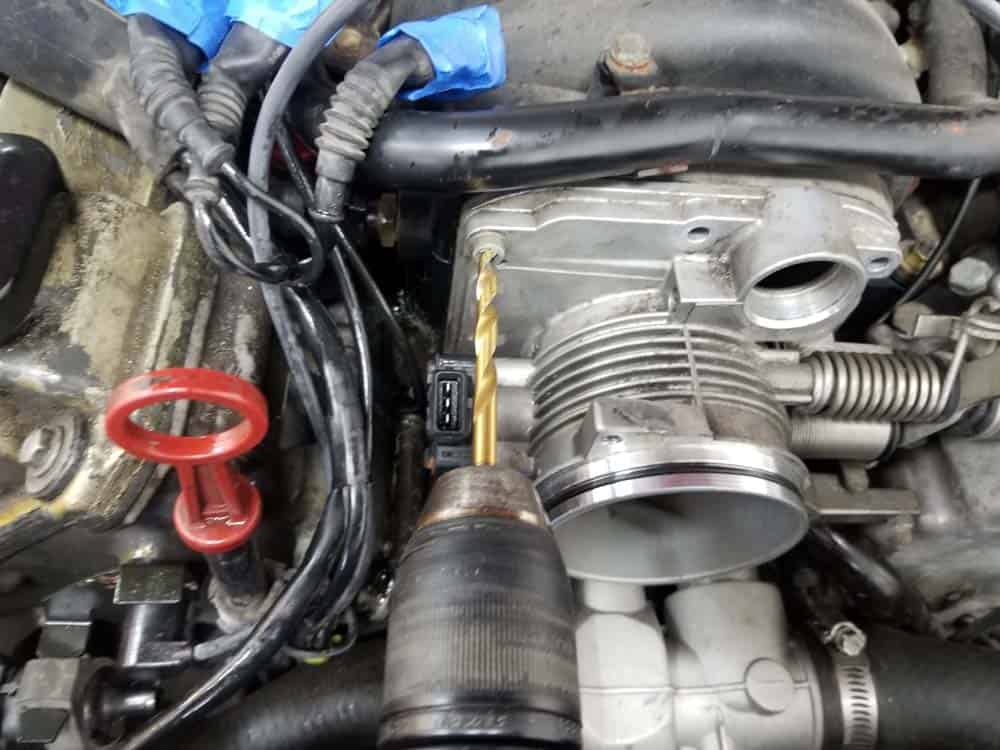
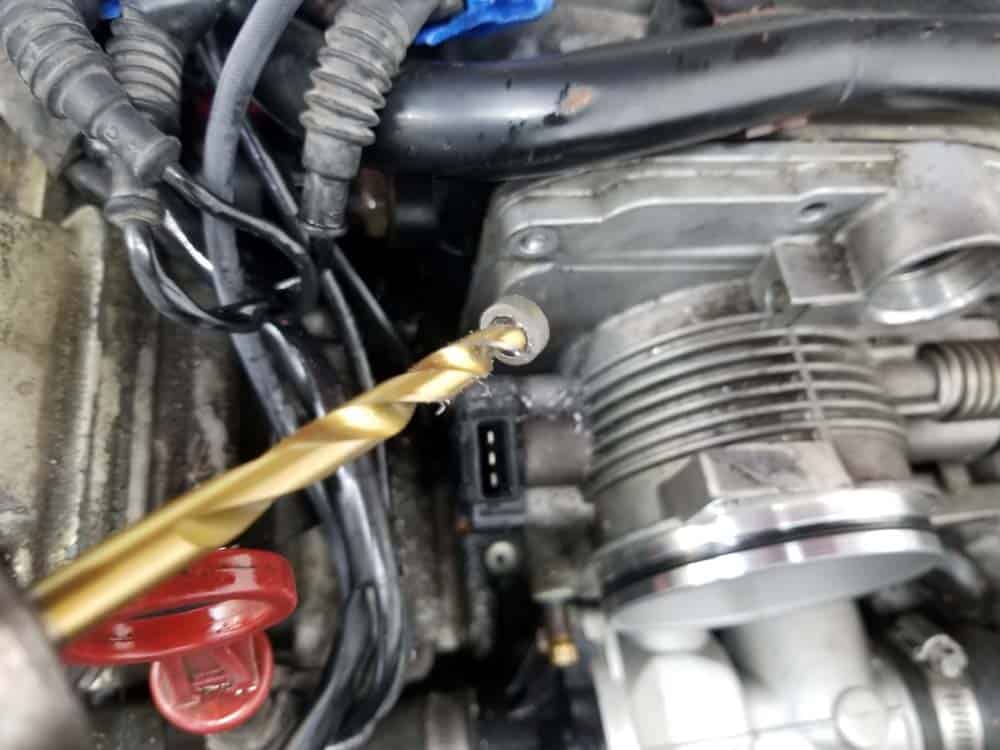
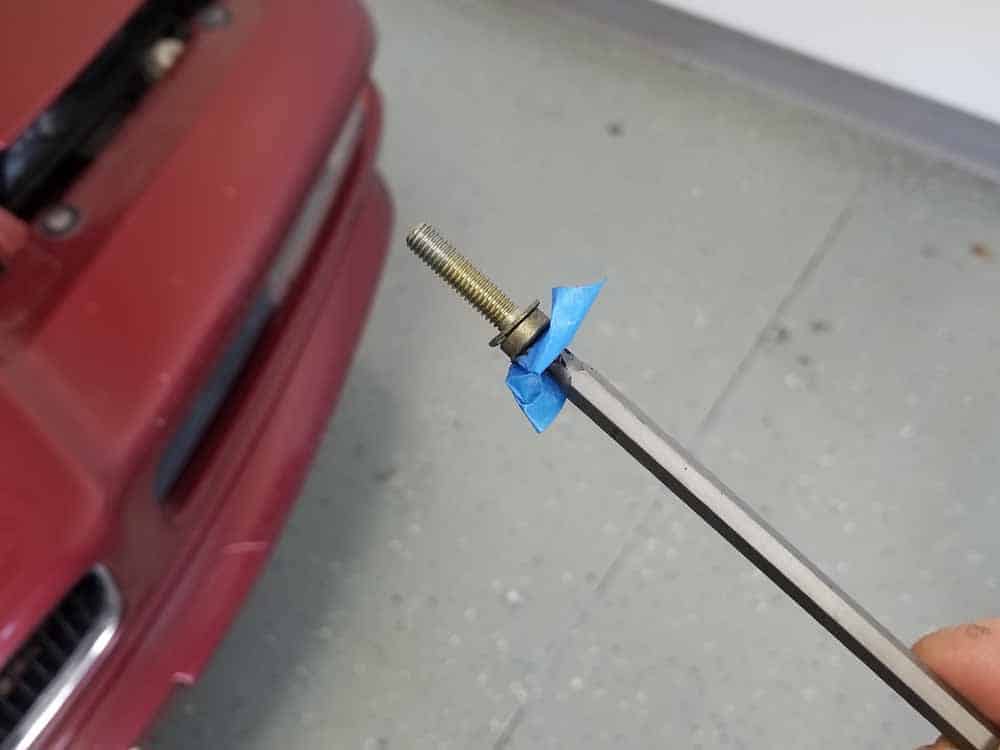
- If you end up stripping one of the throttle body bolts (like we did), simply drill the bolt head with a ¼” drill bit until it snaps off. Please see our parts list to reorder new throttle body bolts.
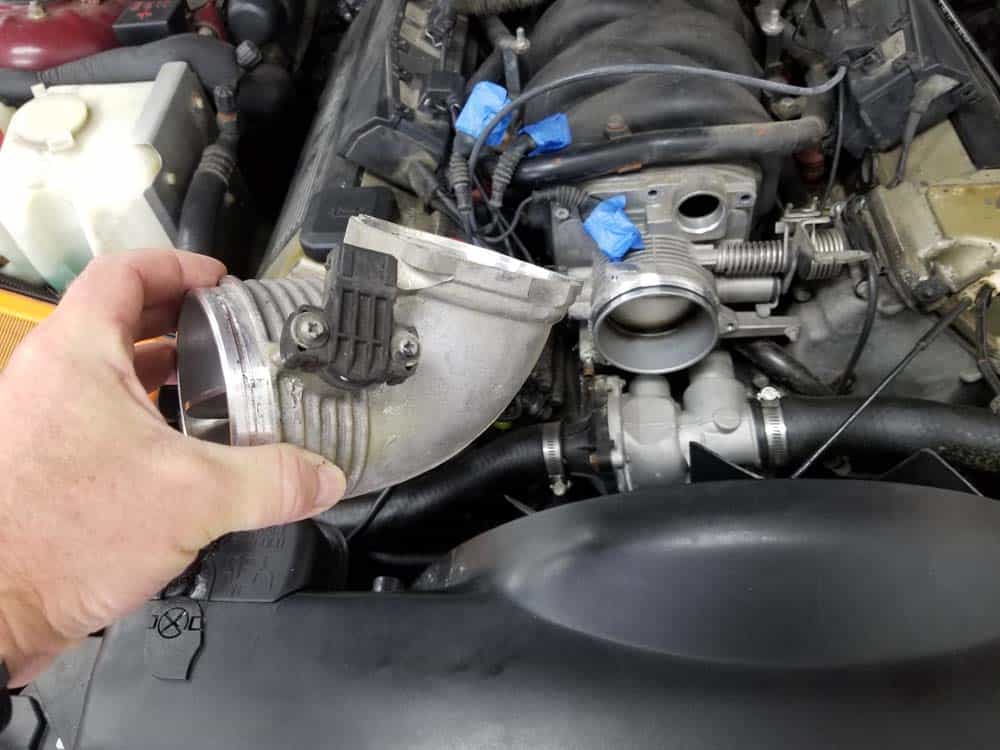
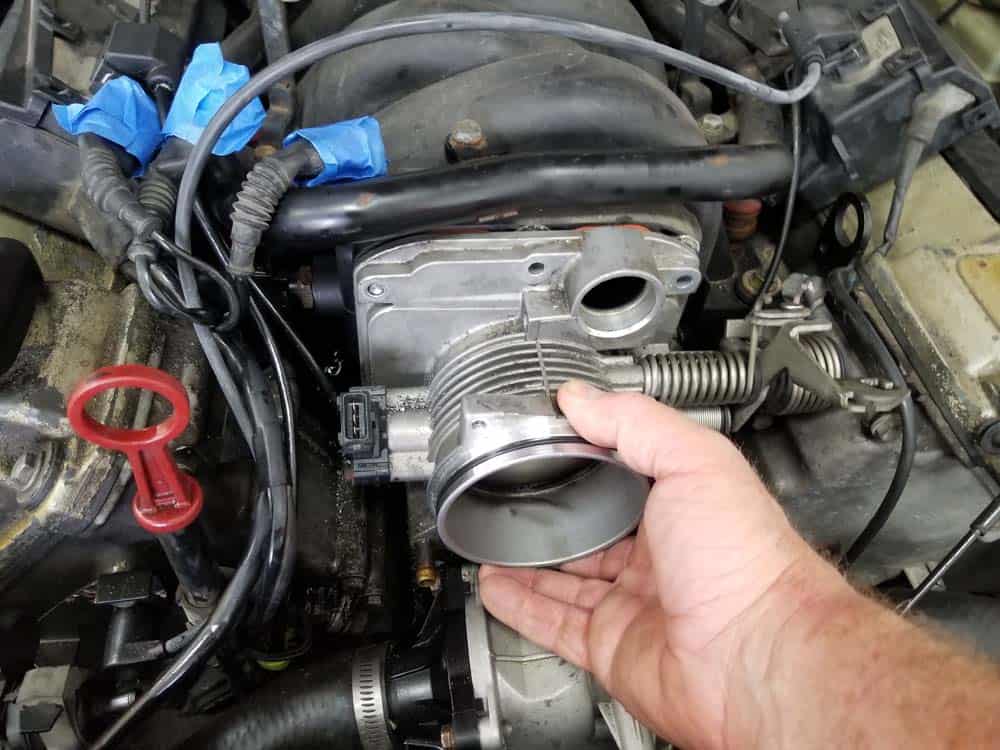
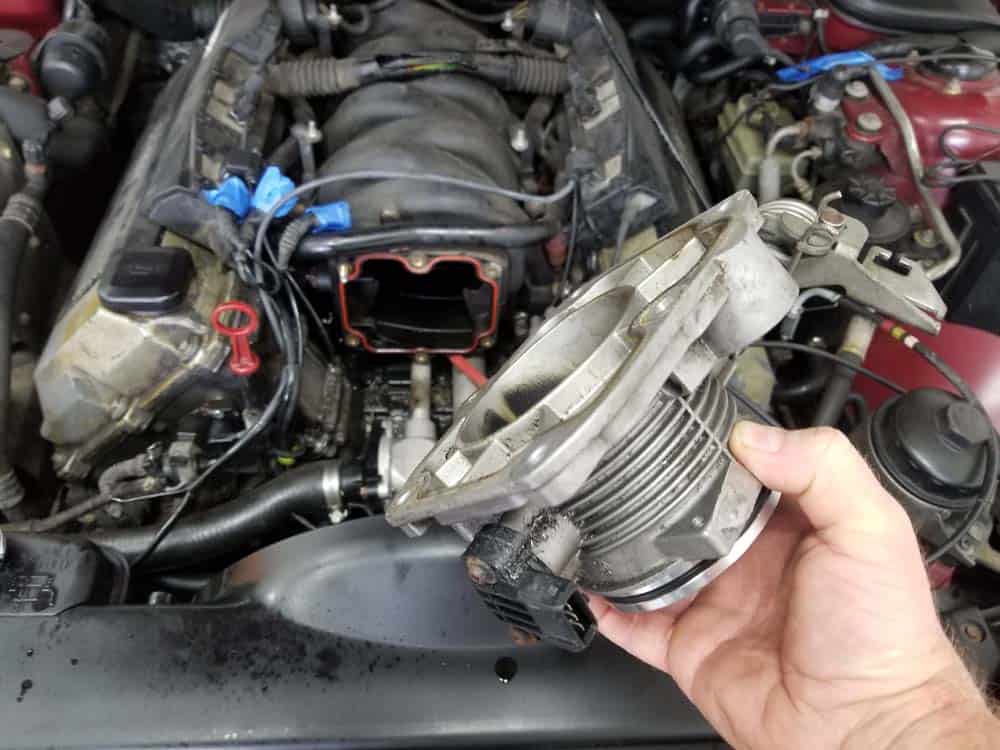
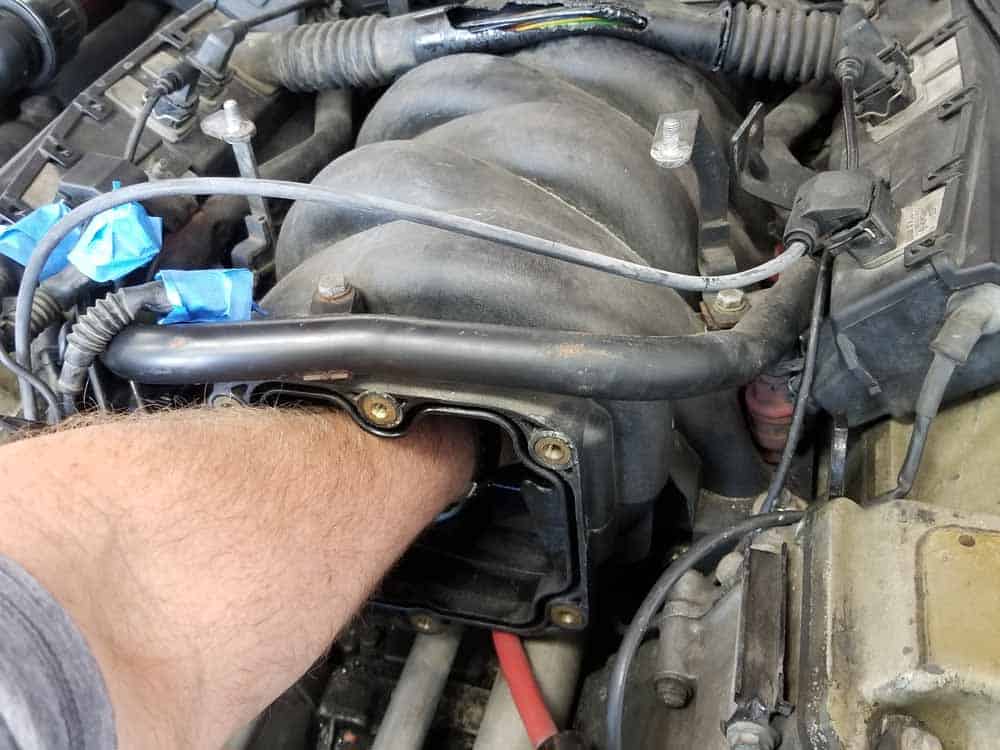
- When all the T30 bolts are removed, grasp the throttle body and remove it from the intake manifold.
Section 2 - Replacing the Gasket and Reinstalling the Throttle Body
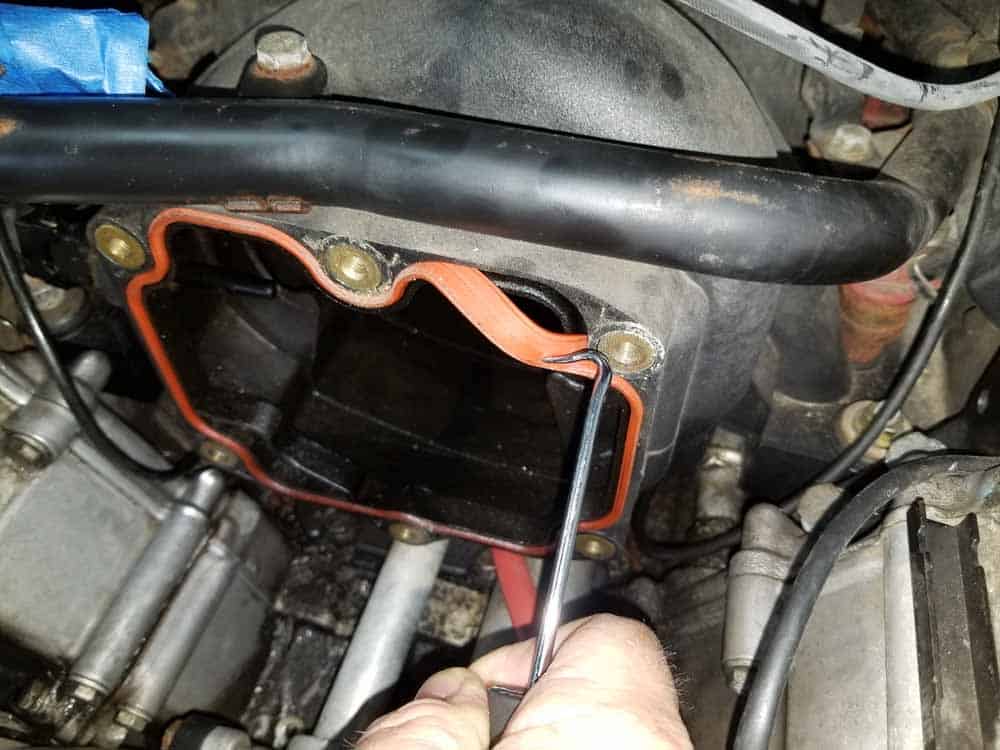
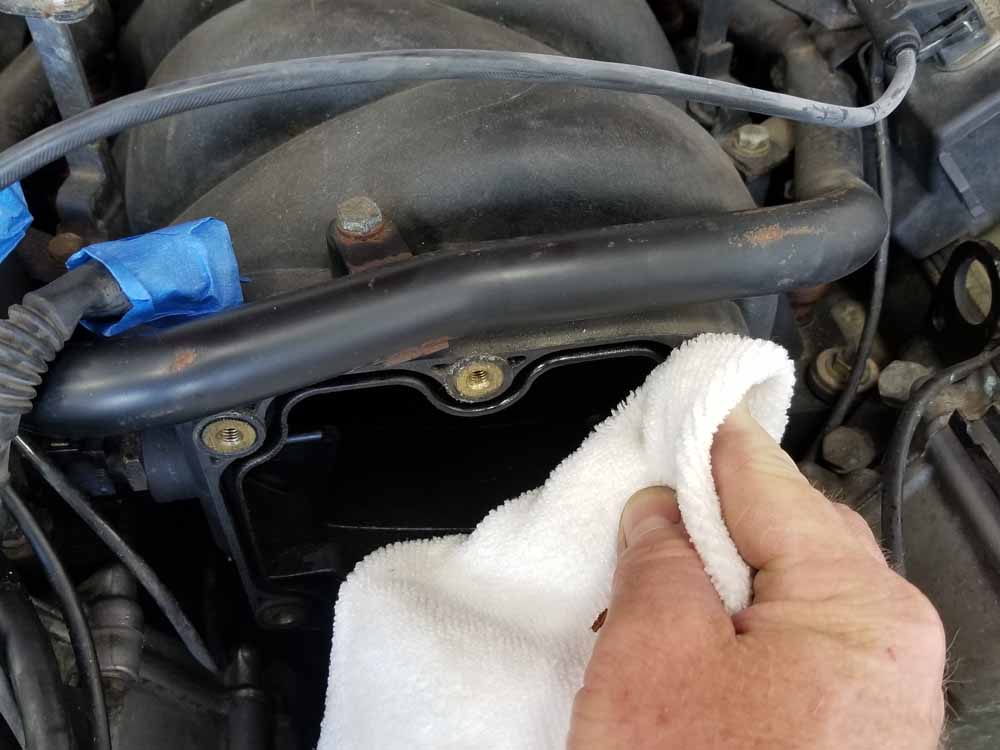
Make sure to thoroughly clean both the throttle body and intake manifold so the new gasket properly seals. Now is also a great time to clean the inside of the intake manifold since you can reach your hand in with the throttle body removed.- Use a metal pick to remove the old throttle body gasket from the intake manifold.
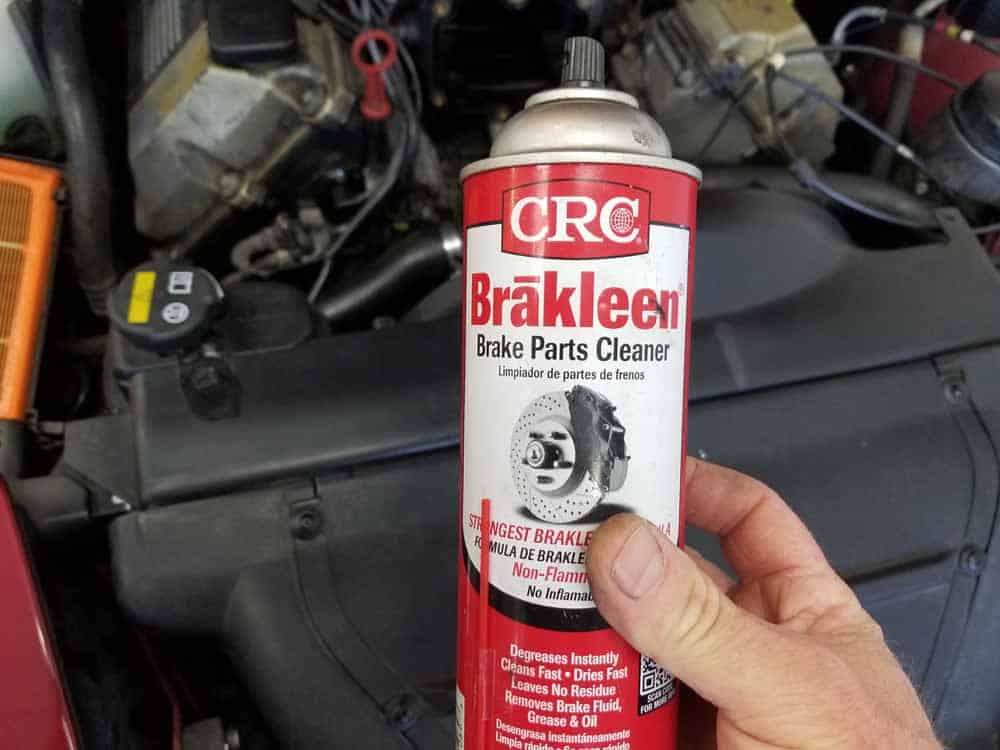
- Use CRC Brakleen to clean both the intake manifold and throttle body surfaces. Be sure to remove any excess oil and grime that could cause the new gasket not to seal correctly.
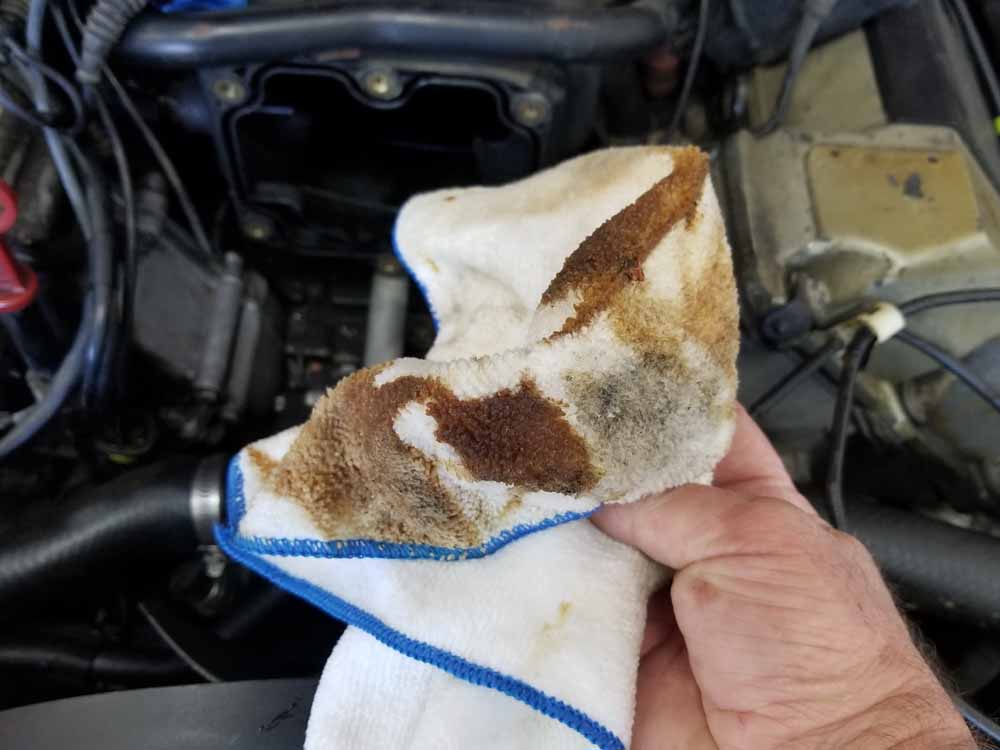
- Soak a rag with CRC Brakleen and wipe down the inside of the intake manifold. You can see we removed quite a bit of sand and oil that was stuck to the bottom of ours.
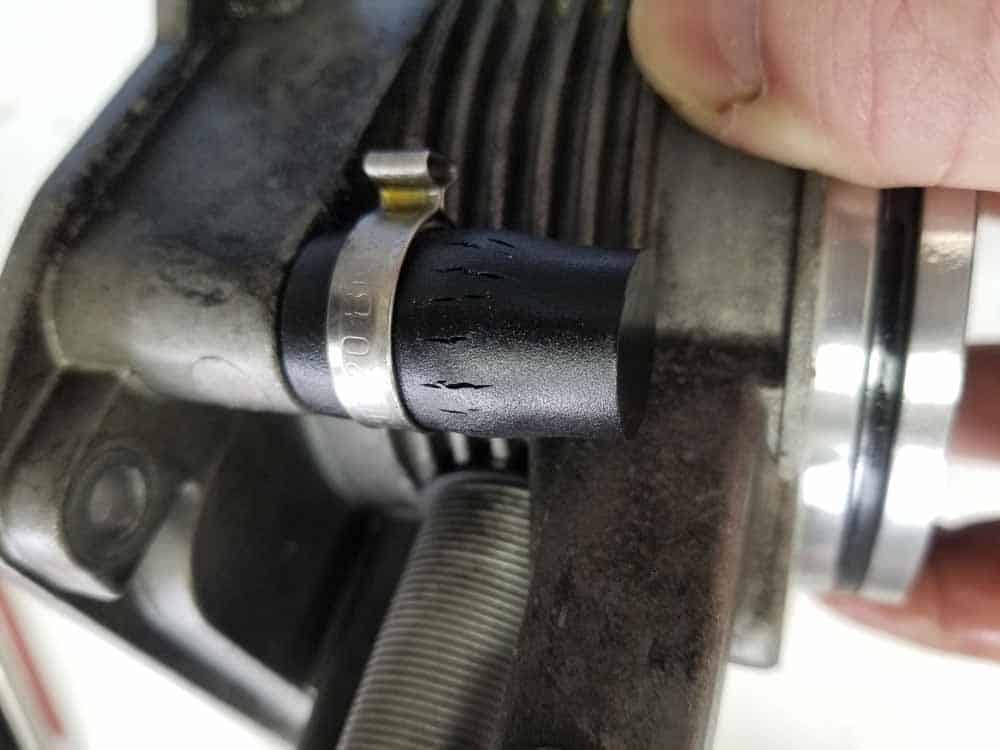
- Inspect the rubber stop plug that may be installed in your M60's throttle body. This rubber plug tends to dry out and crack with age causing a vacuum leak and a rough idling engine. Ours was so dried out we actually had to score it with a Dremel to get it off of the throttle body. Replace the stop plug with a fresh one (see our parts list to order a new stop plug or click here). Simply use a zip tie to hold it in place (you don't need to use a hose clamp).


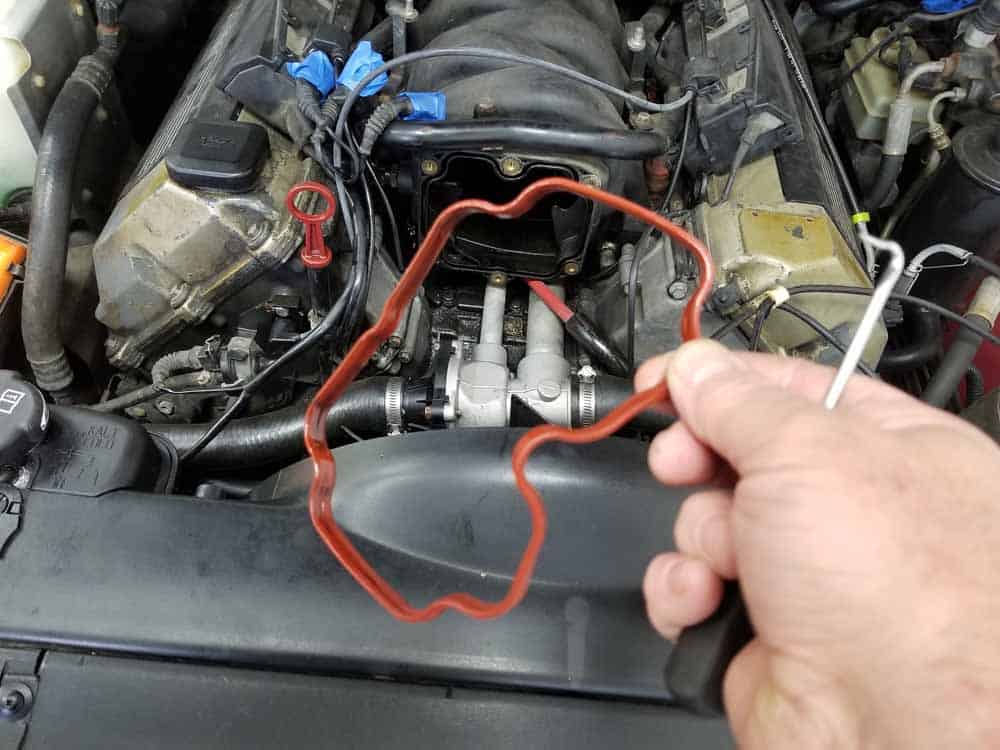
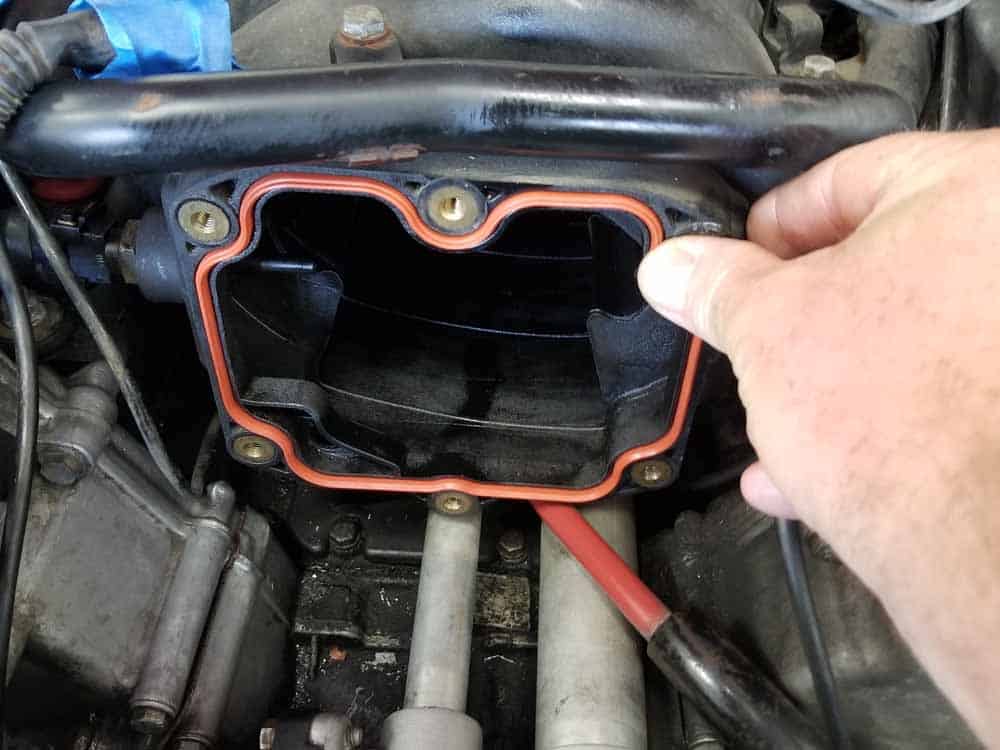
- Install the new throttle body gasket into the intake manifold.
- Reinstall the throttle body and hand tighten its six mounting bolts. DO NOT forget the throttle cable bracket that attaches to the top left mounting bolts! Use a piece of masking tape to secure the bolts onto the T30 torx bit...this will keep them from falling off while installing.
- Torque the throttle body bolts to 10 Nm (7.5 ft-lb).
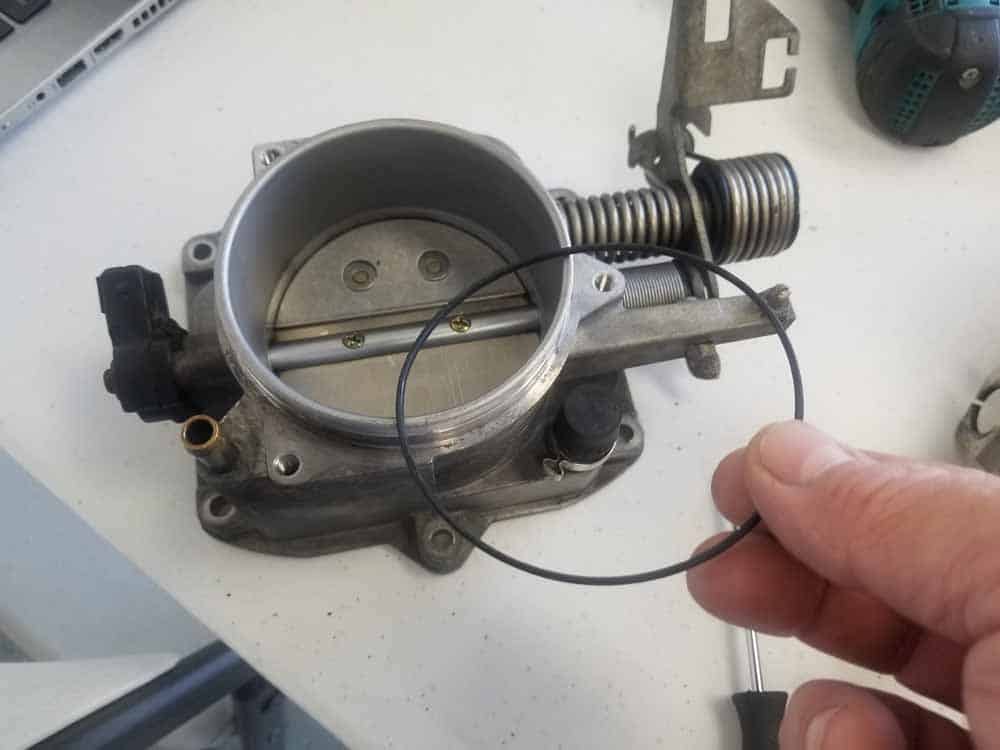
- Remove the old o-ring from the secondary throttle body and install a new one.
- Reinstall the secondary throttle and hand tighten the three mounting bolts.
- Torque the three mounting bolts to 10 Nm (7.5 ft-lb). Note that the lower mounting bolt can be difficult to get to with the torque wrench...work slowly and use patience so you don't strip its head.
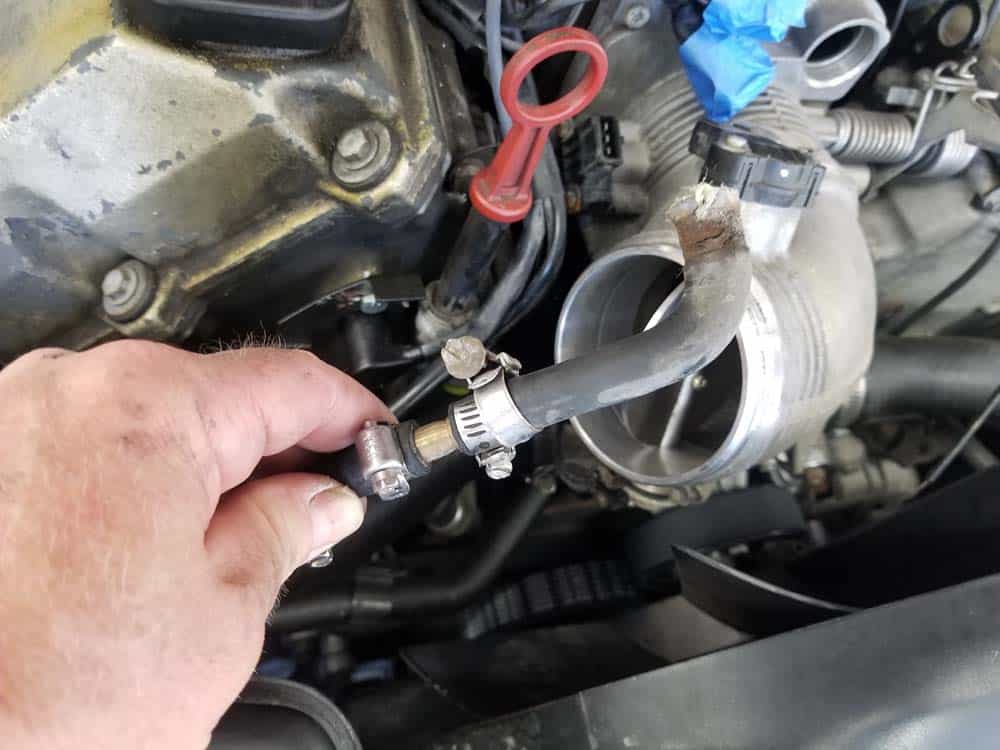
- Install the fuel tank vent valve vacuum hose. If you are installing a new hose like we are, use a fresh #4 hose clamp to secure it to the secondary throttle. Make sure to attach the other end to the fuel tank vent valve itself.
- Reinstall the throttle cables and the secondary throttle cable.
- Reinstall the rest of the intake system following Section 1 steps 1-9 in reverse.
BMW M60 Throttle Body Gasket Replacement Finished